Earlier in Summer, J & O Fabrics contacted me about doing a tutorial on my site using some fabric from theirs. I happily agreed as I was delighted to find another online store that carries a large variety of all types of fabric. I love quilting fabric (and yes they have some!) but I make all kinds of things from all kinds of fabric. So I was happy to find another store with more options…
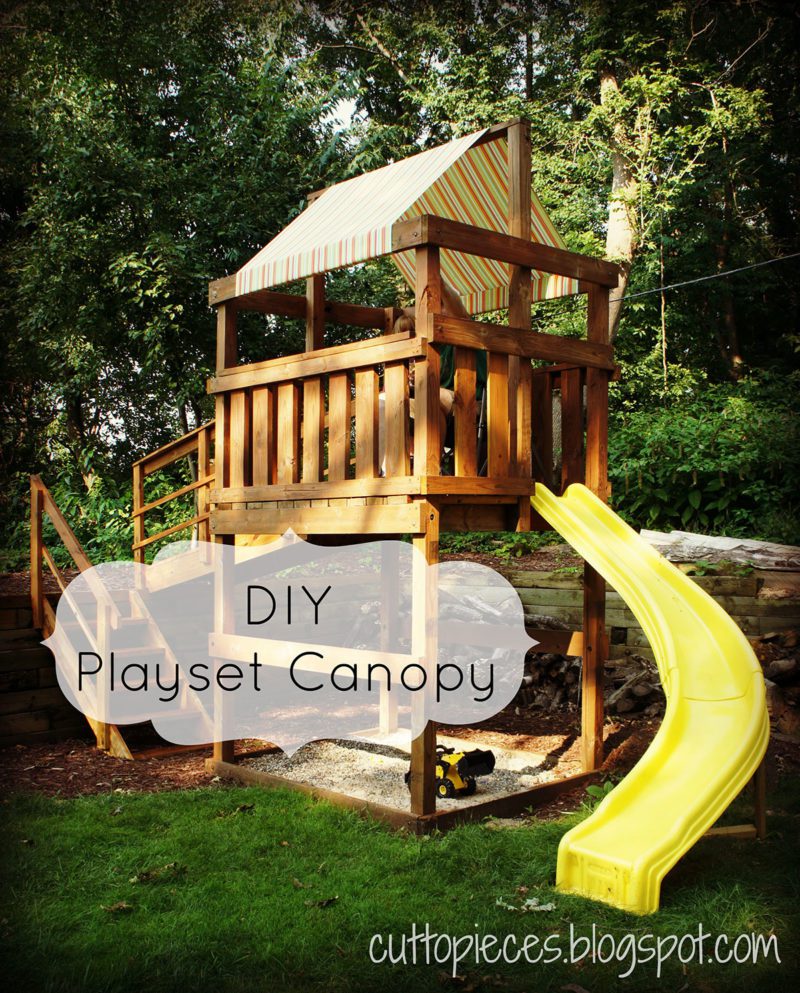

You see, because I needed to recover our Playset with a new canopy. My husband has worked very hard on turning this hand me down playset into a thing of beauty. It’s been power washed, stained, new steps, a bridge, stone bed below, resized slide, etc. And I’ve been waiting for my turn at making it our own. So I’ve put together a tutorial on replacing your canopy (I know you want to…the boring forest green ones can only stay around for so long!)
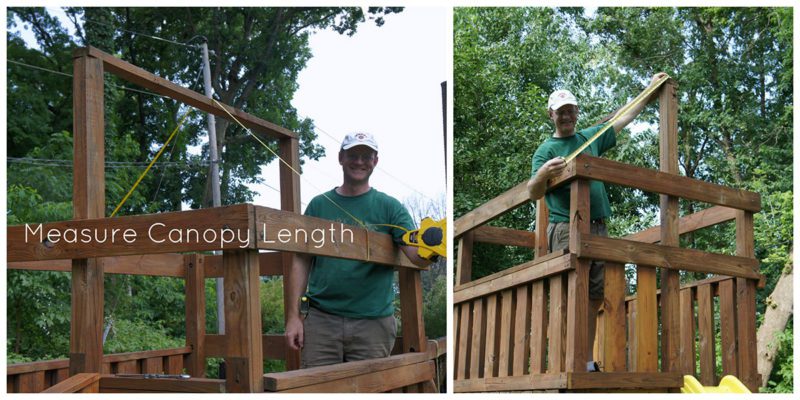
The first thing you will want to do is measure the length of your new canopy. You can obviously measure your old canopy if you still have that, but this one was long gone. So you’ll see my very handy husband up on the playset here measuring. He has a soft long tape measure that can wrap the whole length that was needed, but you could also measure the good old fashioned way and add up all the numbers.

You need to decide a couple things off the bat.
- How do you want to attach it?
- Where do you want to attach it?
- What kind of fabric do you want?
You might be replacing a canopy that was attached via a grommet system. My general instructions should be just fine for that method. You will just need to attach your grommets via the instructions on the purchased grommets at the correct width. We however did not have grommets and chose to simply staple ours to the wood structure from the inside much like upholstering. In the end, mine is NOT a removable canopy but is simple to put up so you really won’t mind replacing it every couple of years. You’ll probably want a new pattern on your fabric anyway 😉
And speaking of fabric…
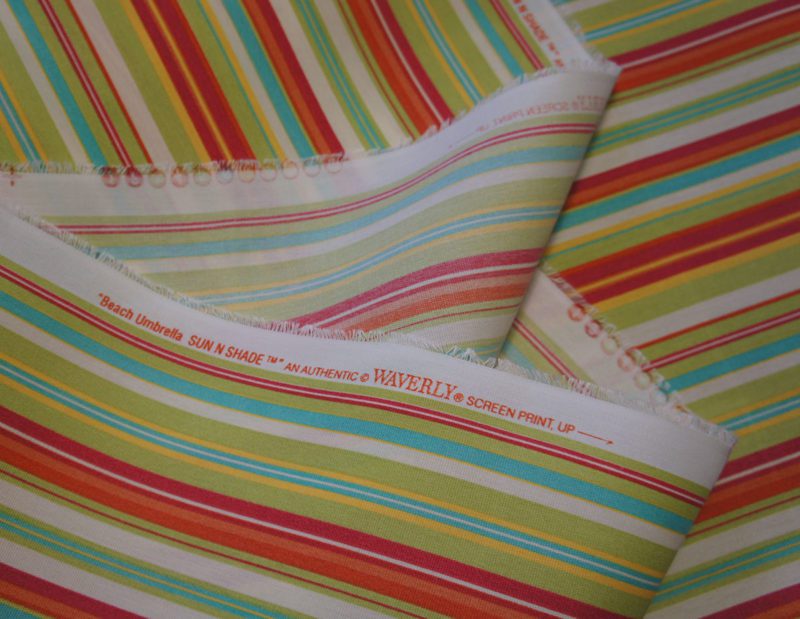

I picked out a weather resist outdoor fabric from J & O Fabrics. I love the playful stripe that is gender neutral and should hide stains well. I chose a wide fabric (most outdoor fabrics will be 60″ wide) and that suited my needs. I didn’t want to have a seam in the width of my canopy because that introduces a weak point for water. (though if you really needed to seam a piece I think that there are tent products out there that can help you seal up the seams)
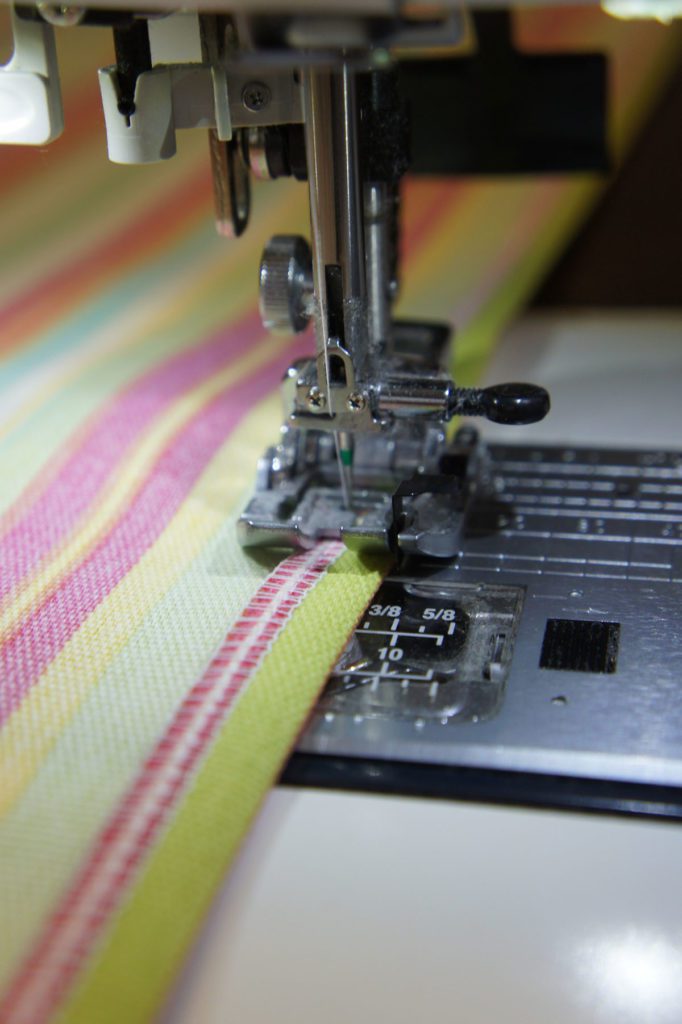

FYI, I needed right around 3 yards for this projects of the 60″ wide fabric. I did a very narrow finish to the three yard length on either side to save as much of the width as possible. As you can see above, I serged my edges and then folded them in about a half inch and stitched in place. (simply double fold your fabric if you do not have a serger).
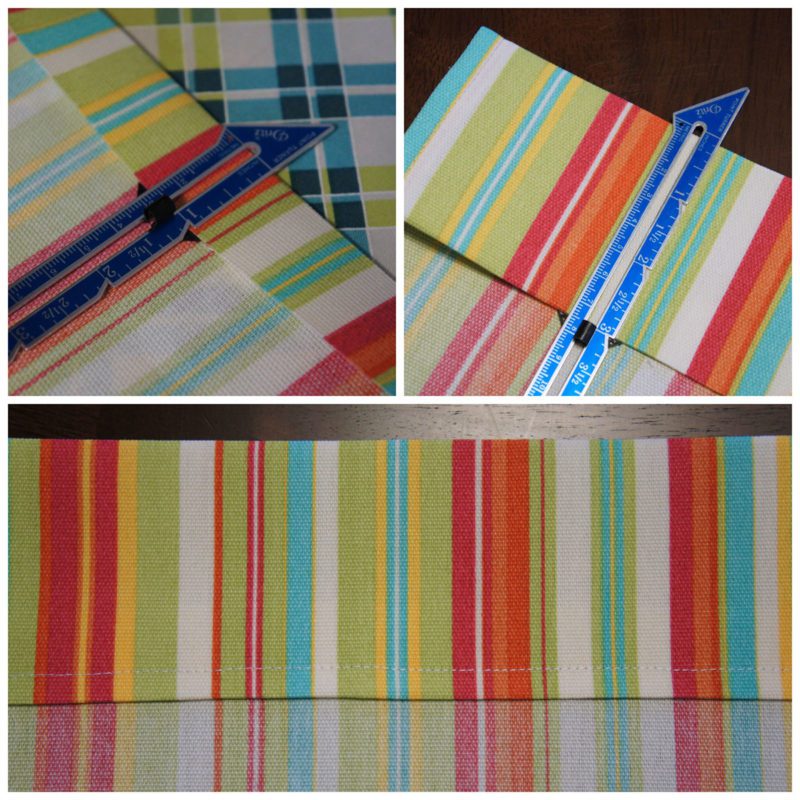

Then I finished off my two ends with a deep hem to have a good amount to staple through. This is also necessary if you are attaching grommets. I folded my fabric in by 1″ and then 3″…which all just means that needed to add 4 inches for both sides aka 8 inches to my finished measurements to know how much yardage to buy. Stitch your two short ends down (attach grommets at this point if making a version with grommets) and head out to attach it to your playset!
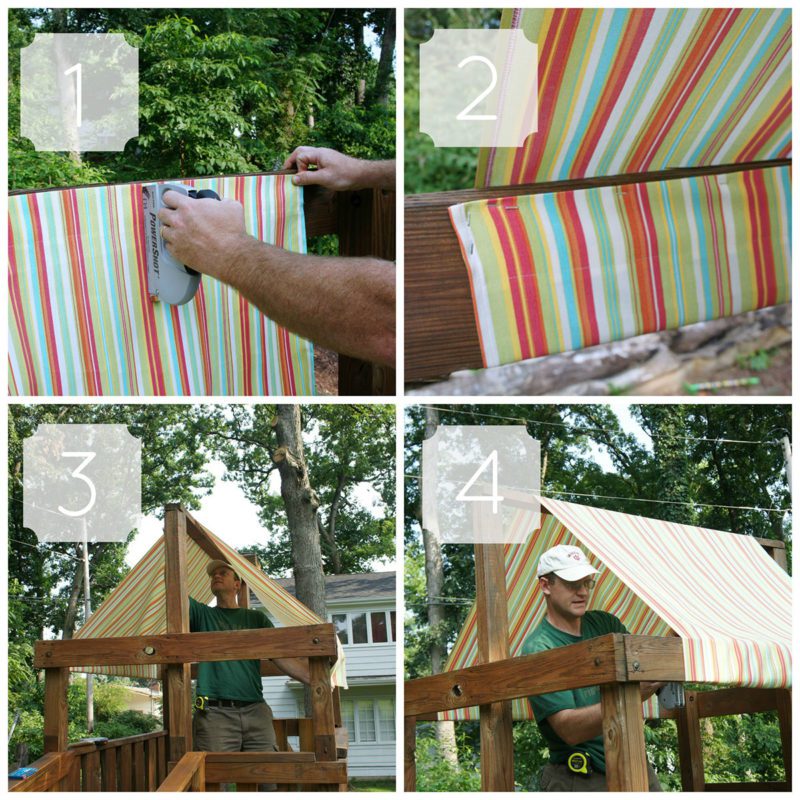

Follow step by step for easy installation with a staple gun from the inside of the playset…no pesky ladders to deal with!
1. Place your finish short end of the fabric against the edge of the wood with WRONG side facing the wood. Start with a center staple and edge staples (again, much like upholstery) and staple your fabric to the wood.
2. Wrap the fabric out and around the piece of wood and up over the high piece of wood.
3. Bring the fabric over to the opposite side
4. Pull the fabric back around the second piece of wood, again with the wrong side of the fabric facing the wood and staple in place as you did the first side!
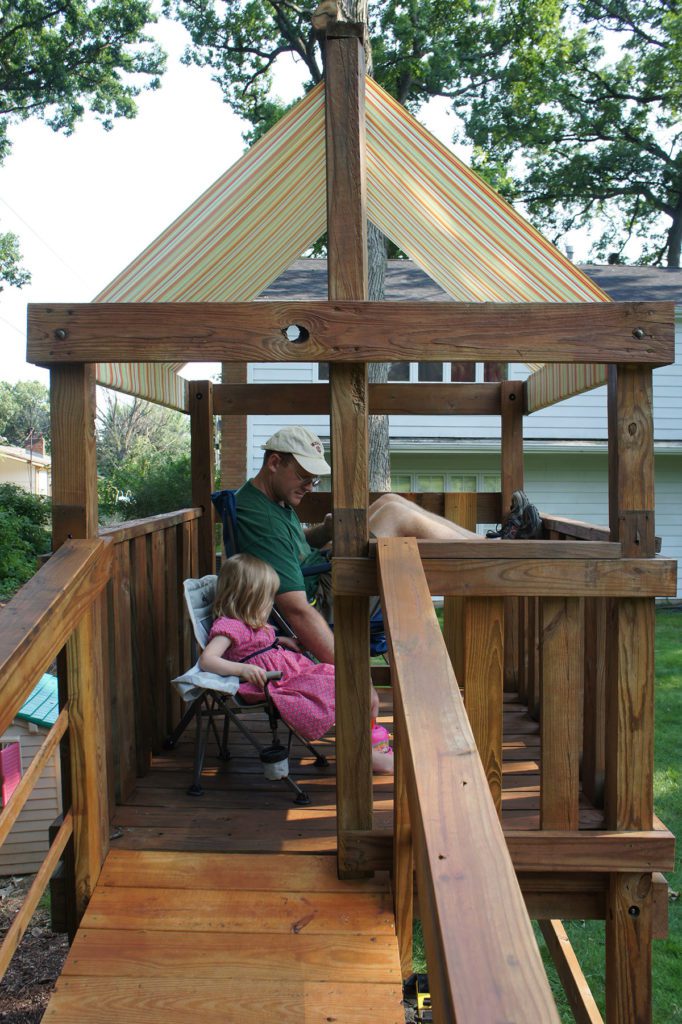

And you are done! Grab a chair and enjoy your new shaded canopy. As you can see in this side shot, the fabric is wrapped around the wood beam and visible from the inside.
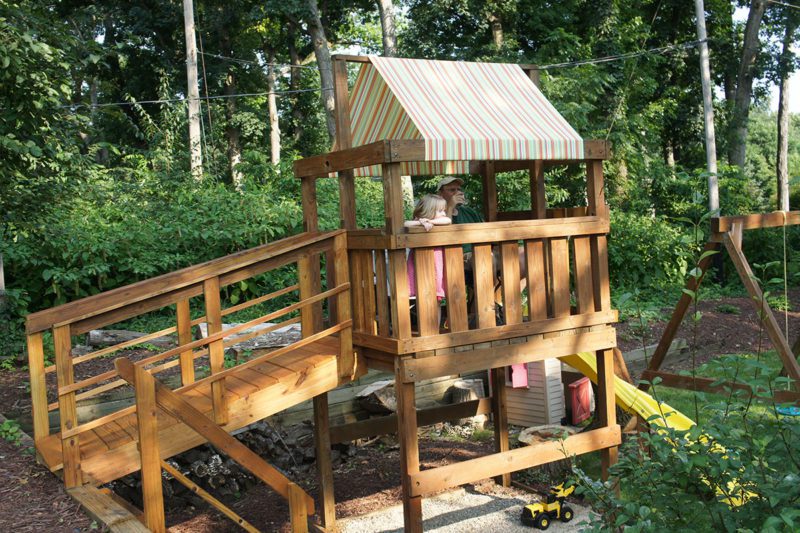

Dream a little dream and smell the roses. or whatever flowers you happen to have 😉


It looks great!
great!
Very cool project. I like that it took BOTH of your talents, as well.
Thank you! It works well as long as we both communicate well 😉
This is the cutest idea and post ever!
such pride in a family project!
You have a rock bed instead of a sandbox? That is sheer genius – I've been thinking of a way to replace our much loved but also much emptied all over the yard and house sandbox.
Oh, and the canopy is super cute, too!
You have a rock bed instead of a sandbox? That is sheer genius – I've been thinking of a way to replace our much loved but also much emptied all over the yard and house sandbox.
Oh, and the canopy is super cute, too!
Adorable! So much cuter than the canopies that usually come with those kind of playsets!
What fun! I totally want your playset to hang out in :oD
Wow, props to your husband because that playset looks brand new! Of course, your gorgeous canopy doesn't hurt either. Ok, we need to redo our playset if you do actually get pregnant next year, so I'm going to save this tut for someday =). Thanks, Angela!
Hey–I'm wondering how the fabric canopy held up over the past year?
-Jenny
It has held up beautifully!! And that was after a massive cold winter and LOTS of snow. It still is taut and crisp looking.
I’m in the beginning process of making one too, and my hubs had an idea to add half of a wide swim noodle (cut in half lengthwise but the same width as the cross top beam, I hope I’m making sense) across the top beam UNDER the canopy to prevent abrasion and tears, which happened with our two old ones. This time I got waterproof canvas so maybe that won’t even be an issue but IDK. Thoughts?