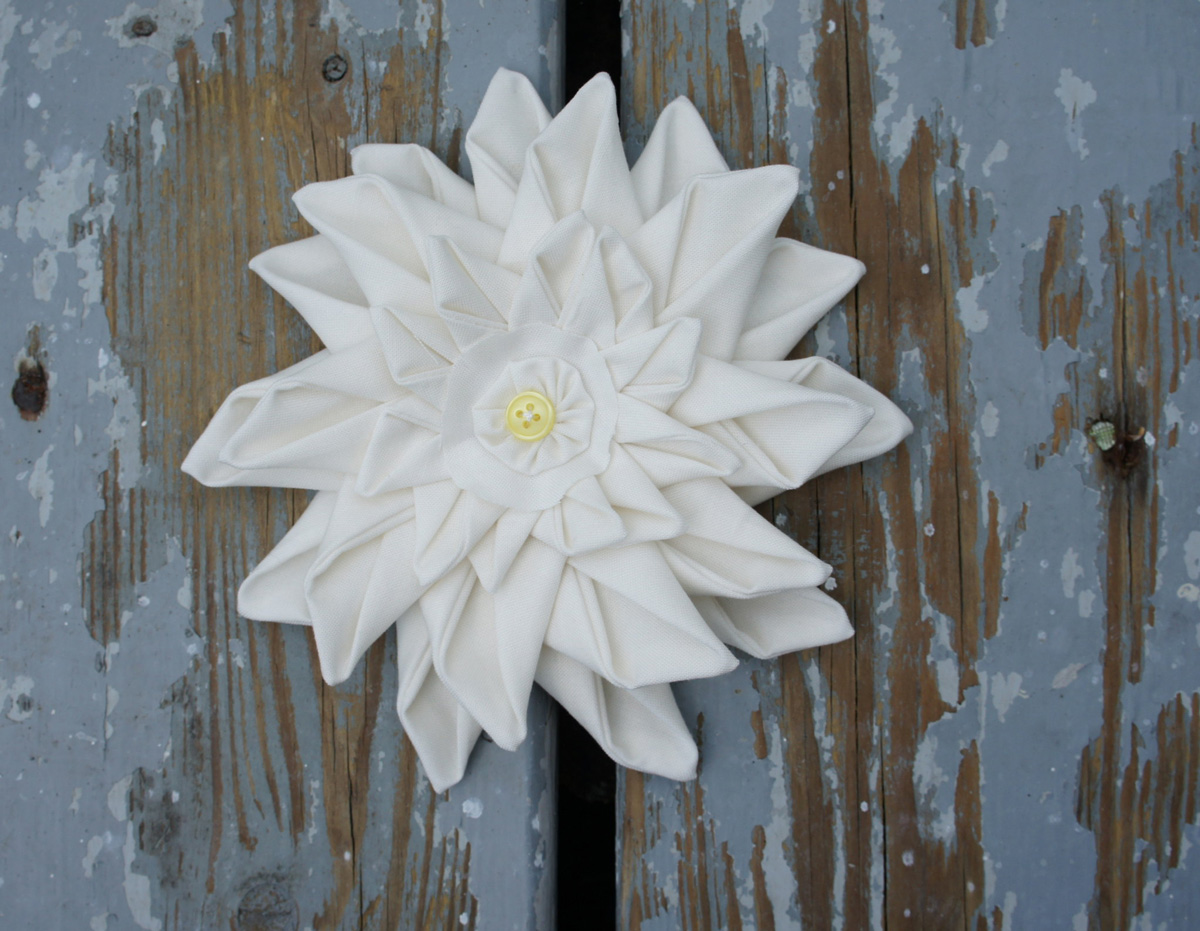

I promised you all a tutorial for a fabric flower that I made a while back, but to be honest I was a little worn out after making one. You see, it involves a number of pieces of fabric cut into circles. And that can be a little tedious. Doable. But tedious.
And then the accuquilt people came along and offered me a Go! Baby in return for my review (so lucky! I know!). I knew immediately that I wanted to use this fancy-dancy machine to cut out shapes that are a little bit annoying to cut by hand. And that led me right back to circles.
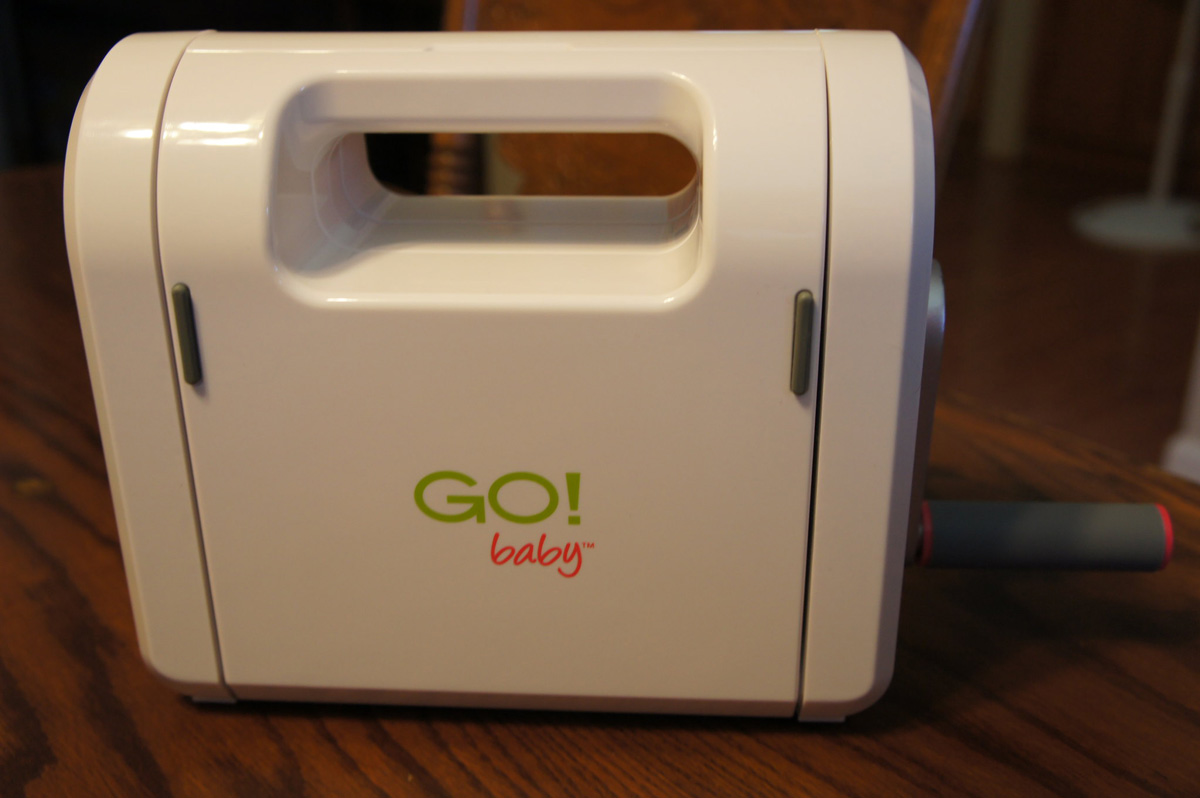

I love how compact this Baby is! I’ve seen the large one in person and frankly, I just don’t have the room in an already crowded sewing space for another device. But this one is cleverly designed with flip-down sides making it super compact!
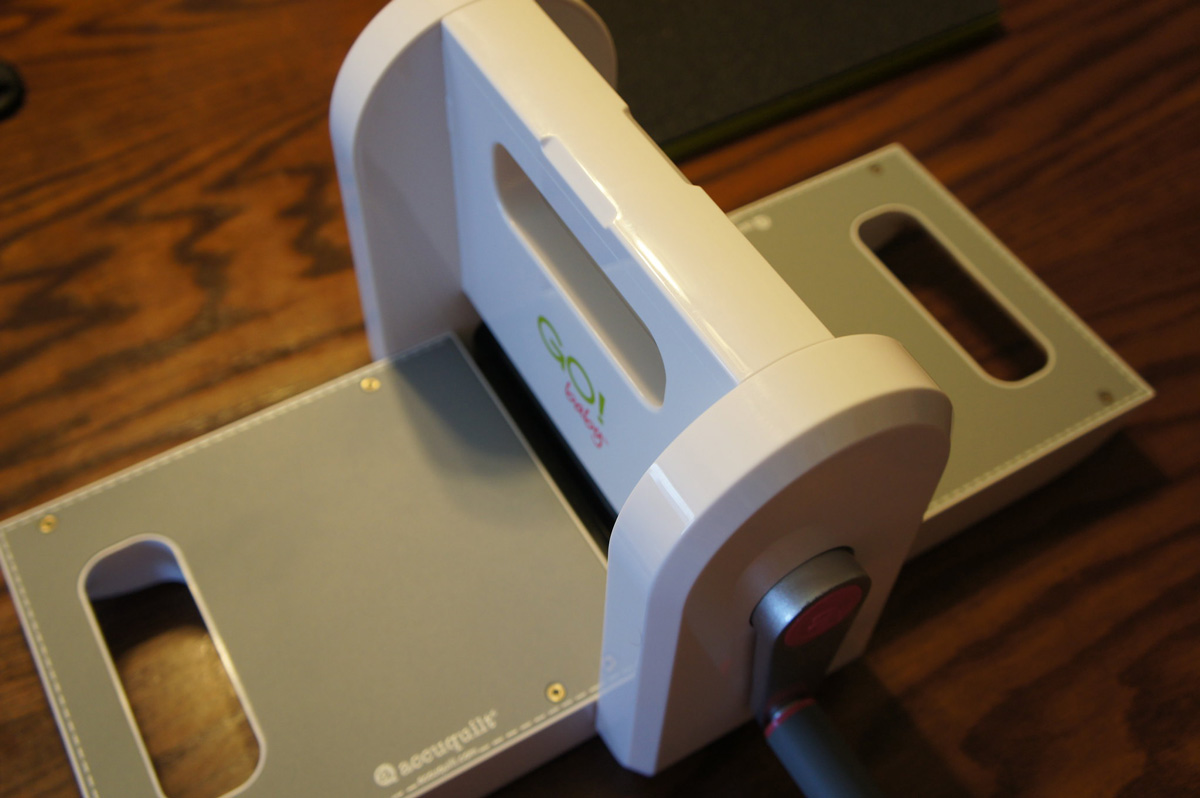

I used the circle template to make the fabric flower! I was very happy with the little cutter. It’s difficult for my type AAA personality to make and cut out perfect circles from fabric by hand. But I was pleased to see how lovely they came out with this machine. (Although really to make this flower they don’t HAVE to be perfect….it just makes me happier!)
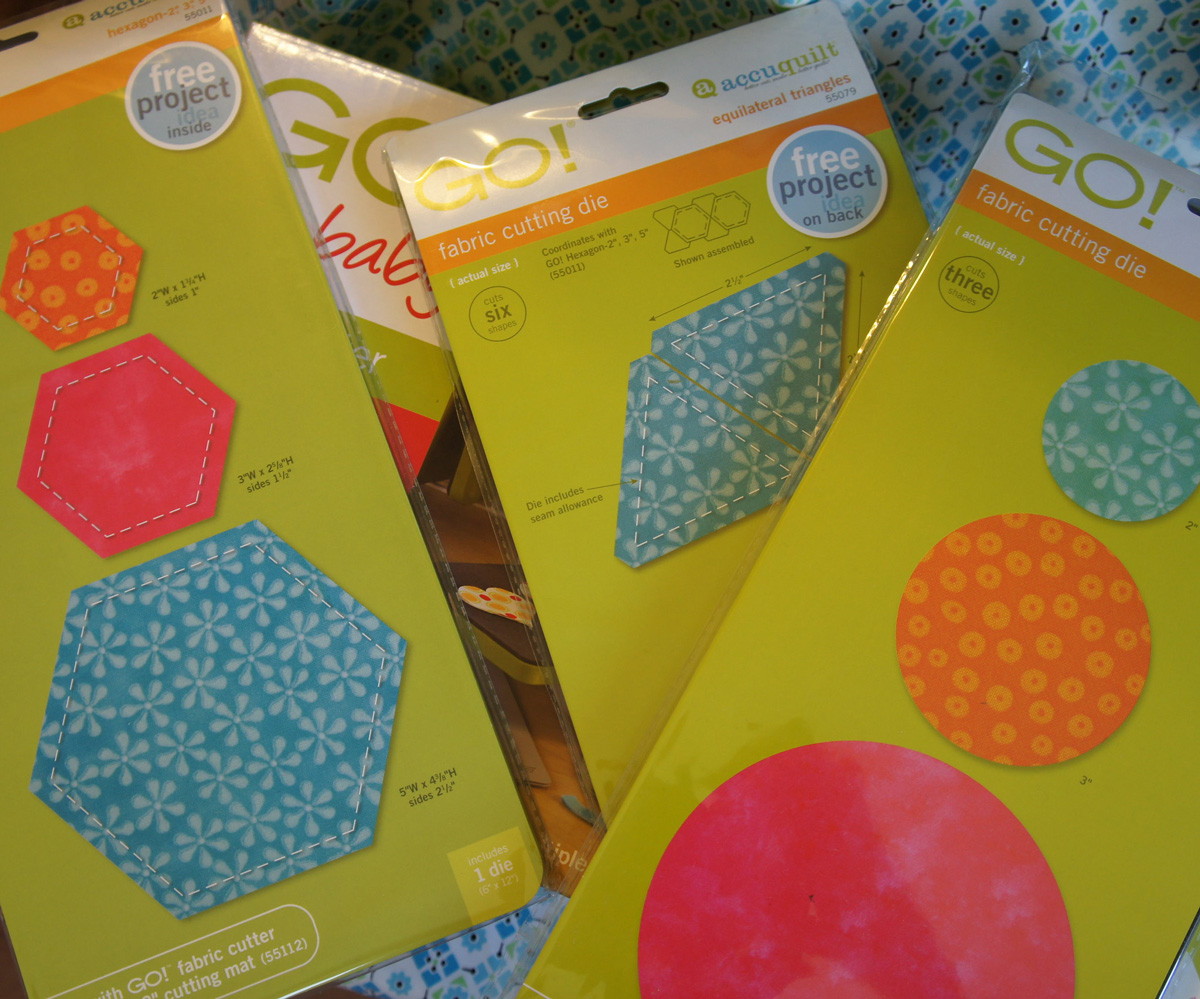

To cut out the circles, I cut a 6″ strip of 45″ inch fabric and folded it in fourths. I laid the fabric over the circle template and placed the cutting board on top. Then with a little roll of the handle (very much like a pasta cutter!), I let the Baby do its work and out came an assortment of cut circles. I found the smallest ones were too little for this particular project, but I did use the larger and medium sizes. I did this a couple of times to create enough circles for the project!
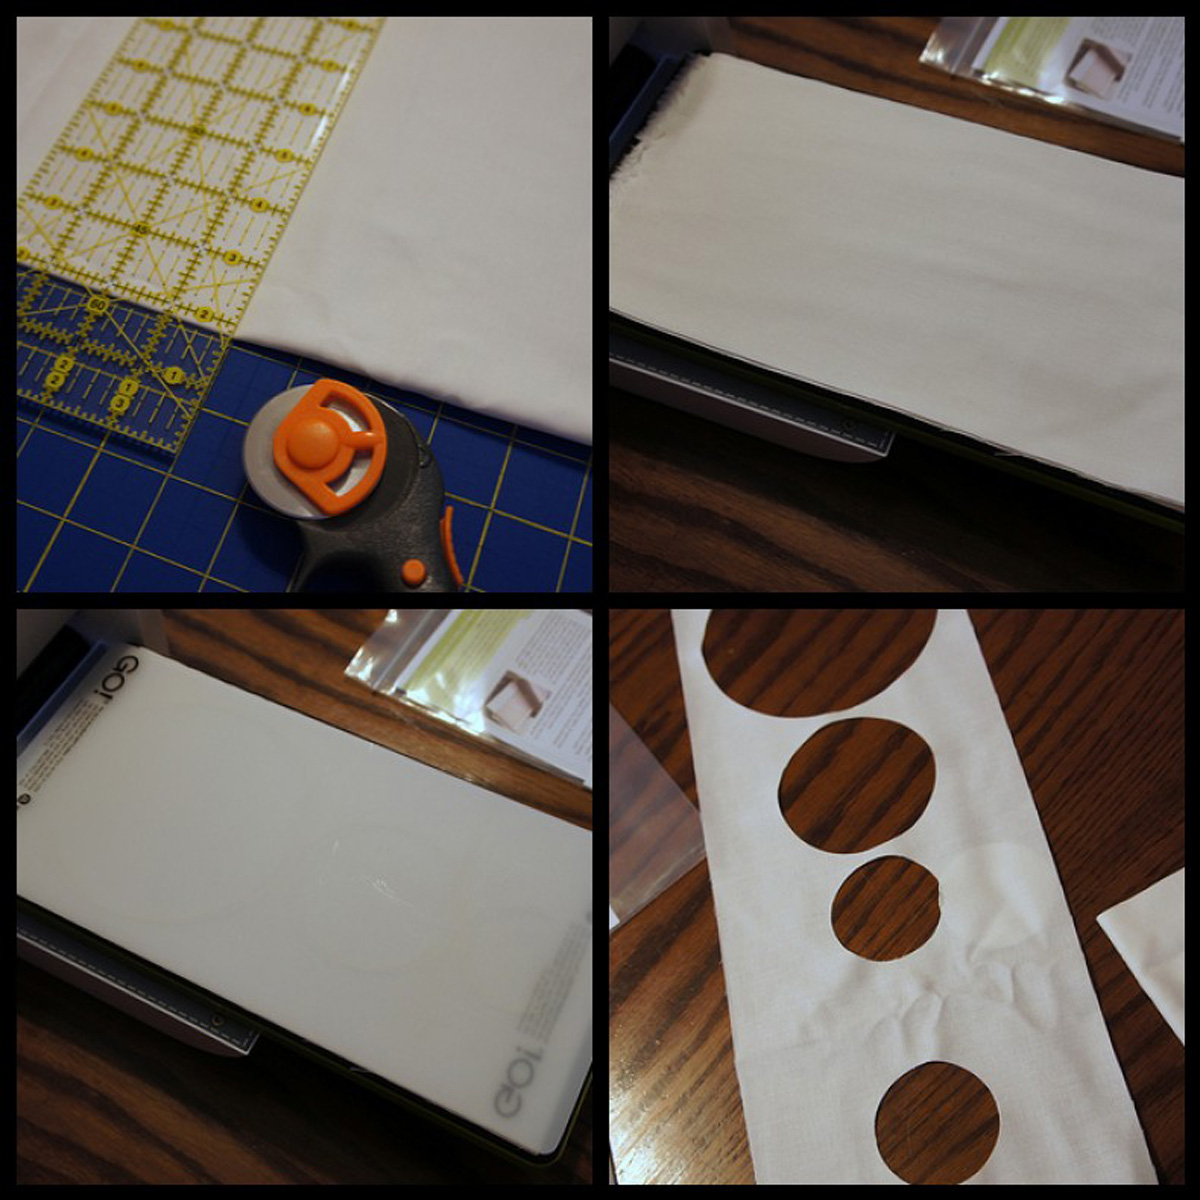

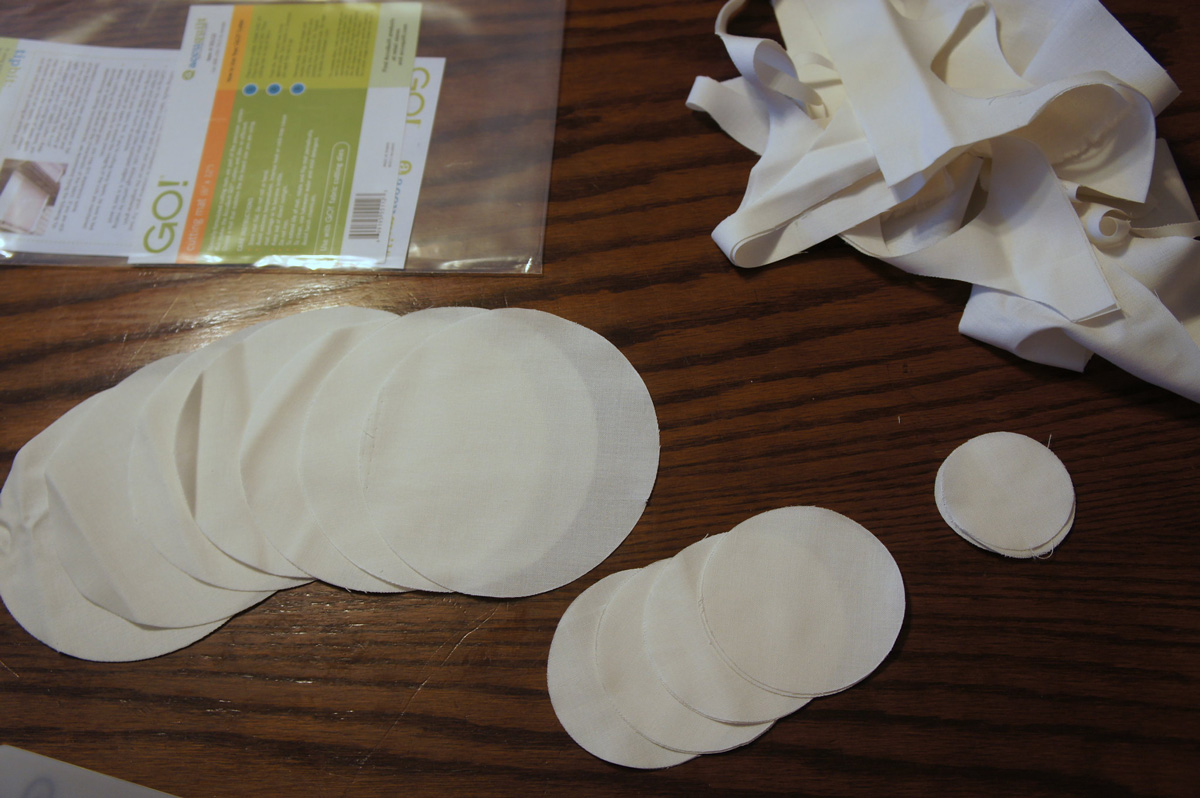

(If you don’t happen to have an accuquilt cutter, you can still make this flower! You will just need to cut out the circles by hand. I do this the uber glamorous way with a glass rim that I trace onto the fabric over and over and then cut out with scissors. )
Then put away that Baby and start to work on those fabric circles.
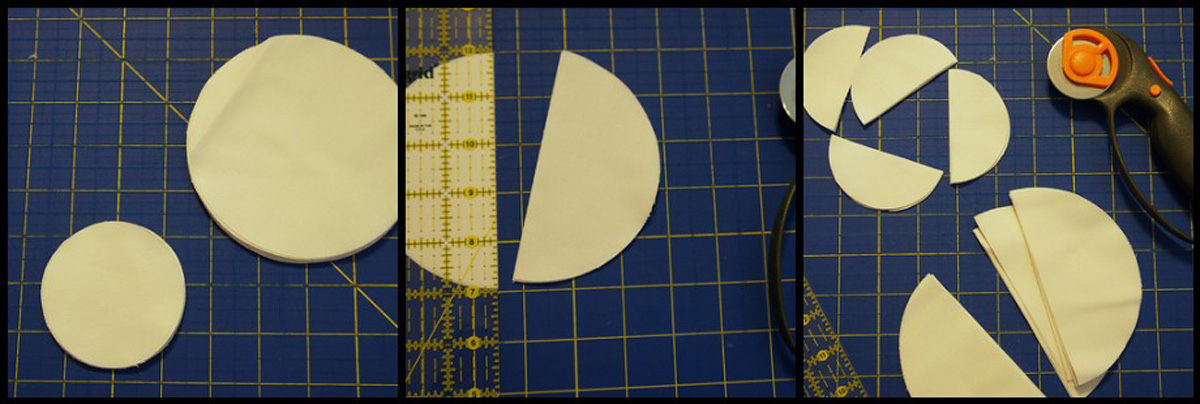
The next step is to cut every one of those circles in half. It’s easy enough to do with a rotary cutter and piles of circles. You’re all smart cookies, so I know you can do this!

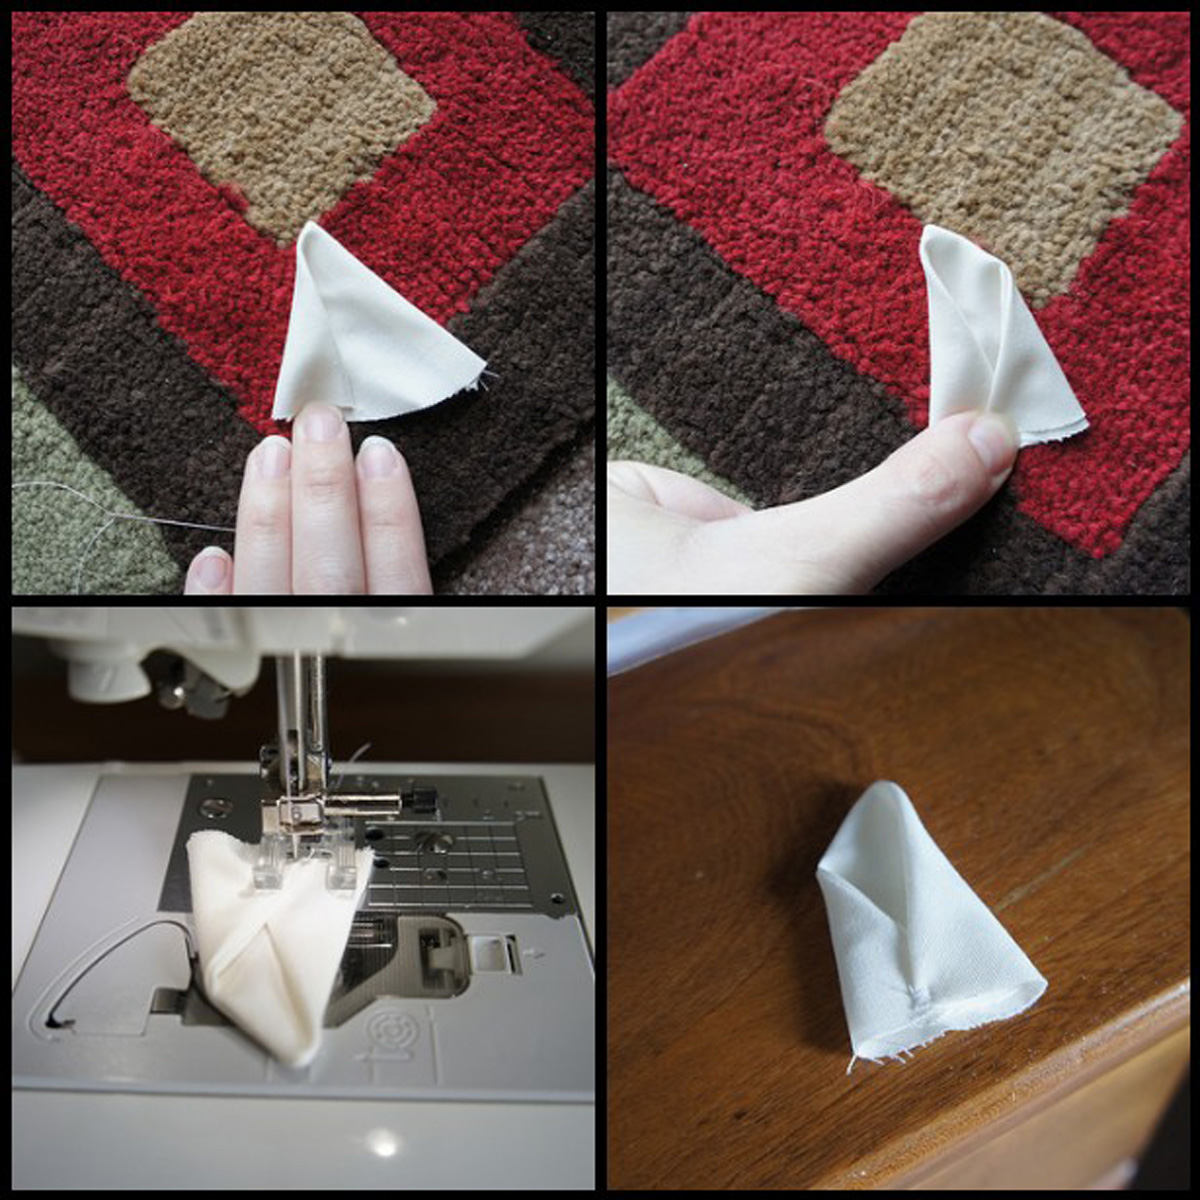
Then you will do a little machine sewing! Take each half of a circle and fold it right sides together along the straight edge. Then sew along that straight edge using a 1/4″ or so stitch. You may find chain piecing helpful here!
Then turn the pieces right side out. You may find it helpful to trim the tips so that you get “pointier” points.
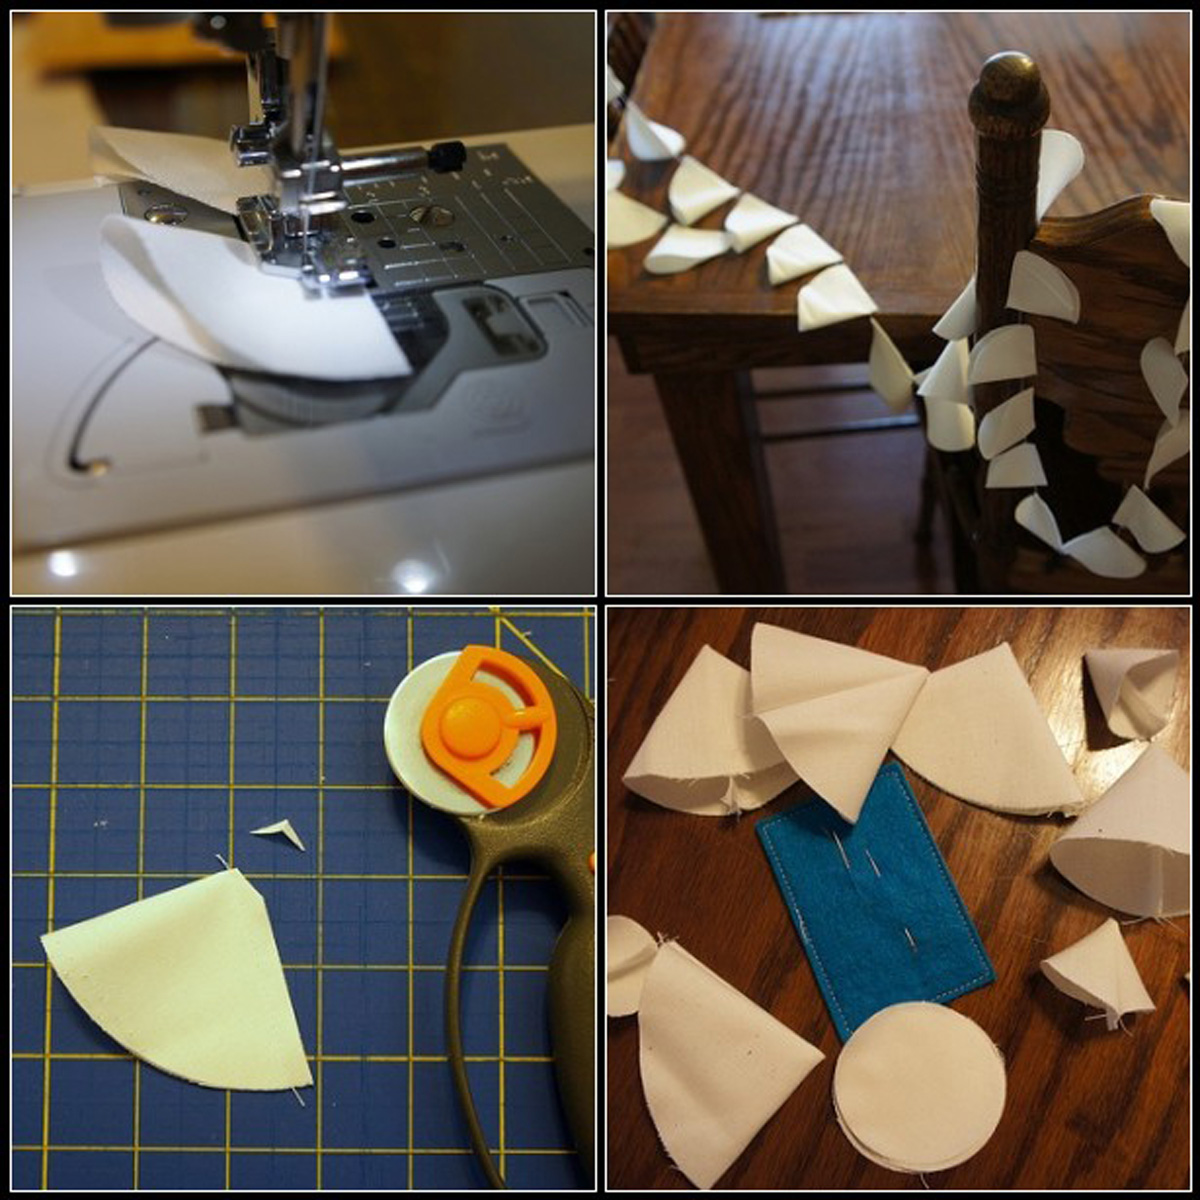

Once you have the “petals” turned right side out, you get to do a little folding and tacking. With the point towards the top, fold the left side toward the center followed by the right side. Then either tack the fabric in place by hand stitching or with a small zig zag stitch on your machine.

Here comes the magic! Start putting those petals together. I hand sew this part so that the petals have some flexibility while I’m working. I use however many petals I feel to make whatever size flower I want. Clear as mud? Try it and find out. You’ll see what I’m saying. Just place the edge of one petal over the center of the previous one and stitch in place. Continue until you’re happy with the number of petals in the first ring.
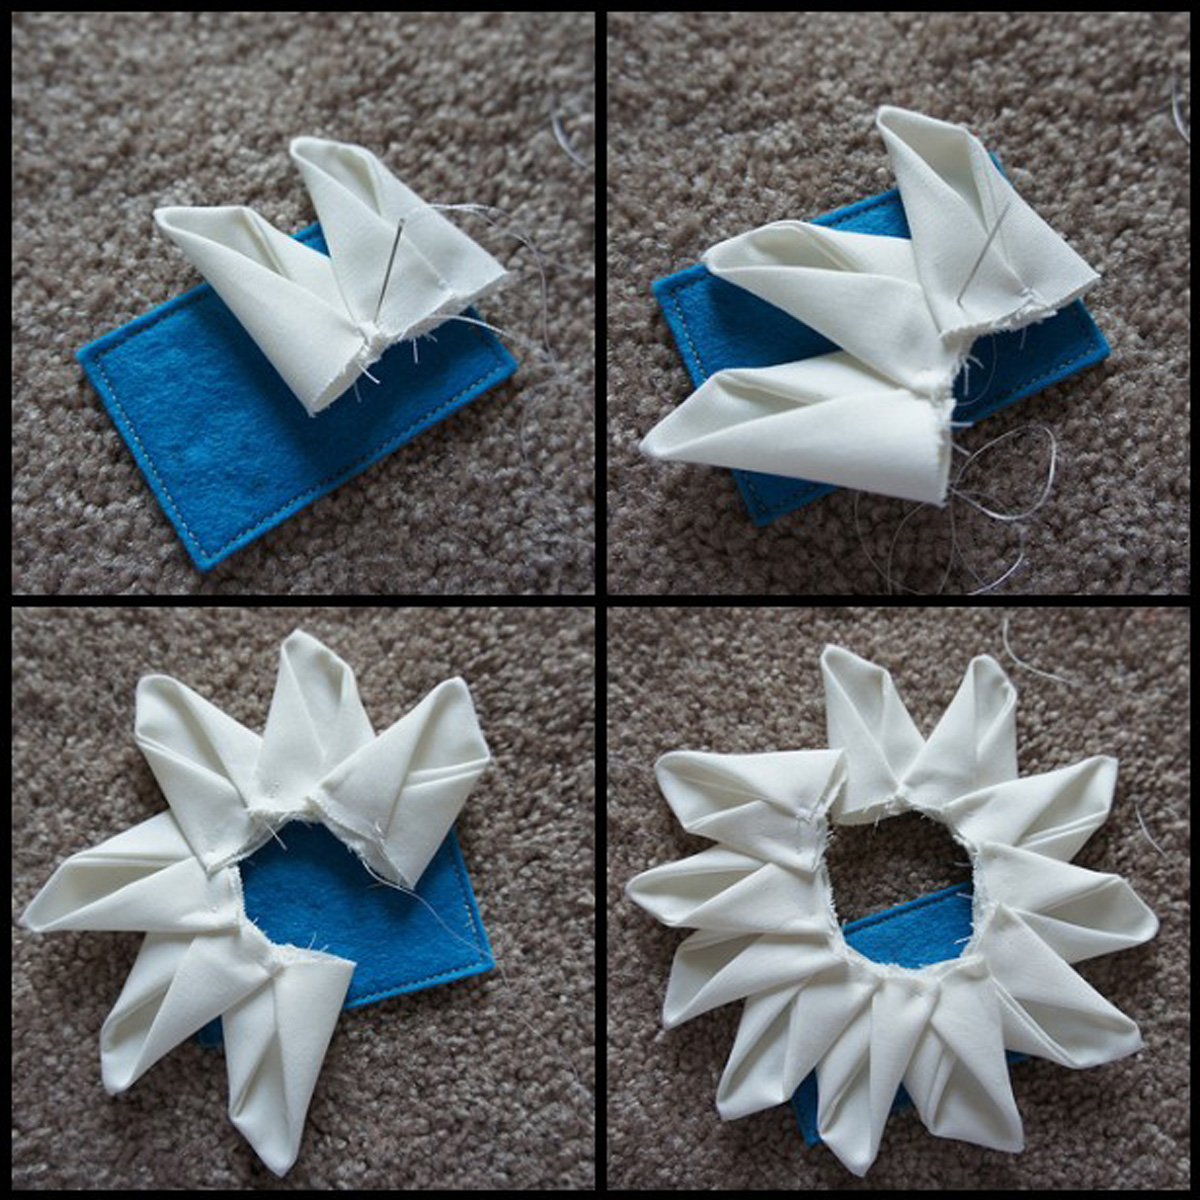

Use a small piece of backing fabric such as felt (sturdy and cheap!) to stitch your flower to. Take your first ring and arrange it on the background, then stitch it into place using a small zig zag stitch. Overlap the edge of the ring with the thread to hold it in place.
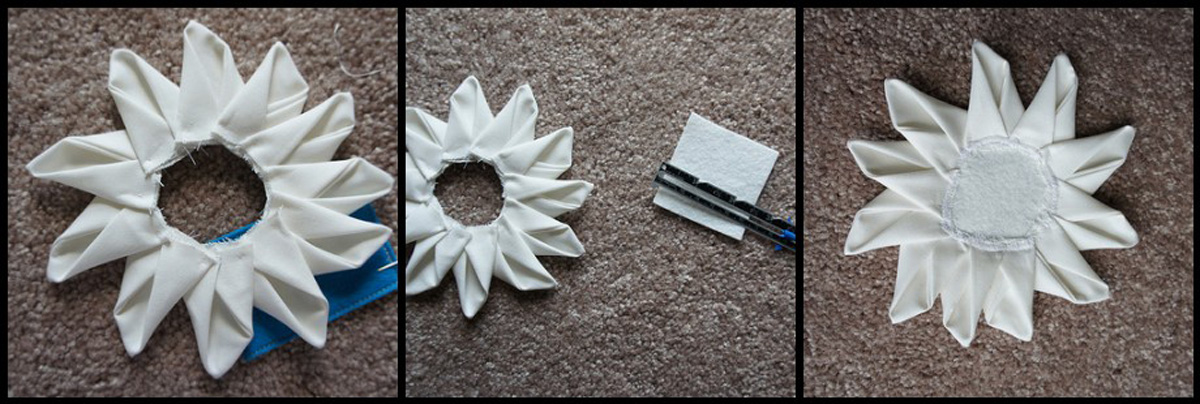

Use the same steps to create more rings of petals. I use fewer petals in each concentric circle and smaller petals as I get closer to the center.
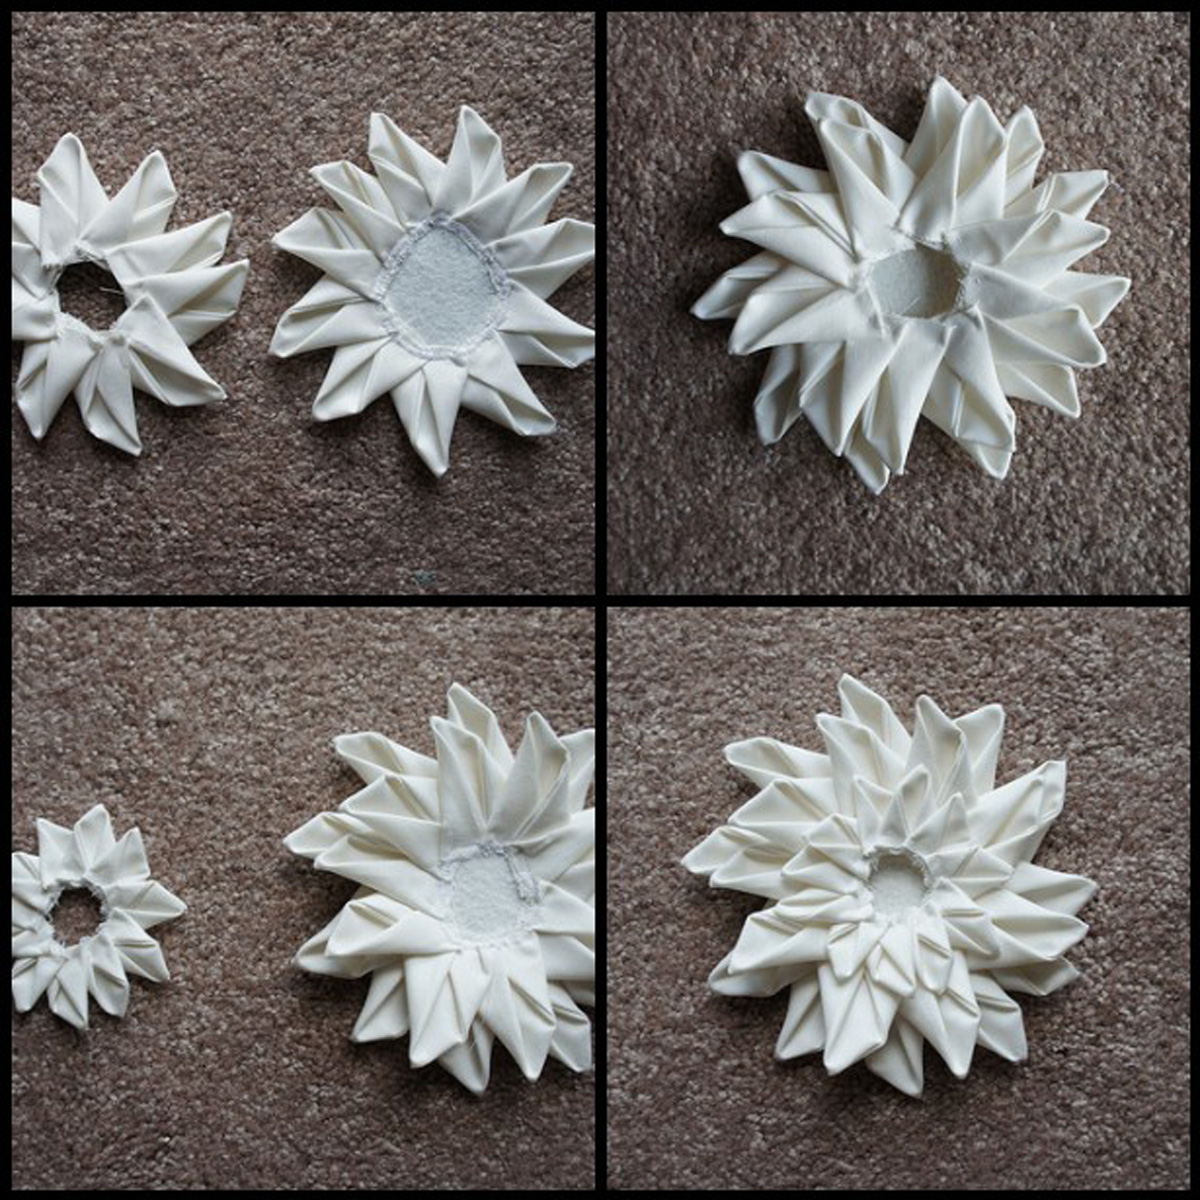

Almost finished! Take one circle and baste about an 1/8″ away from the perimeter all around. (I think I used one of the small ones…in retrospect, I would use a medium or large one for this because I had to add an extra piece of fabric to hide some seams.) Pull the thread as tight as possible to create a sweet bunched circle. Grab a small button of your choice and place it in the center of the circle which is now the center of the flower. Tack it all in place together!
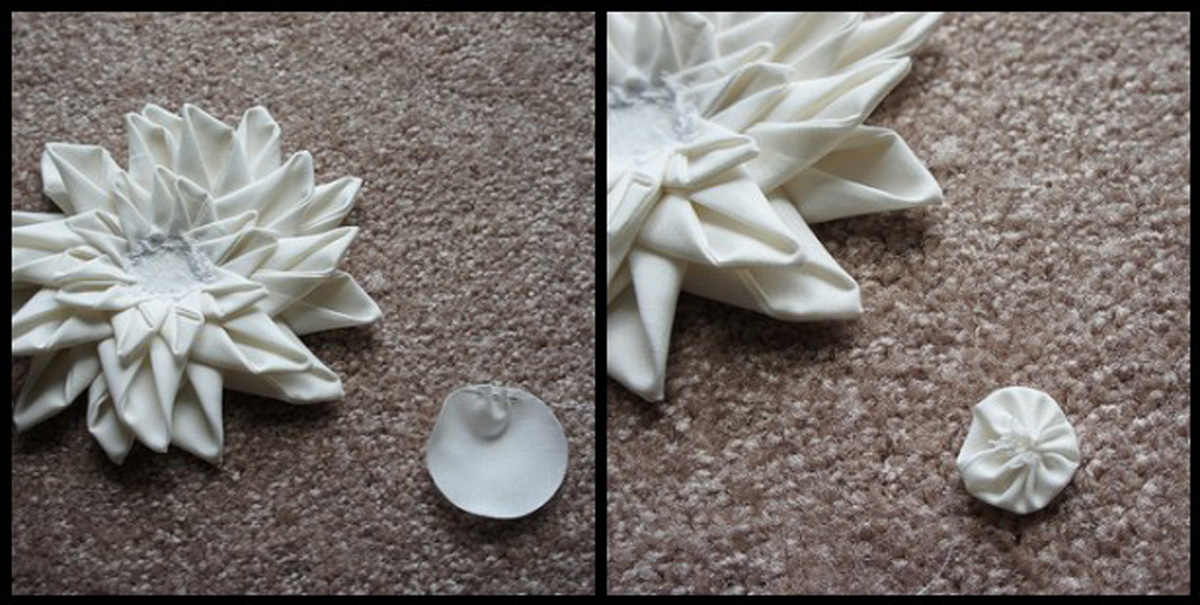

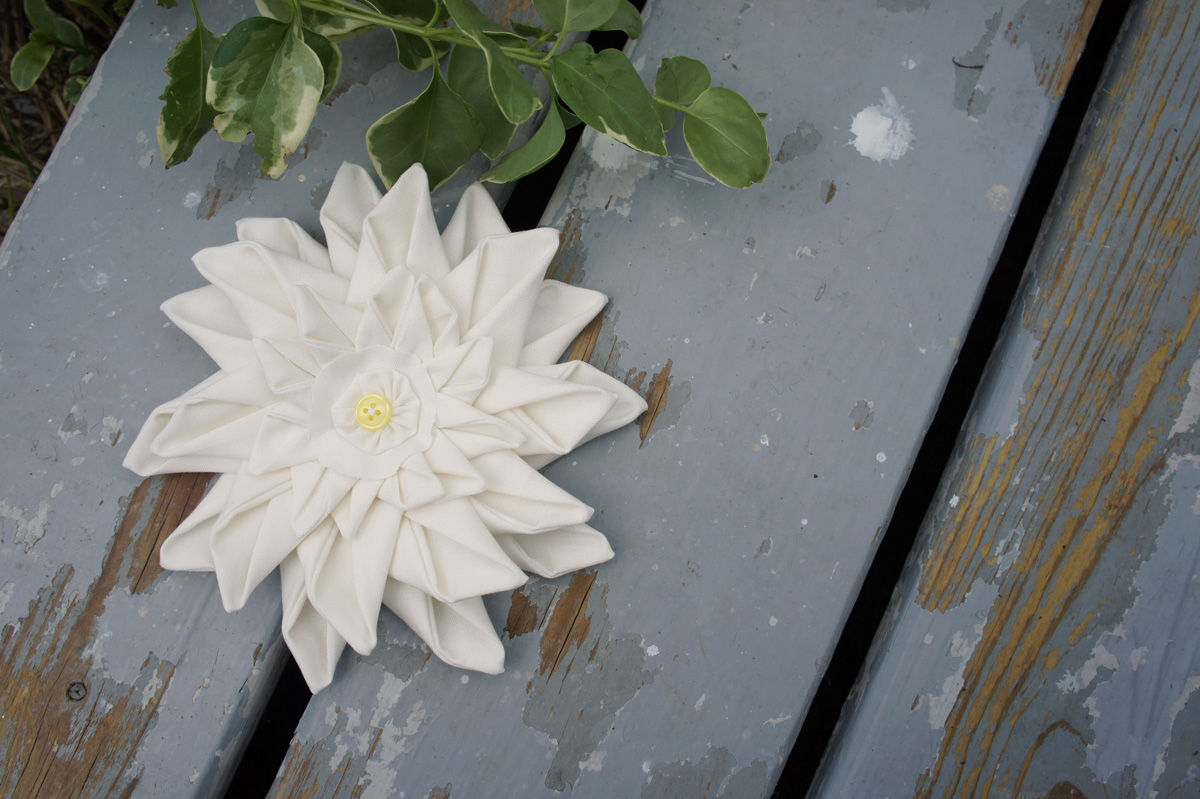

Use your fabric flower as an accent where ever you like! You can put it on a pillow. Make one for a handbag. Put one in your hair….you know the drill. Just be creative! If you do make one, I’d love to see it! You can always post it in my flicker group, Cut To Pieces.
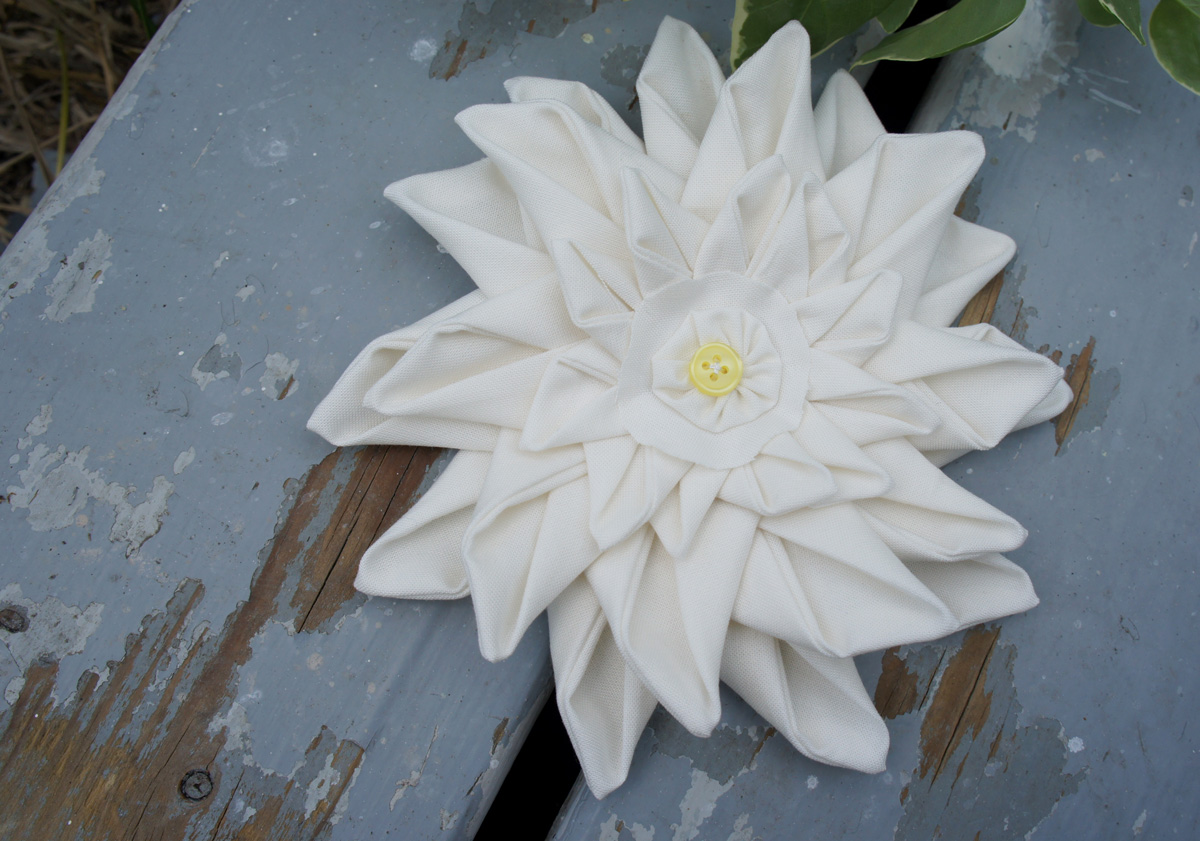

I hope that you all enjoy the tutorial!
SO cute! Thanks for the detailed tutorial! My Baby Go! is coming in the mail this week and now I'm so glad I picked the circle die 🙂
I am so glad you did this tutorial! I think this flower is fabulous and I am so eager to try it. I can imagine it on quilt blocks, of course, but it would be so darling on a little zip pouch or tote bag. thank you so much!
What a great tutorial! The flower is beautiful, wish I had a Baby Go! Thanks for sharing.
Oh my goodness.. genius!
Very creative! Love the all white with the little yellow button center.
Thanks for that! It's soooo pretty!
Cute flower and I wanted to say I love the design of your blog. I used to read it in Google Reader but I found out about the Next button last night and now I get to see your pretty blog 🙂
That is a great flower! Hmmm, I don't have a Go!, but my friend does…I wonder if she has the circle cutter? I'll have to find out!
Thanks for the wonderful tute!
wonderful tut, Angela!!! I just love, love, love that flower!!
That's so pretty. Reminds me of a gardenia!
Wow. That is awesome and a great tutorial as well. Thank you so much. I REALLY hope one day to get the circles die set.
Gorgeous! Its really pretty and I can imagine so many places I neeeeed to add a flower or two. 😉
One day we might have a GO! (or baby) and the circle die is on our list for that "one day"… these look like the easiest to make fabric flowers that have seen on blogs. Thanks.
Thanks! I just ordered the circle die for my Go Baby cutter a few days ago for a different project…now I can add this to it!!
Deb from clutteredquilter.blogspot.com
That is beautiful! Thank you for sharing this tutorial!