Well, here it is…as promised. Here is my new method for fabric folding. I decided to be all fancy this time and actually labeled the photographs so that you know what is going on in the random pictures of fabric. lol.
I’m going to talk about three different ways to fold fabric, though two of them are pretty darn similar.
First, I want to talk about how to fold a piece of fabric that is approximately a half yard or larger. Here is the look we are going for, just so you have a vision of what your stash could look like:
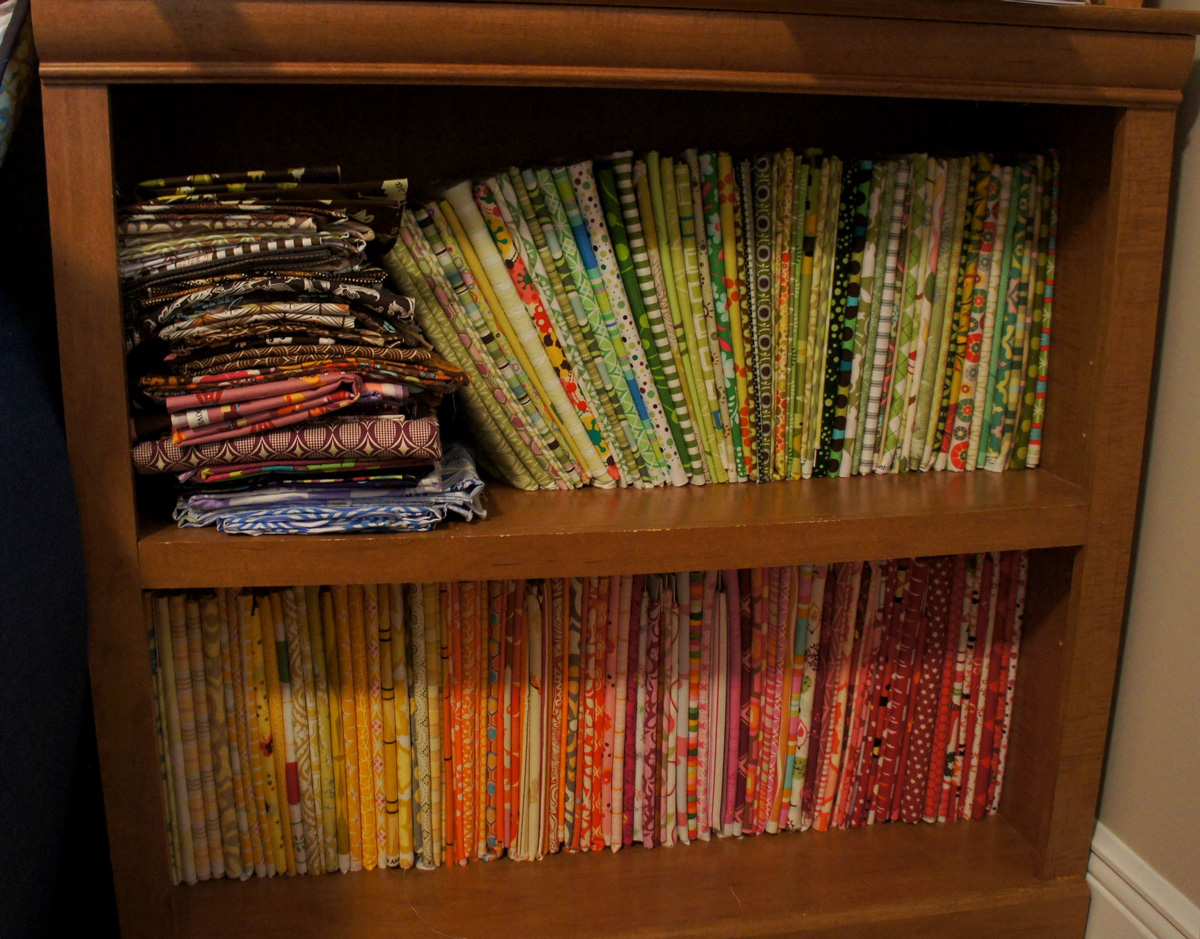

Notice the less than a tidy stack of fabrics on the left…this is what would inevitably happen to all of my fabrics when I stacked them on top of each other. For me, personally, stacking the fabrics on top of each other is generally not the best method to keep my fabric organized. I find that I can not see the fabrics as well and I can’t access them as easily. So I began my search for a method that would allow me to organize my fabric vertically. In essence, I wanted to feel like I have my own fabric bolts on the shelf.
And then in the world of Flickr and blogland (because I in no way claim intellectual property over this method!), I found a method that looked both tidy, quick, and was economical. The solution? Comic Book Backer Boards. Don’t know what they are? Well neither did I…and I certainly never thought I would be buying literally hundreds of them, but I believe that they are a fairly heavyweight card stock that comic book owners use to help store the comic books in a flat, straight, non-bendy kind of way. So we are essentially going to use them to do the same thing for fabric.
This is the brand that I have used and the size that I am happy using. But there are some varieties out there so feel free to experiment with what works for you best. *ETA: I meant to mention in the post originally, but this really is the most economical method for wrapping fabric around a board. A pack of 100 cost me approximately $9.00 in the store. I think it can be a bit more expensive but perhaps more easy to order them online. I personally did not have any problems finding a local comic book store though.*
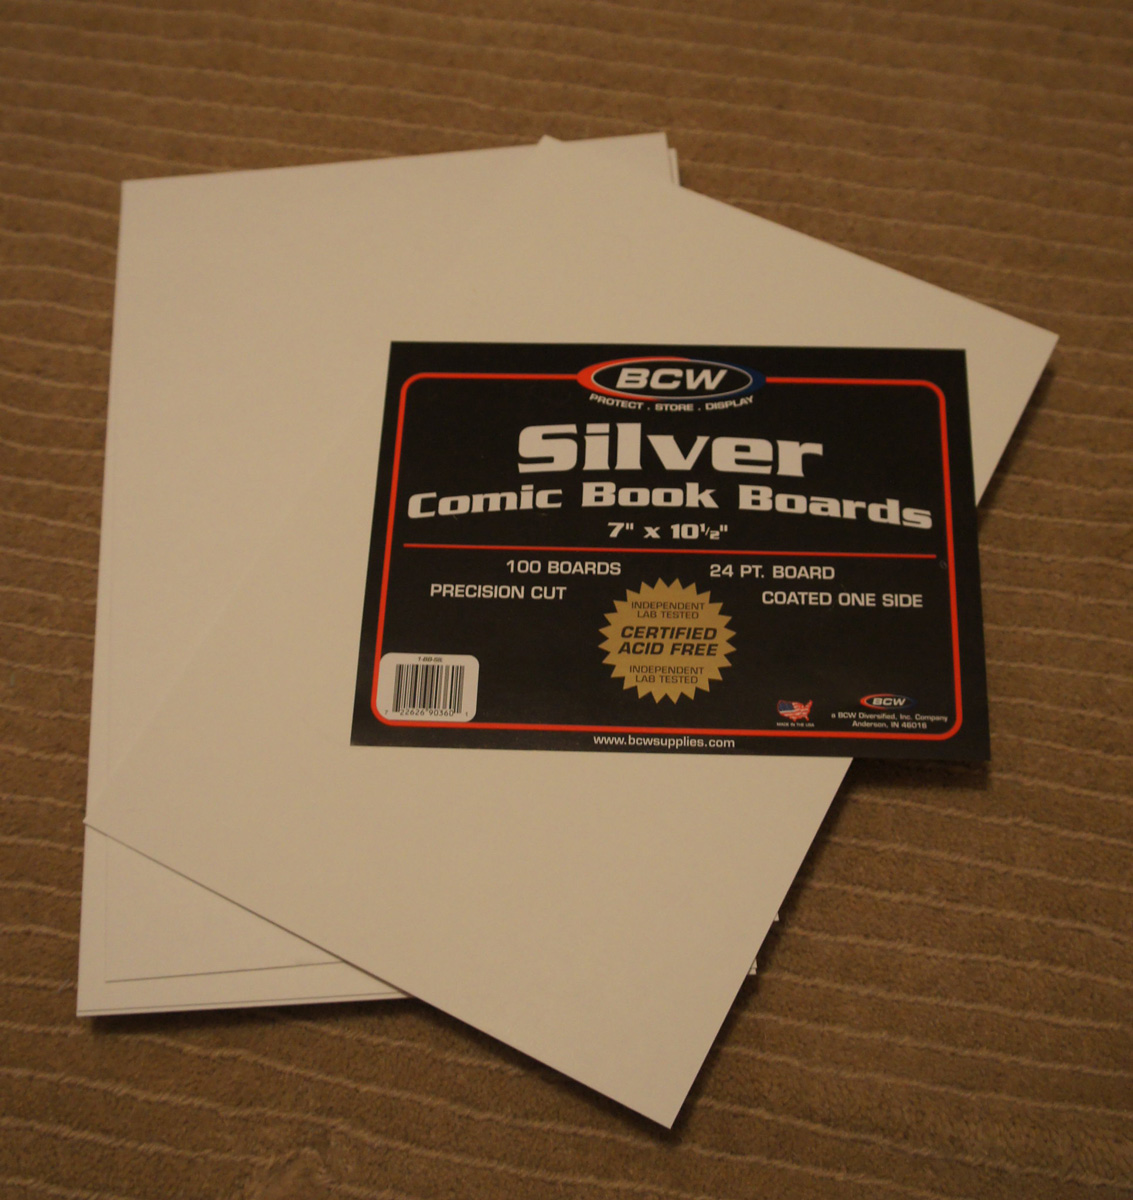

Funny Note: I first purchased these at a local comic book store that happened, by coincidence, to be located right next door to a quilt shop. I cautiously entered the store, a place I have never frequented before, and inquired about the boards. The man behind the counter told me where they were and I felt the need to tell him why I was looking for them. I personally expected him to be surprised at the ingenuity and new use of his product. But he just nodded and smiled and said he sells a lot more of these to quilters than he does to comic book owners. LOL. So much for thinking it was fairly unheard-of concept. He even told me which type the quilters normally purchased. (I ended up with another one, but that’s because I don’t like to follow the pack)
But back to fabric folding…
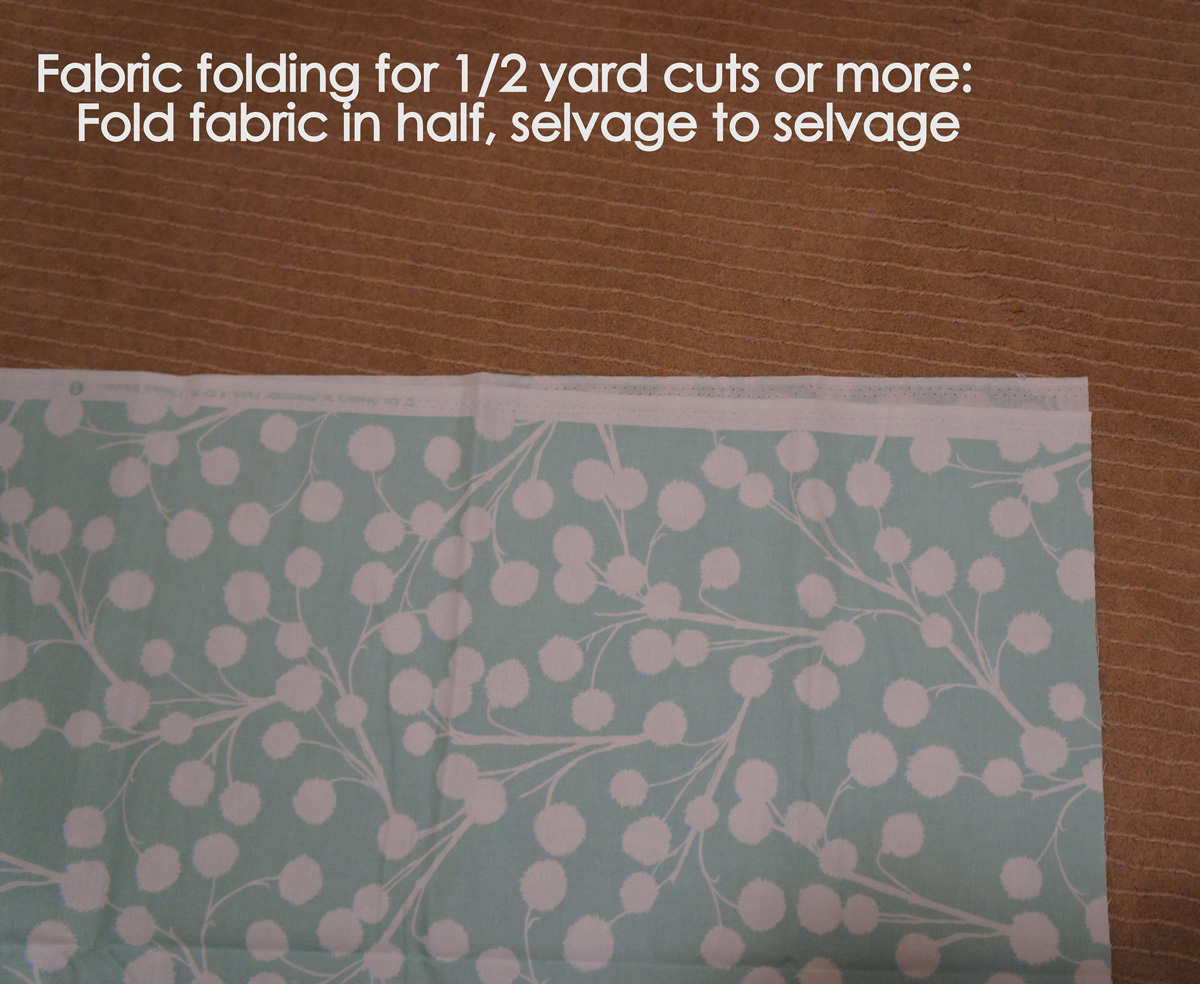
Start with a piece of fabric a half yard or larger, approximately 44″ wide (a standard cotton width). Fold the fabric in half from selvage to selvage.

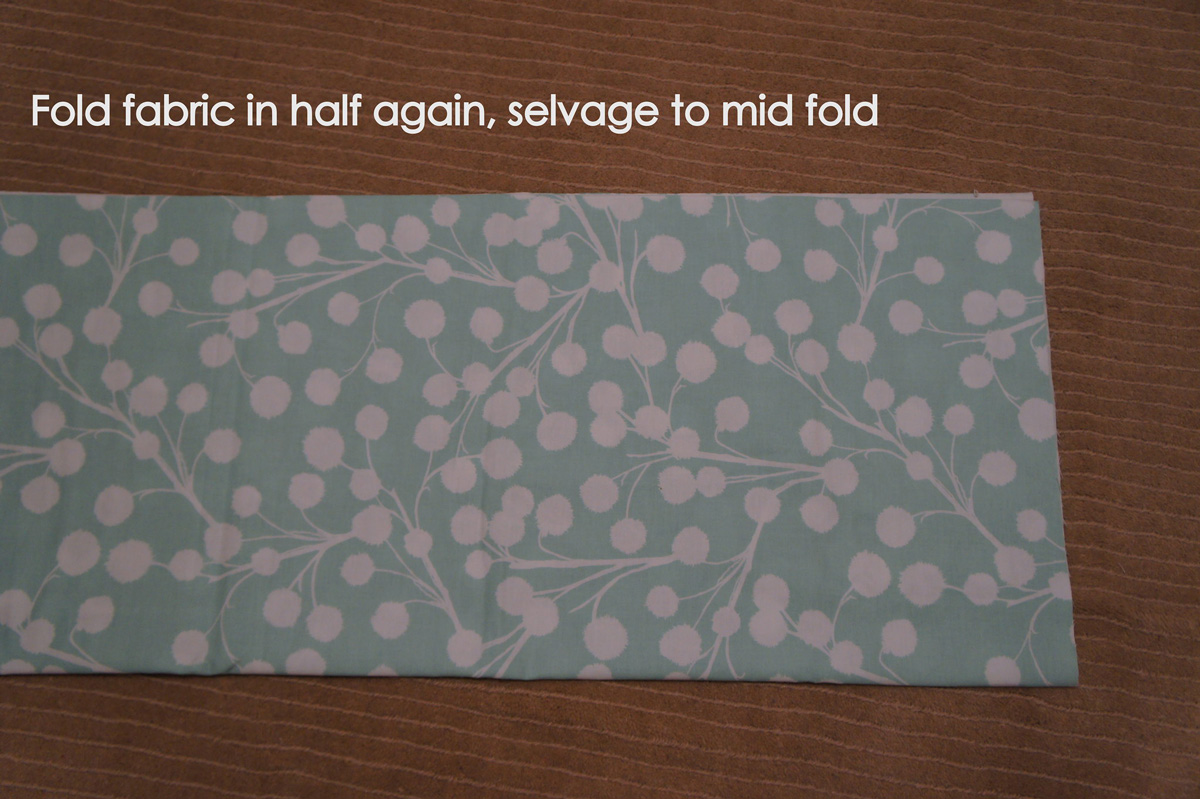
Smooth the fabric from end to end and then fold in half again, matching the mid-fold to the selvage edges.

Now place one piece of the comic book backer board on the fabric and fold a couple of inches over the board on one end. There will most likely be a bit of extra fabric overhanging the top of the board. This is fine…we want one end of the board to be flush with the selvage edge of the fabric.
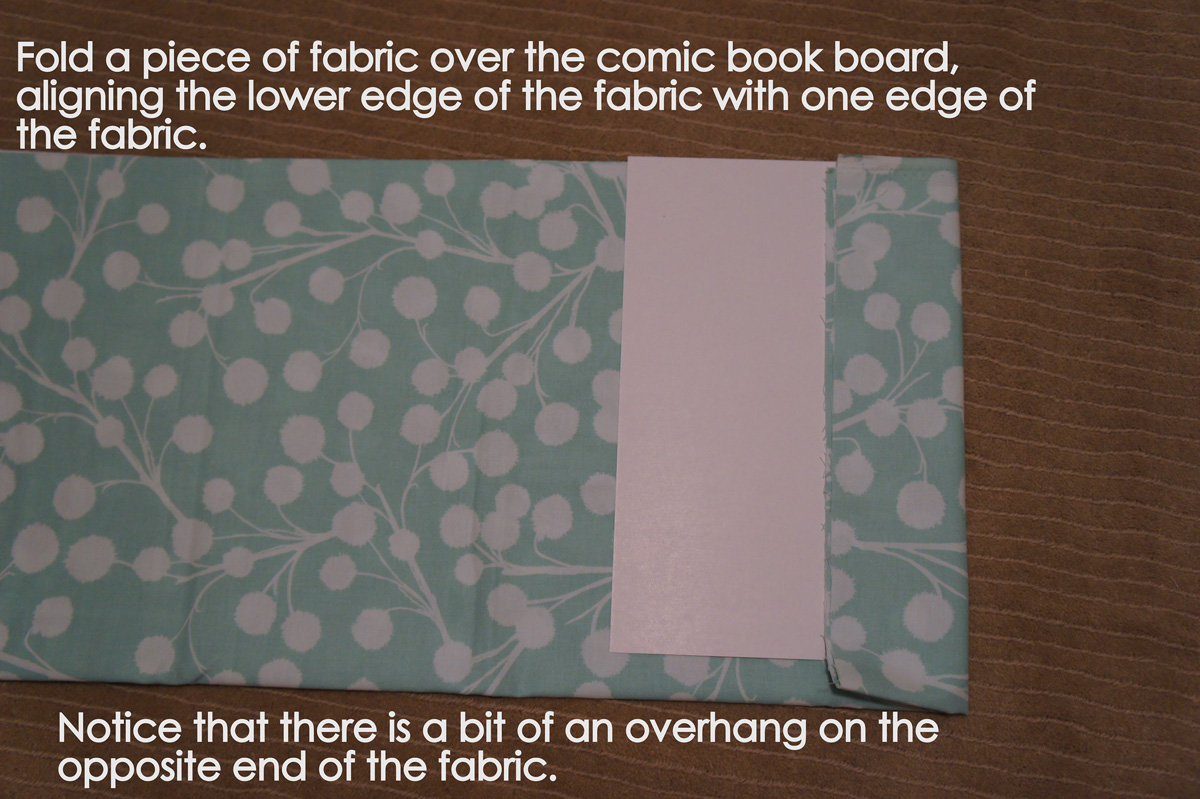

Continue to fold the fabric over the board until you reach the end and then use a small pin to hold the last fold in place.
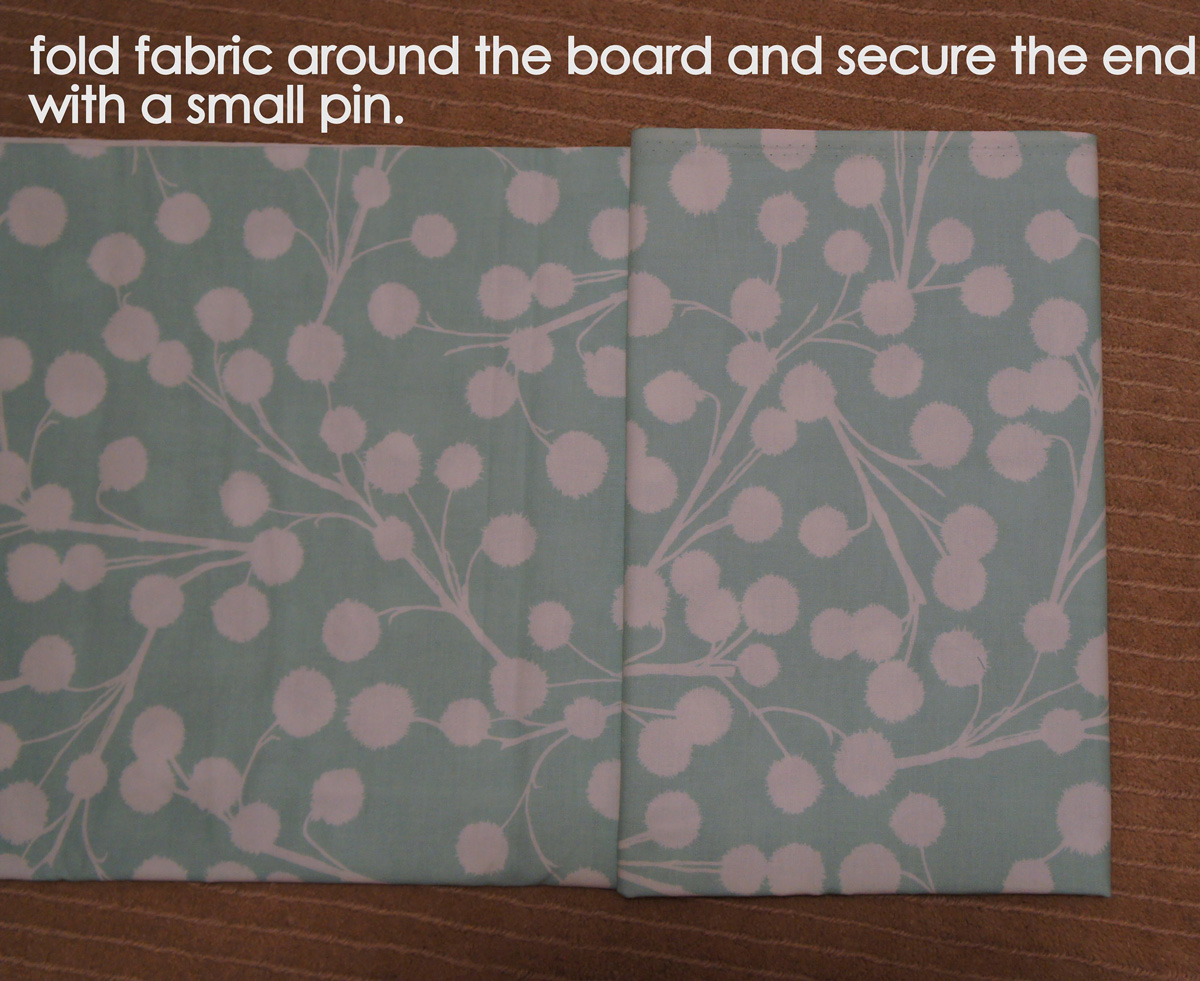

Easy as pie! (what an odd phrase…pie is NOT easy! But ooohh…my husband makes the BEST cherry pie. Come and visit and I promise I’ll sweet talk him into making it!)
So that’s great…but we don’t always have a half of a yard or more of fabric…or we’ve done a funny cut on our piece of fabric. Here is how I fold my fabric if I have cut away from the fabric along the selvage edge and the fabric is no longer 44″ wide. I’ll let pictures do the work here…
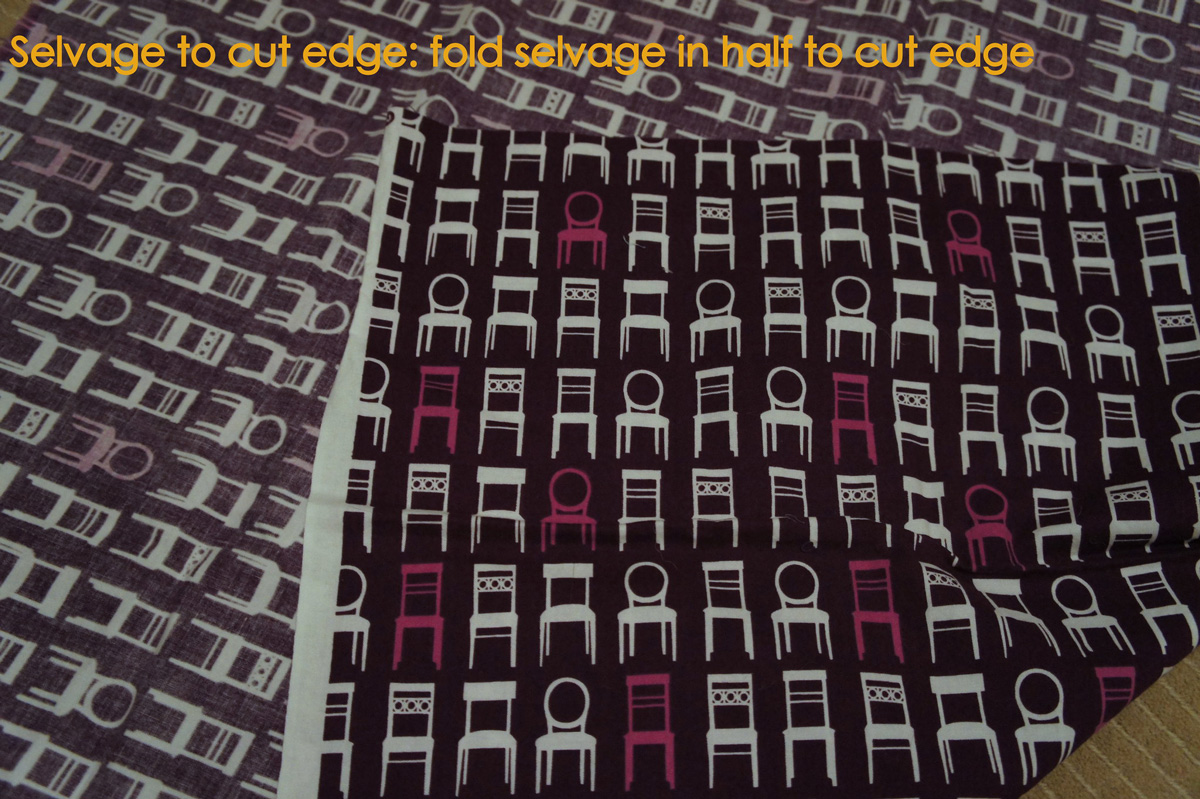

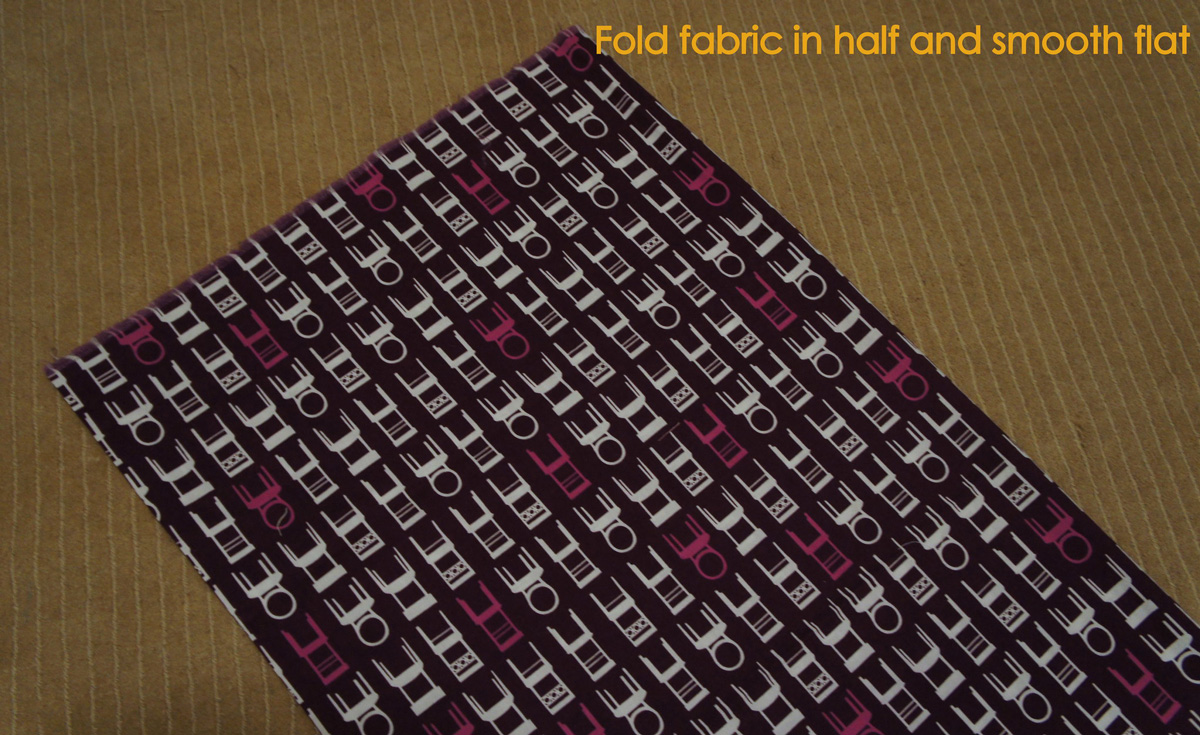

So now you have a long piece of fabric with the selvage edge folded over to meet the cut edge.
Next, fold the fabric so that the fabric matches the total height of the board.
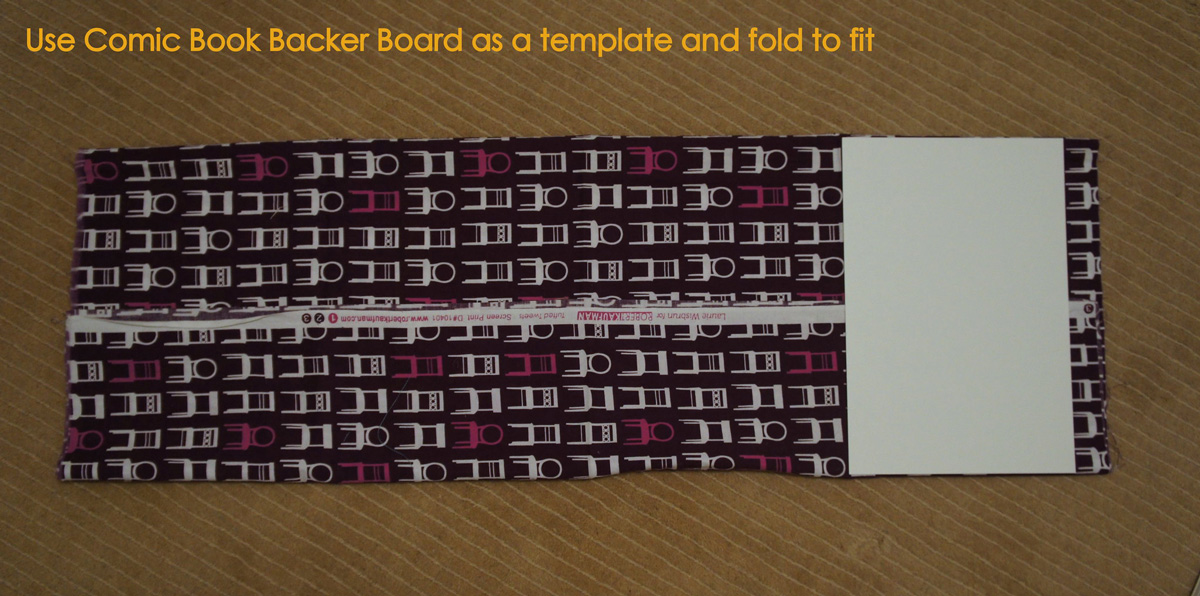

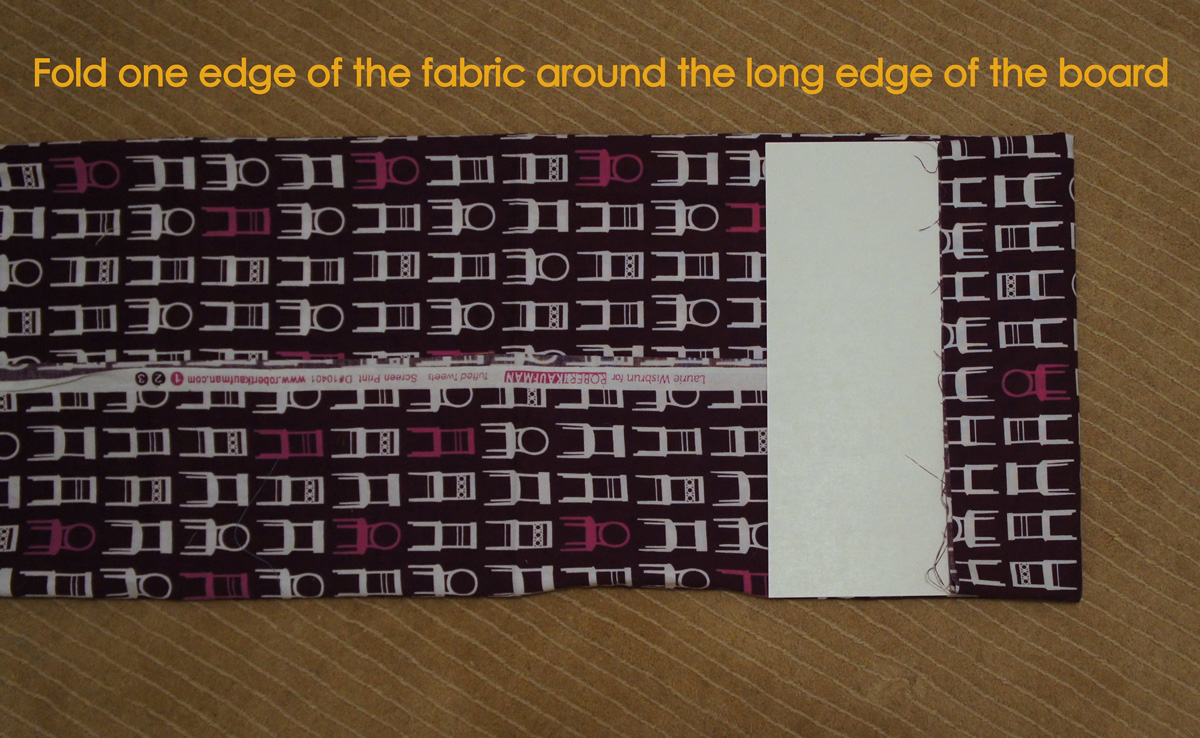

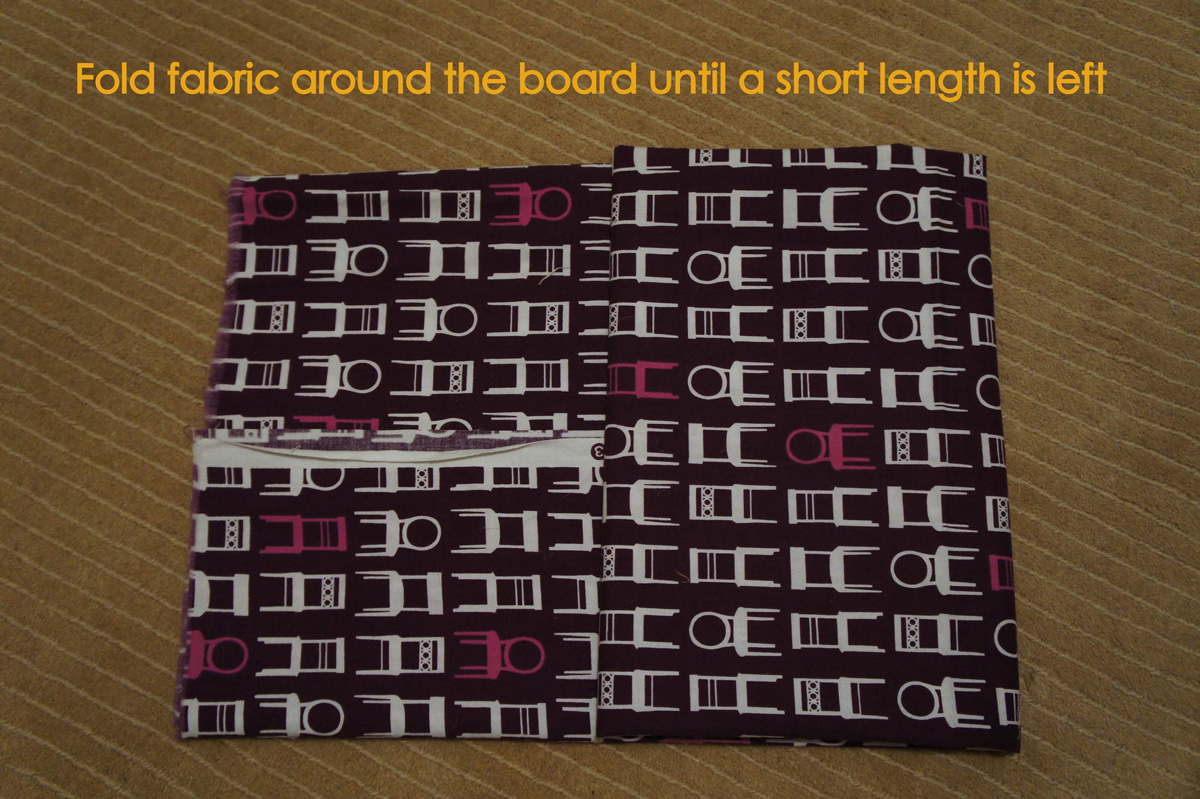

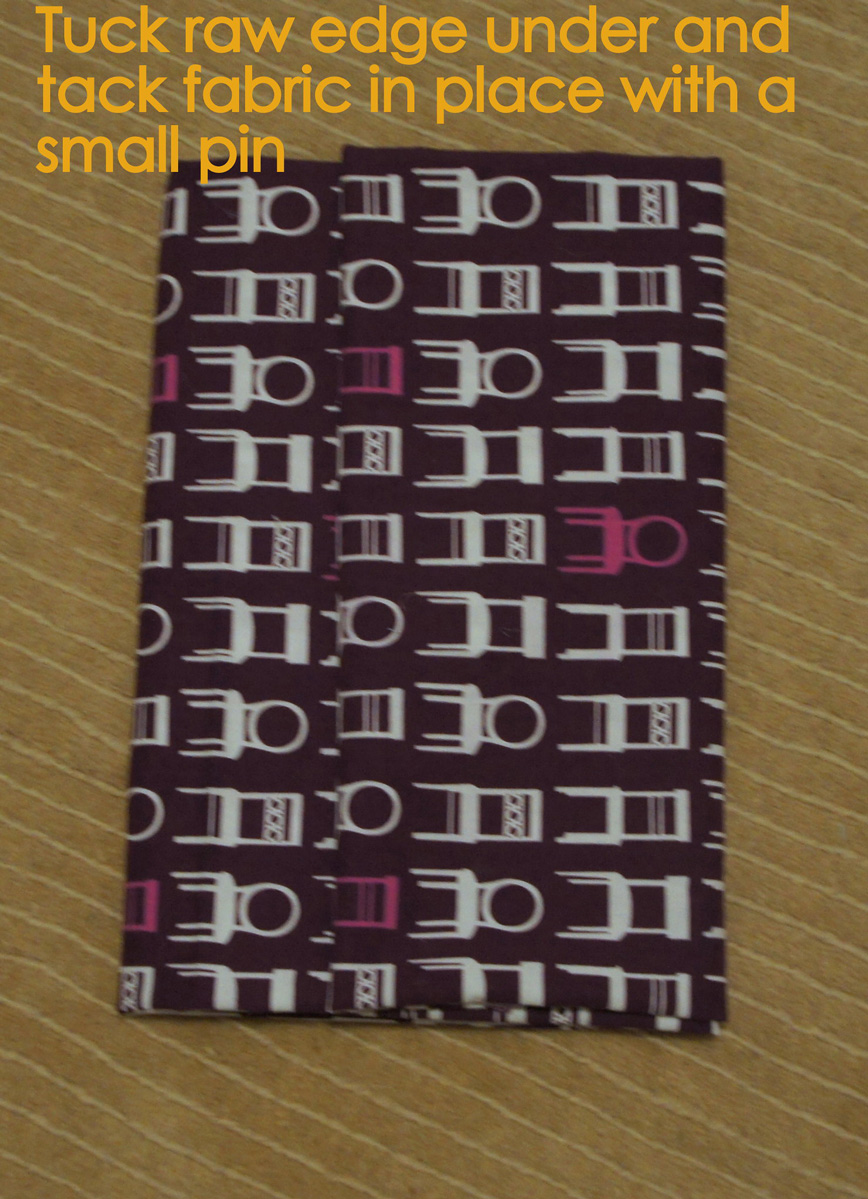

If your fabric is still intact from selvage to selvage but is less than a 1/2 yard, you can wrap the fabric around the board, but you will need to wrap it along the length of the fabric rather than the folded width.
Now folding fat quarters is a matter of preference. As I mentioned in an earlier post, I have recently decided to separate all of my fat quarters and put them together in one place. I like the following method for fat quarter folding because of the tidy small square you have in the end. And, as a bonus, this is often the way fabric stores fold fat quarters. So no refolding may be required.
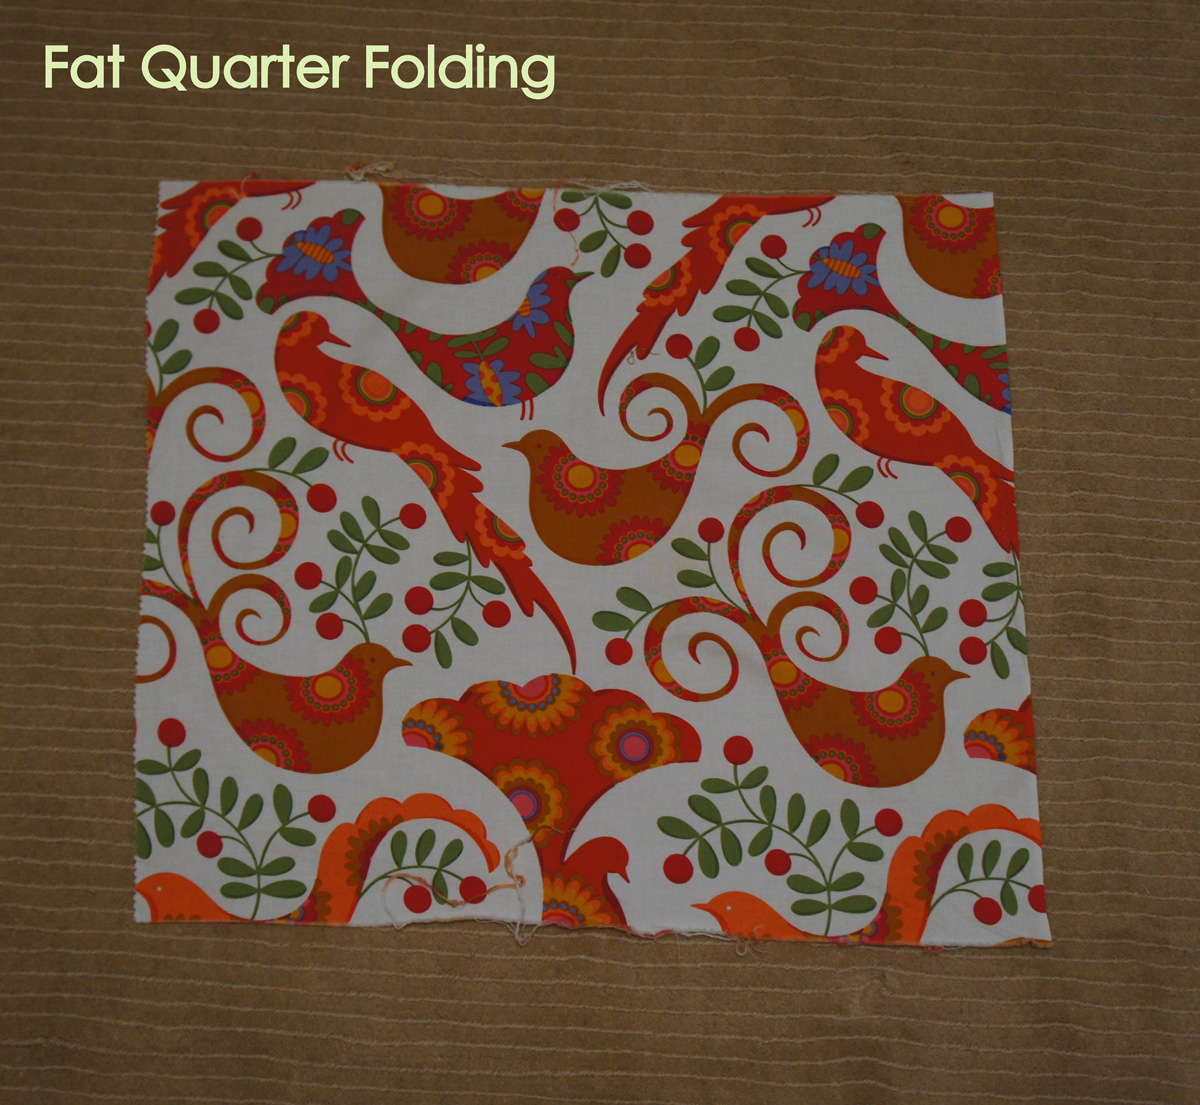

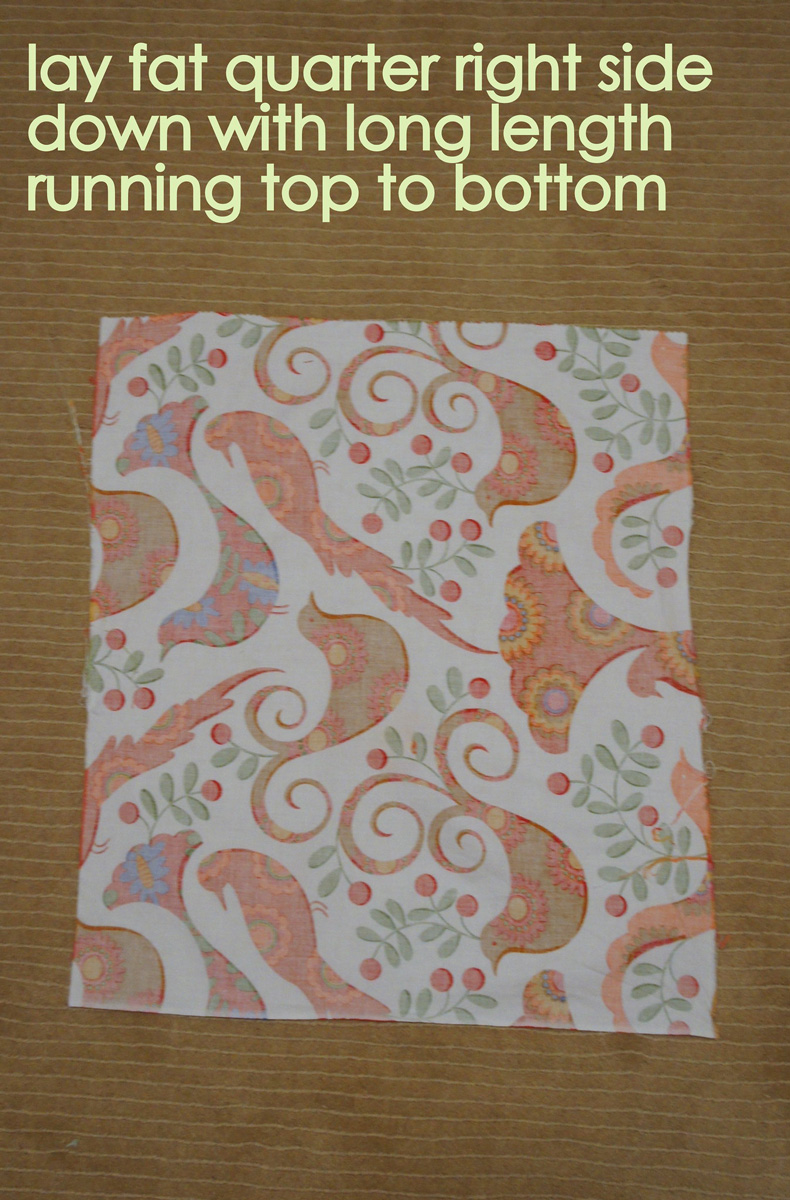

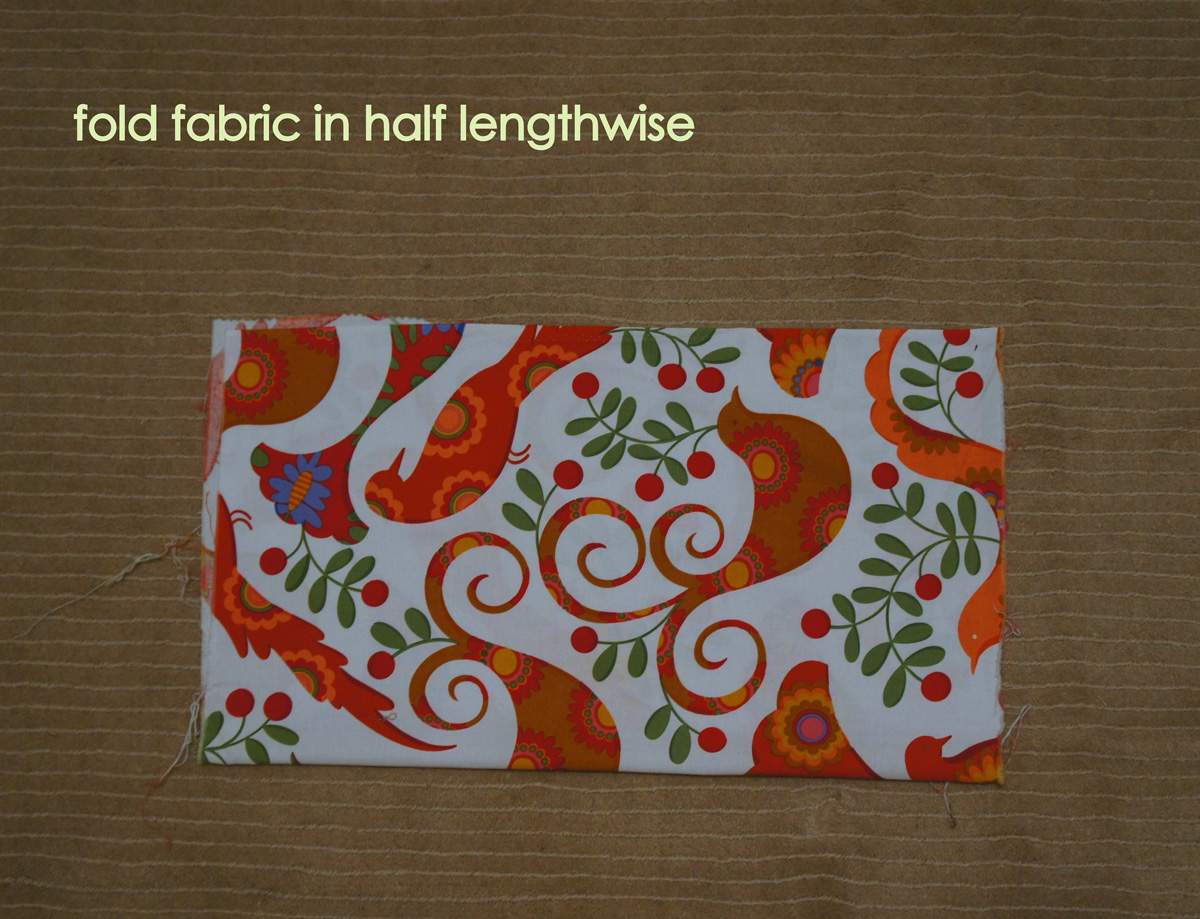

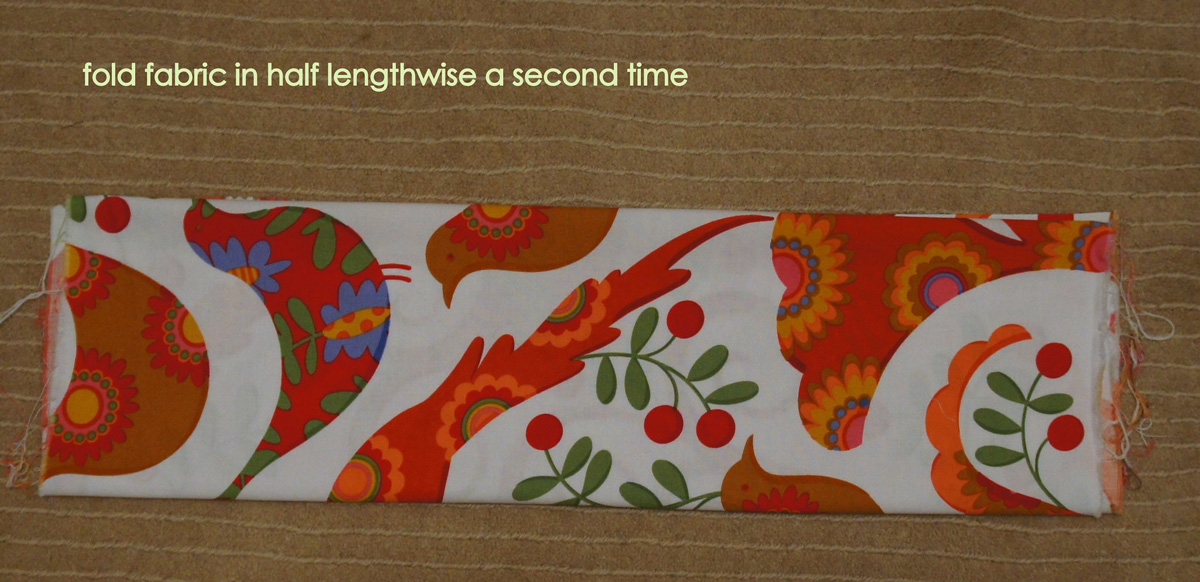

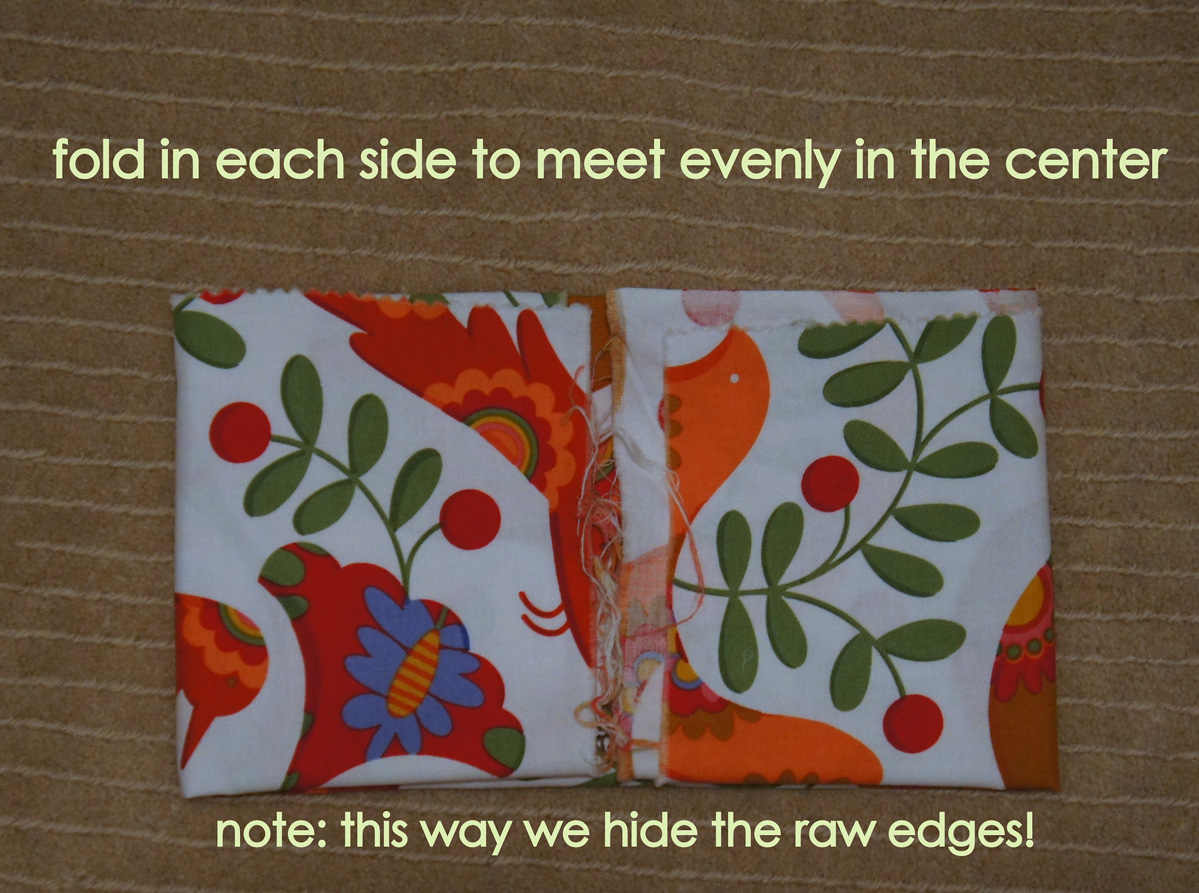

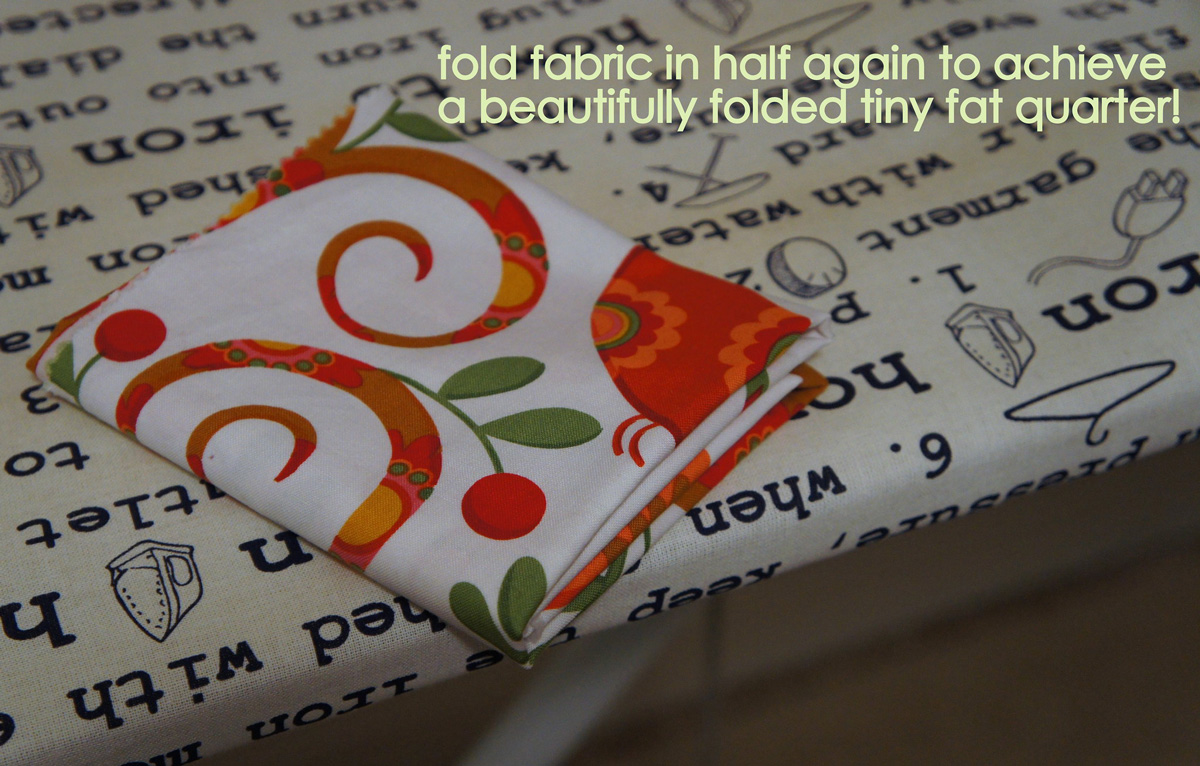

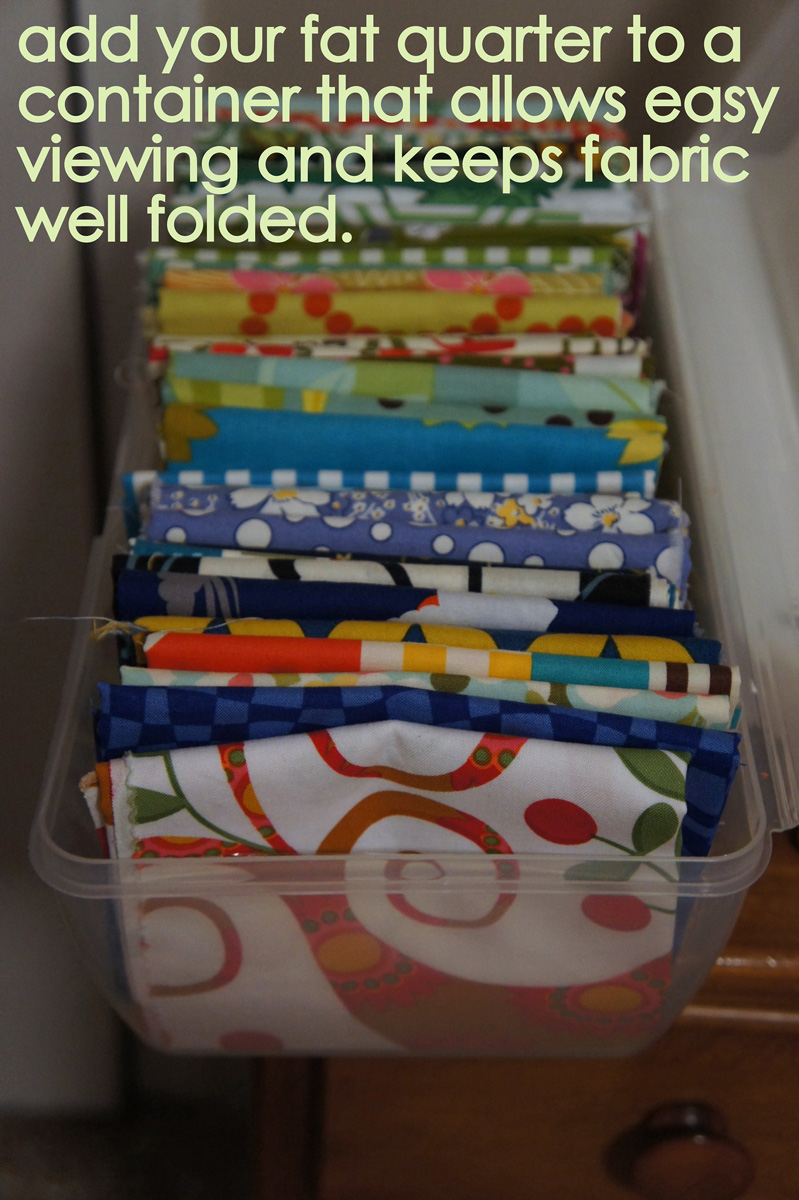

Clear? Not clear? Let me know! I hope that you all soon have beautifully lined shelves of mini bolts of fabric. It makes the fabric feel more like a luxury and less like a mess! Embrace your organized side!
I have a small sewing room that I share with all of my Cake pans and decorator stuff lol. I think this will allow me a little bit more room in this already stuffed place. Thanks for the tute. I will be posting to my new blog about this and link it back thanks again sweetsisterssewingandsuch@blogspot.com
FYI, if you don't have a comic book store but have a Hastings Entertainment store, ours had a whole comic book section and I found the cardboard there; 100 for $8.00 I think? I also cut some of them in half for my fat quarters and smaller pieces; works great!
For thise if you who live in rural areas and don't g Ave close access to these types of stores: You can also purchase them on Amazon, with free shipping for Prime members.
Hi!
That's such a great idea! This way you can see all of the fabrics at once. It's so much more organized! By the way, your website is just lovely!
Ju
http://jubijuterias.blogspot.com / http://www.elo7.com.br/jubijuterias
Thank you for the tip! I'm gonna look up where we have comic book store in Uppsala, Sweden…. Do you Think this would work for jersey/knitted fabrics too?
I LOVE this idea! Gotta go find some boards. Once I've got mine I can do a demo at my quilt guild and be everyone's favorite person!! I promise to link it to your blog page. Yippee, I'm excited; 2 years after the orig. post!!
This is great! thank you for helping me organize my small stash!
Absolutely brilliant!!! Luckily my hubs already had some of these comic book boards! Thank you so much for sharing this tutorial!!!
This is the exact tutorial I was looking for. My fabric is usually stacked like yours. The problem is that I am hardly consistent in the way I fold so when it is in stacks I can see some of the fabrics very clearly but I can't see others. I have just finished sorting my fabrics by yardage and now I am ready to fold them consistently and get them put into the cabinet where they can be better seen and more easily used when needed.
Love this tutorial. I did a little write up on my blog to share your amazing tutorial: http://quiltsbyheather.blogspot.com/2013/05/organizing-my-fabric.html
This is fantastic. I only have one suggestion. When you are ready to pin, add the yardage of the fabric so you know how much you have. Great job. Tutorial was very easy to understand.
thank you
great idea.
But, if you don't want to make labels,abd c replace them each time, you can get a good guessiment buy counting the layers on one side of the board, knowing it should be approx the width of the board. 🙂
I also use this method for my fat quarters…I use 8.5×11 boards and cut them in half for the FQs (8.5×5.5) 😄
As Muriel suggested, I would add the yardage of the fabric. To do this, use drawing paper that is acid-free, archival, etc. to protect your fabrics. I would use my computer to print the amount of fabric contained in each mini-bolt on the paper. Cut after printing. A slip of paper (about 3/4 inch high by about 2 inches wide) would be plenty of space for this information.
I've been using this method for several years now. Love it.
My folds are determined by the length of the piece. If it works out selvage to selvage that's great but if not….. And if the fabric has been cut irregularly, I will square it up (angle cuts are fine) and make pre-cuts with the remainder of the fabric.
I generally try to wrap new fabric as soon as I get a couple of pieces, or since my stash is rather large, I wrap them when I use from my stash instead of trying to wrap all that I have at one time. I, also, wrap my FQs, or less than 1/2 yd pieces on the comic board cut in half width wise (5 3/4 x 6 1/4") that way I can stand them with the rest of my stash instead of needing to search another area. I hold the fabrics in place with giant paper clips instead of pins.
I love being able to walk through my mini bolts to find a fabric.
I love this idea. I've been wanting to do something with my fabric because I have it all over the place and it's messy. Definitely going to try.
I store my fabric like this but being an avid 're-cycler' I cut up any suitable cardboard I can find. I just hate the idea of throwing away cardboard containers and then spending money on new board.
I, too, keep my stash on comic book boards and it helps so much to be able to just look over and see what works together. I went down to the local fabric store and they gave me (for free) those boards that they use to put fabric bolts on their store shelves. This was on a Monday and they had sold a lot over the weekend so they had quite a few empties. They said they were just gonna throw them away so I took a few and this is what I use to store larger pieces of fabric.
Absolutely LOVE your technique with the Comic Book Book! Ran out and got mine right after reading this. Thank you so much 😍
I'm a little late to this party but I did just buy comic book boards and ready to start organizing. An important question however: In the second to the last photo, the folder fat quarter sits on some gorgeous text fabric. Can you tell me where that comes from? I just loved it and will start the hunt if it's still around. Thanks for the great tip.
that was actually an old ironing board! I think I might have bought that cover at Kmart 4 years ago! lol So it's probably one that is not out there any more 😉
Thanks for the great tutorial!
Great tutorial ! I have just received several Large ( 100 count ) boxes of backer board. As I am moving in a few weeks I figured to settle into new sewing space with a much more organized collection.
It's going to make unpacking much more interesting.
Thanks
Thanks for your post. I went to my local comic book store and found the size you used and I also found ones for magazines. I purchased the magazine ones so I would not have the hangover! Works great! Thanks again..I actually enjoyed organizing my sewing room today..tomorrow I get stuff out of the attic!
Great idea but ALL my bookcases are full of books!! LOL. I use those plastic drawers that they sell for toys etc. I have one drawer for each colour. I can what colours I am getting low on. I'd include a picture but don't know how on comments!
you can still use the boards and stand them on their long edge.
You can also cut the boards to be a bit more narrow to fit the drawer, and the "bolts" will just be a bit thicker when the fabric is rolled on the boards.
Just what I needed – thanks so much! Now maybe I can get my stash in order so I can find things!
How do you know what size to cut the board? I must have missed something. BTW Your stash is beautiful!
This idea has transformed my stash and made my life so much easier. I culled out fabrics I no longer cared for, wrapped the good stuff and I'm one happy camper….just a wonderful idea.
I found an even more cost efficient way of doing this 🙂 I went to my local fabric store and got all of there empty bolts and you can get 2 or 4 mini bolts out of each depending on if you want the flap to hold your fabric in place 🙂 thank you so much for this tutorial 🙂
But, aren't these fabric store bolts about 1b thick, so would take up more space? Just curious how it has worked for you, because it sounds like a great idea.
Thank you for explaining the need to place the fabric edge level with the board so it isn't sliding on the fabric, but the board. This is important to know – don't want to be sliding the mini bolts on the fabric.
I use the same idea, but instead of the comic boards I use acid free foam core. More expensive, but I think they will last longer. Because I don't have a dedicated space for sewing or quilting yet and I have the bins, when I have boarded the fabrics I lay them on one long edge in the bin by colour family or theme eg Christmas or other holiday fabric. I am also incorporating Bonnie Hunter's scrap system.
Just wanted to add that i have mine on bookcase shelves from Ikea that are 8" deep.. perfect for the comic book board.. and don't take up a lot of space in my sewing room (it is very small)… Now that i can see all my fabrics, I am pumping out quilts like crazy:))
I also use mat boards from framing shops. Most of them just toss them and you can get them for free. You do need to cut them down, but for free I will do that. My daughter has actually used some of the framing mats in her room as decorations. Dual purpose. This way I can cut longer thinner ones for my drawers also.
I also use mat boards from framing shops. Most of them just toss them and you can get them for free. You do need to cut them down, but for free I will do that. My daughter has actually used some of the framing mats in her room as decorations. Dual purpose. This way I can cut longer thinner ones for my drawers also.
Thanks for the tutorial. Two things I’ve done, used white thread, I put two stitches instead of pins to avoid rust stains. I measured each piece and wrote it on a small card placed in the fold, so I don’t have to unwrap when deciding if there is enough fabric.
So happy I found your site and folding tutorial. Have so much fabric and currently have them rolled like burritos and layered on a shelf, but have never been happy with this set up. Just ordered 300 of the comic book inserts from Amazon for 14.99/100 and I am happy to pay that to have the beautifully organized fabric area in my craft room. I quilt and sew for my grandchildren and their friends and love that I will feel like I have a beautiful store where I can shop anytime day or night. You are quite talented and thank you again for sharing.
I am now on my way to organizing my fabric (thanks to you). This is a great idea! Thanks so much.
Thank you so much for the detail on how to fold the fabric! My craft room has open shelving and I wanted to store my fabric neatly and visibly. I have seen this idea many places but this is the information I needed to make it happen! I already had the comic book boards because I had redone my pattern storage into the comic book sleeves, so I also love that I can use one material for both organizational ideas.
Nice post for fabric.Thank you for sharing.