Well I saw a tutorial that I just had to try! Comfortstitching has written up a wonderful tutorial complete with templates for this little quilt. (You can find the link in my tutorials I want to try section!) So the other night I finally decided to break out the scraps and start putting this together. I wanted to try out some of the techniques used to see if I would use them in my doll quilt. So I’m practicing! What a pretty way to practice! Might as well make something pretty while you are learning a technique.
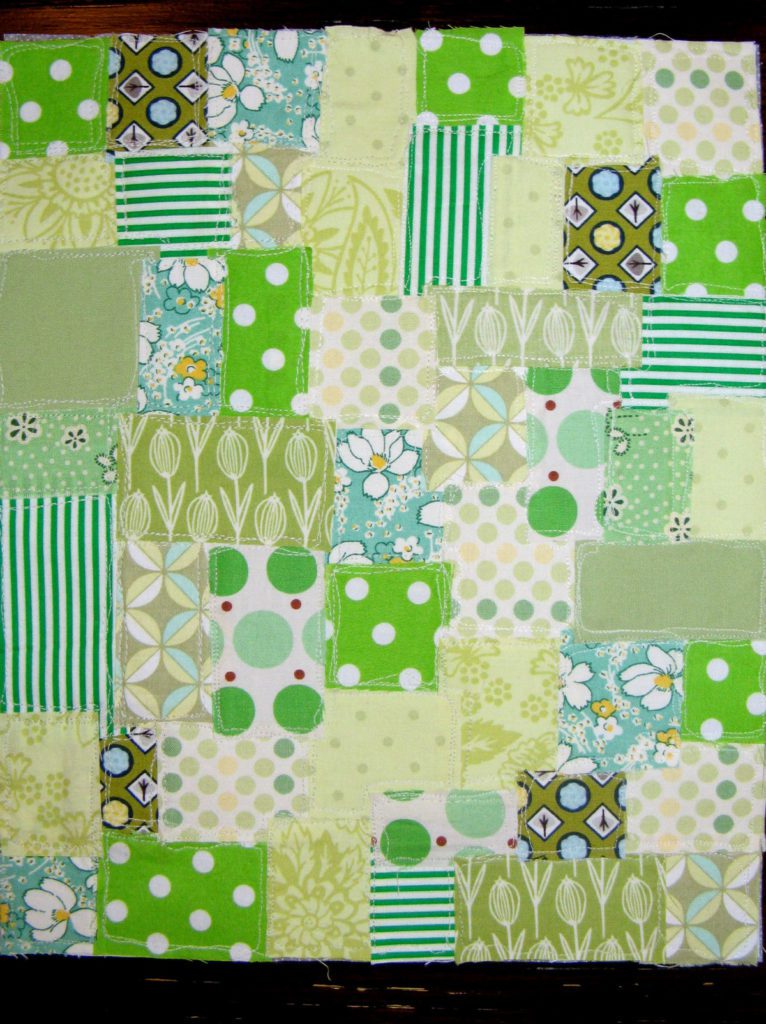
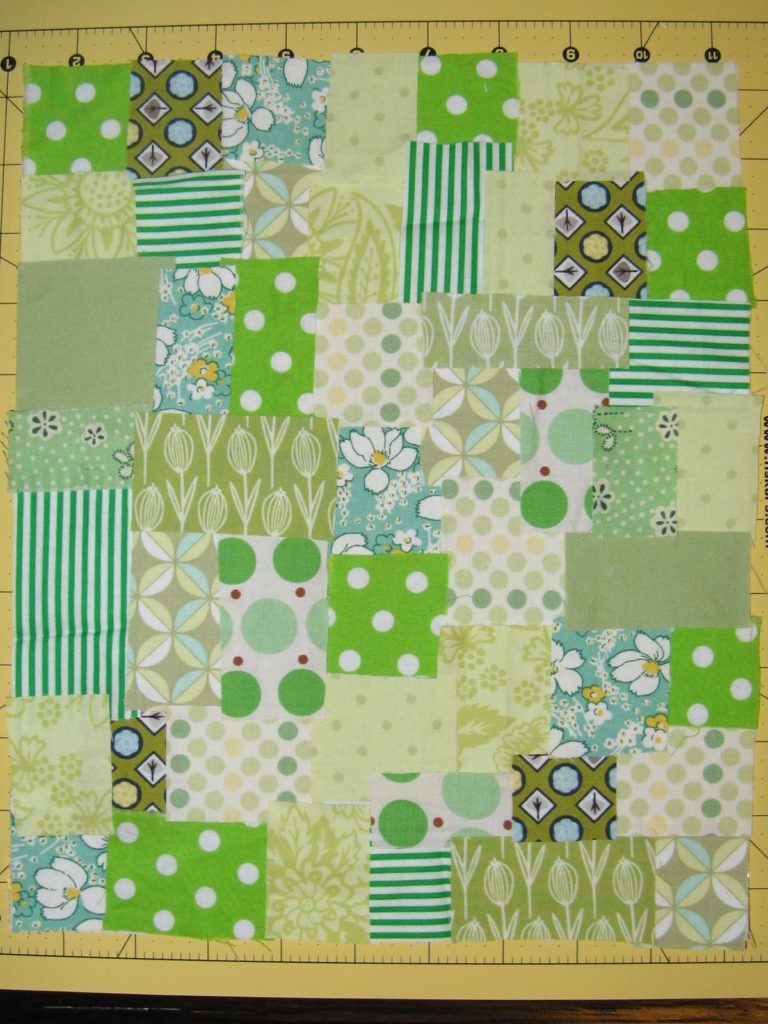
The first step is deciding on your background color and using a bunch of scraps (about 1″ square or so). This was one of my favorite parts…cutting up the scraps and using little bits of this and that. It was like a puzzle getting them all laid out just slightly overlapped. And of course finding the right balance of prints and colors.
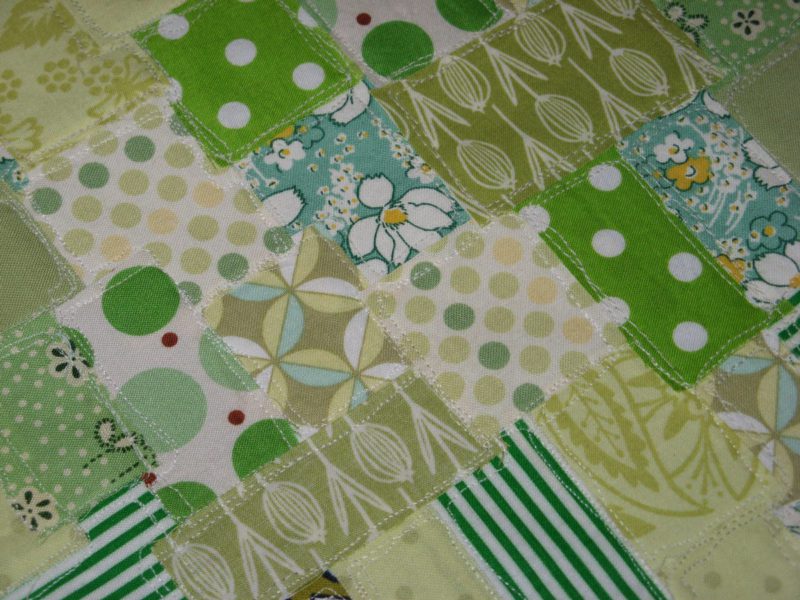
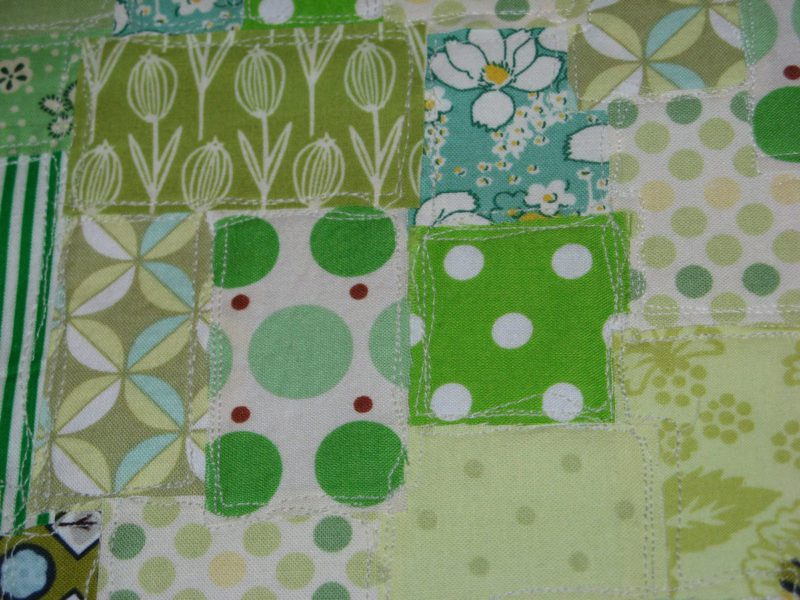
The next step is good practice for anyone who has not free motion quilted. This is a fun way to start. It’s little and really you can’t mess it up. Basically the idea here is to outline each block so that all the edges are tacked down. I used a white thread to blend…you want the applique thread to pop later, so you don’t want anything too distracting yet.

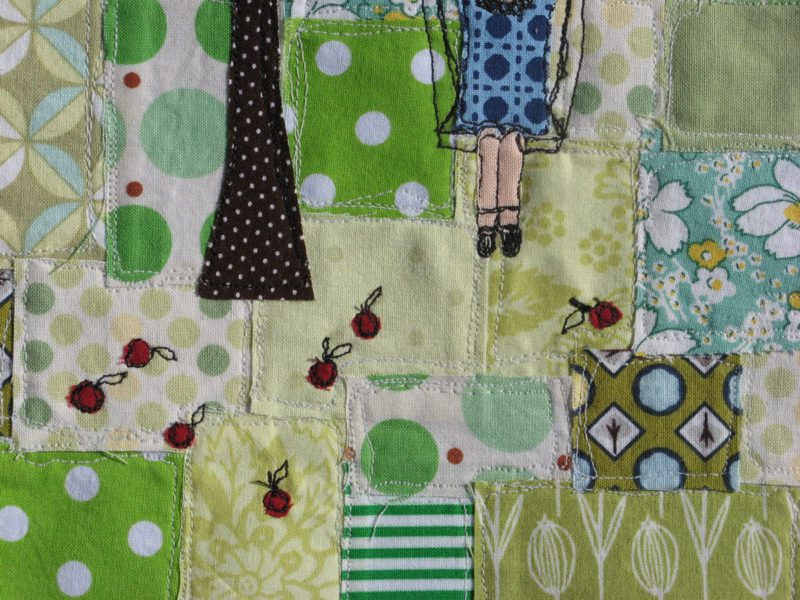
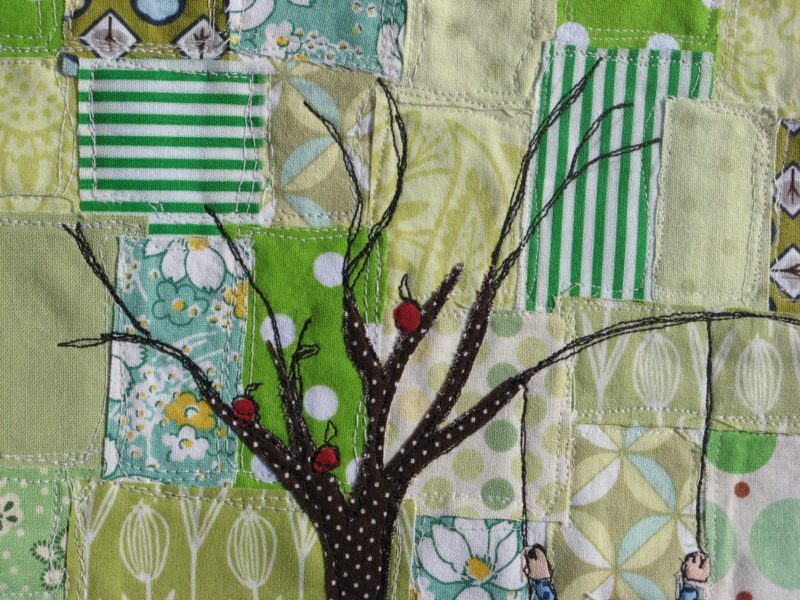
And some detail shots.


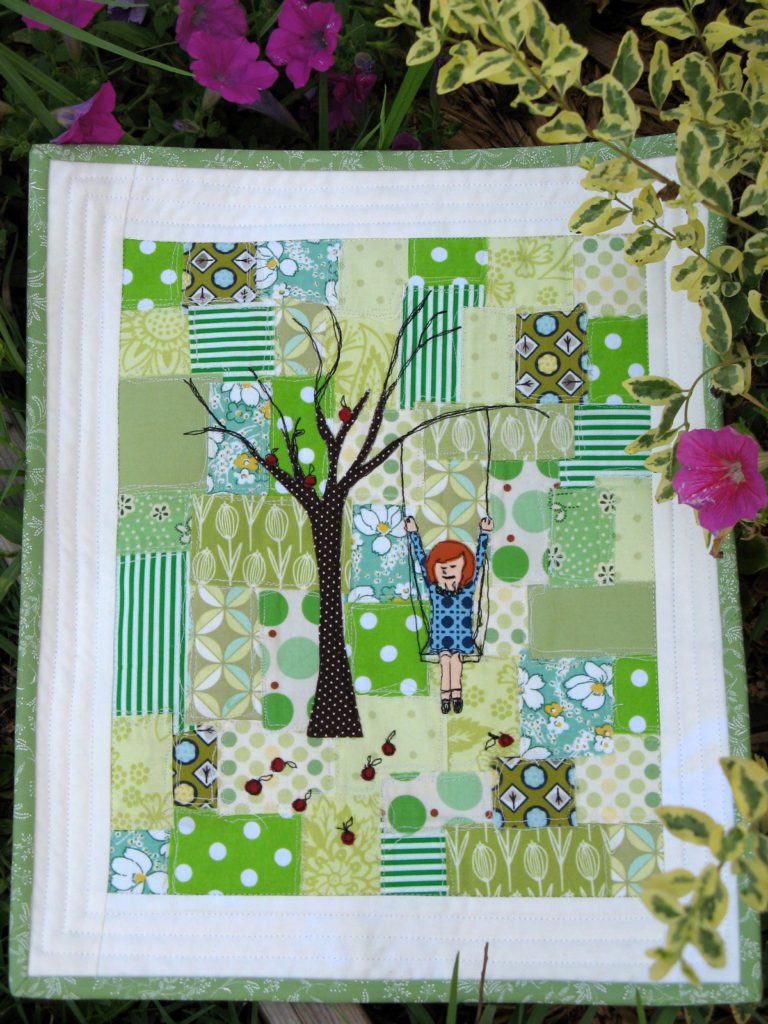
Then comes the applique and the free motion stitching with dark contrasting thread…this is where it gets a little scary. LOL. But one thing I did learn is that you can rip out the stitching if you are not happy with it…so take comfort!
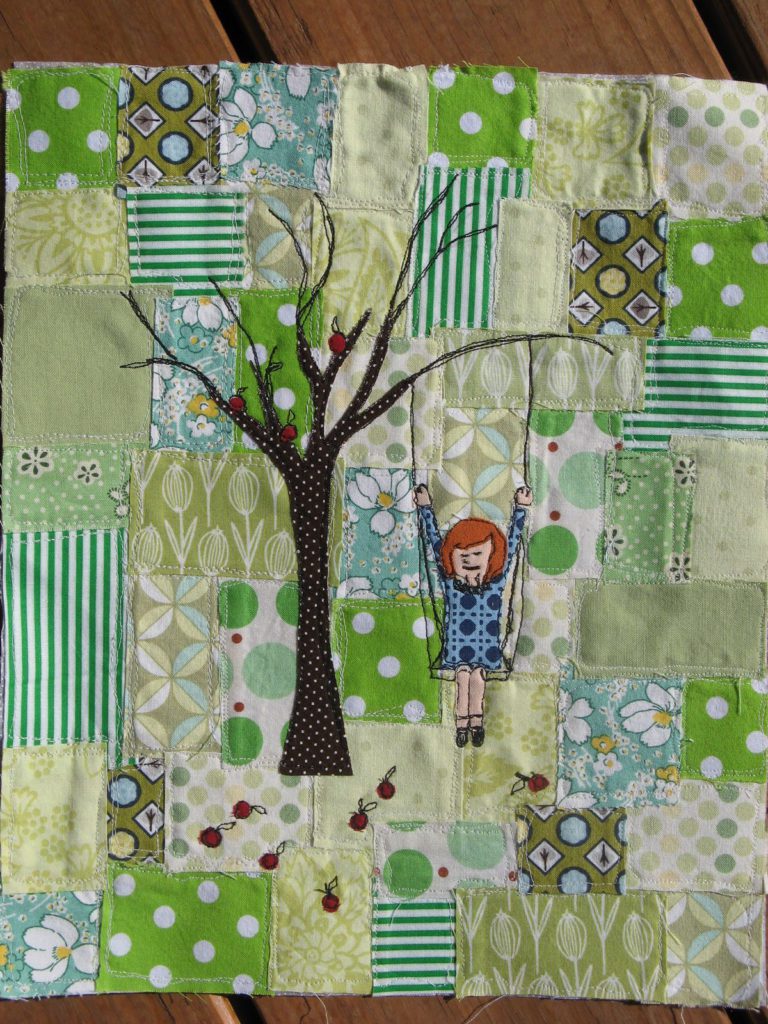

Detail of apples on the ground…I did this to practice tiny stitching way before I tackled the girl. I love how these turned out.

Detail of tree stitching. I would definitely recommend drawing lightly in pencil where you want those branches to go…unless you’re a super artist. I’m not and I needed the guidelines.

And then came the toughest part…saved her for last. At first I had a different dress, but the fabric blended too much with the tree. I made her a little red head and gave her a blue jumper with a little color done in stitching. I had to rip out some stitches while tackling this part, but overall I’m pretty happy with how it came out.
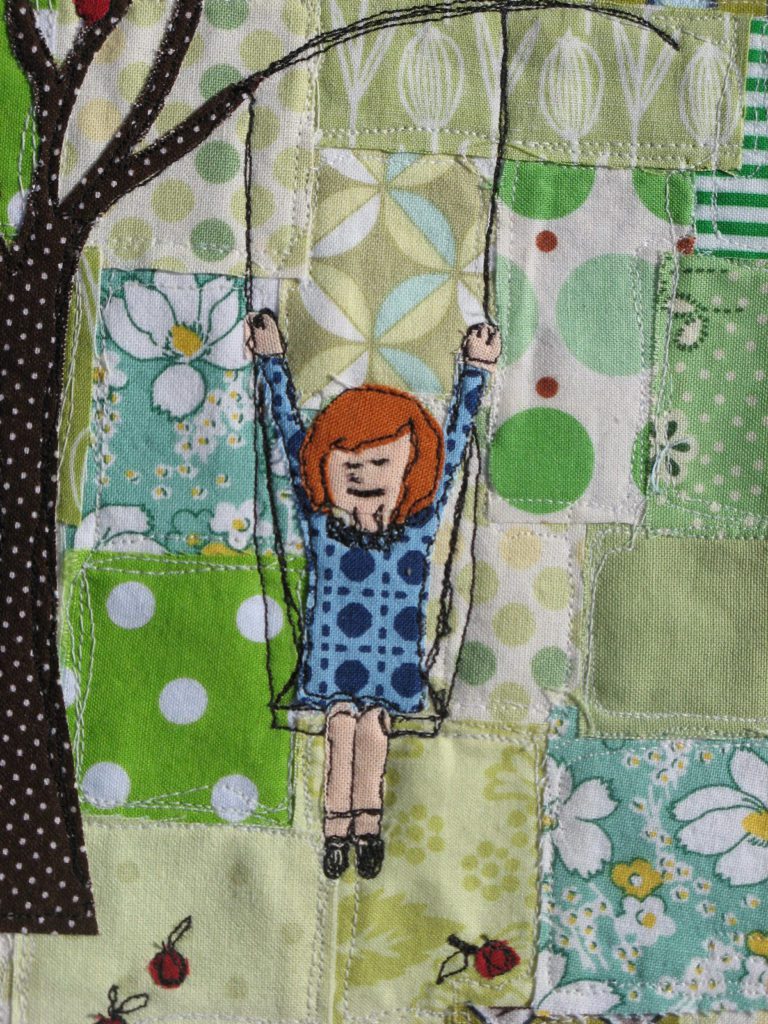

A close up of all the applique work.
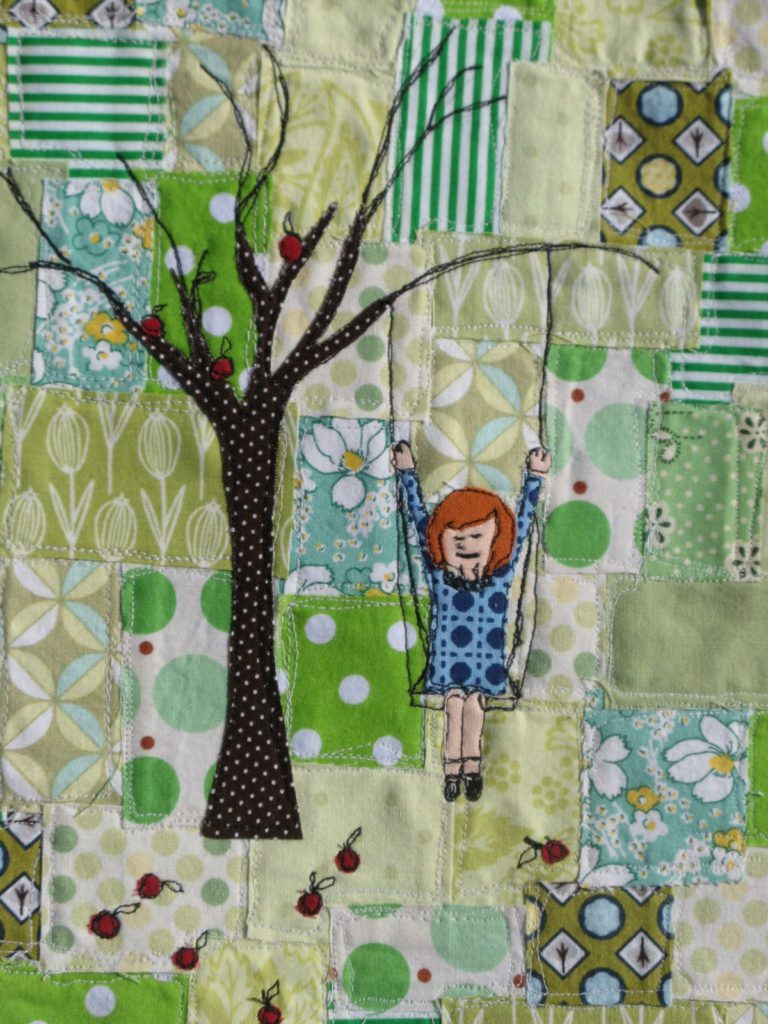

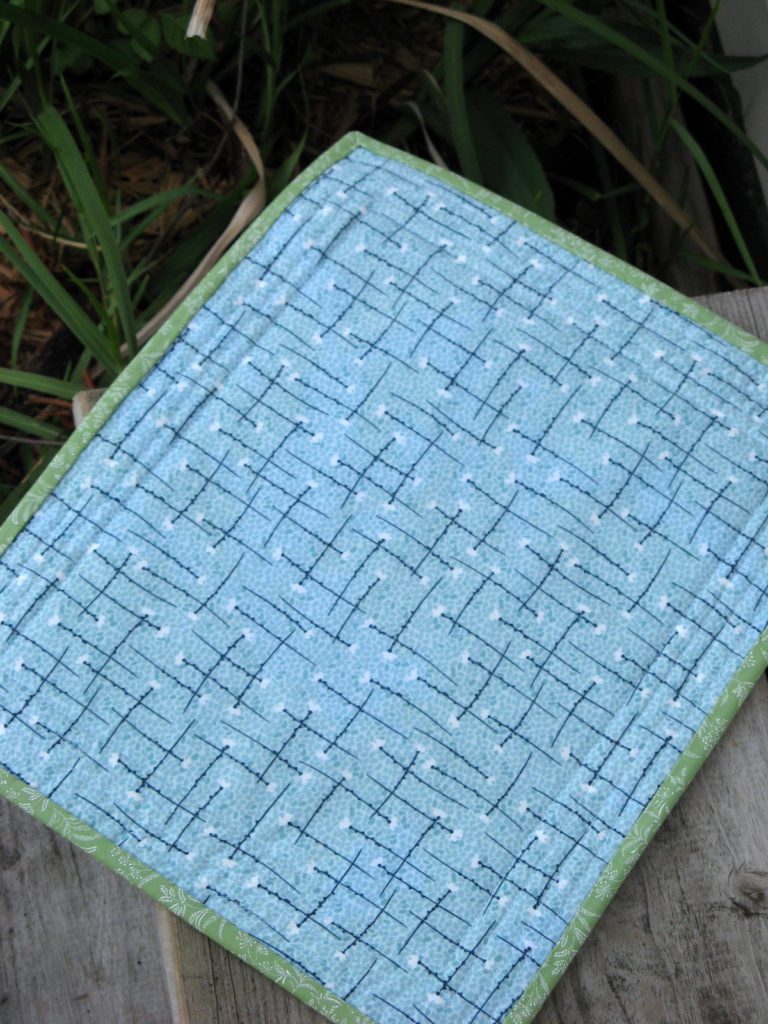
But I couldn’t just make her and do nothing with her. I decided to finish her off as a little quilt. It’s been a while since I did any straight line quilting. LOL. But I added the white border, quilted it and then added the hand sewn green binding.


I love it!! This came out perfectly. Since I saw comfortstiching's version, I've been wanting to give it a try
She is so adorable – saw her on Flikr too! You did such an amazing job! I love her face and the little apples…such great details!
I've wanted to do this tutorial for a while and now I REALLY want to do it! Yours came out beautifully! I'll take it if it's homeless!
oh, this is just adorable. of course, i think it should come live with me, because i love trees and swings, and i even have red hair.
That is just too cute!
Wow it's so pretty, well done you! Justine xx
This is gorgeous!
Gill
You've done such a beautiful job on this. I really have to try it now!!
This is absolutely beautiful! I love the fallen apples! I'll have to save up some scraps to make one 🙂