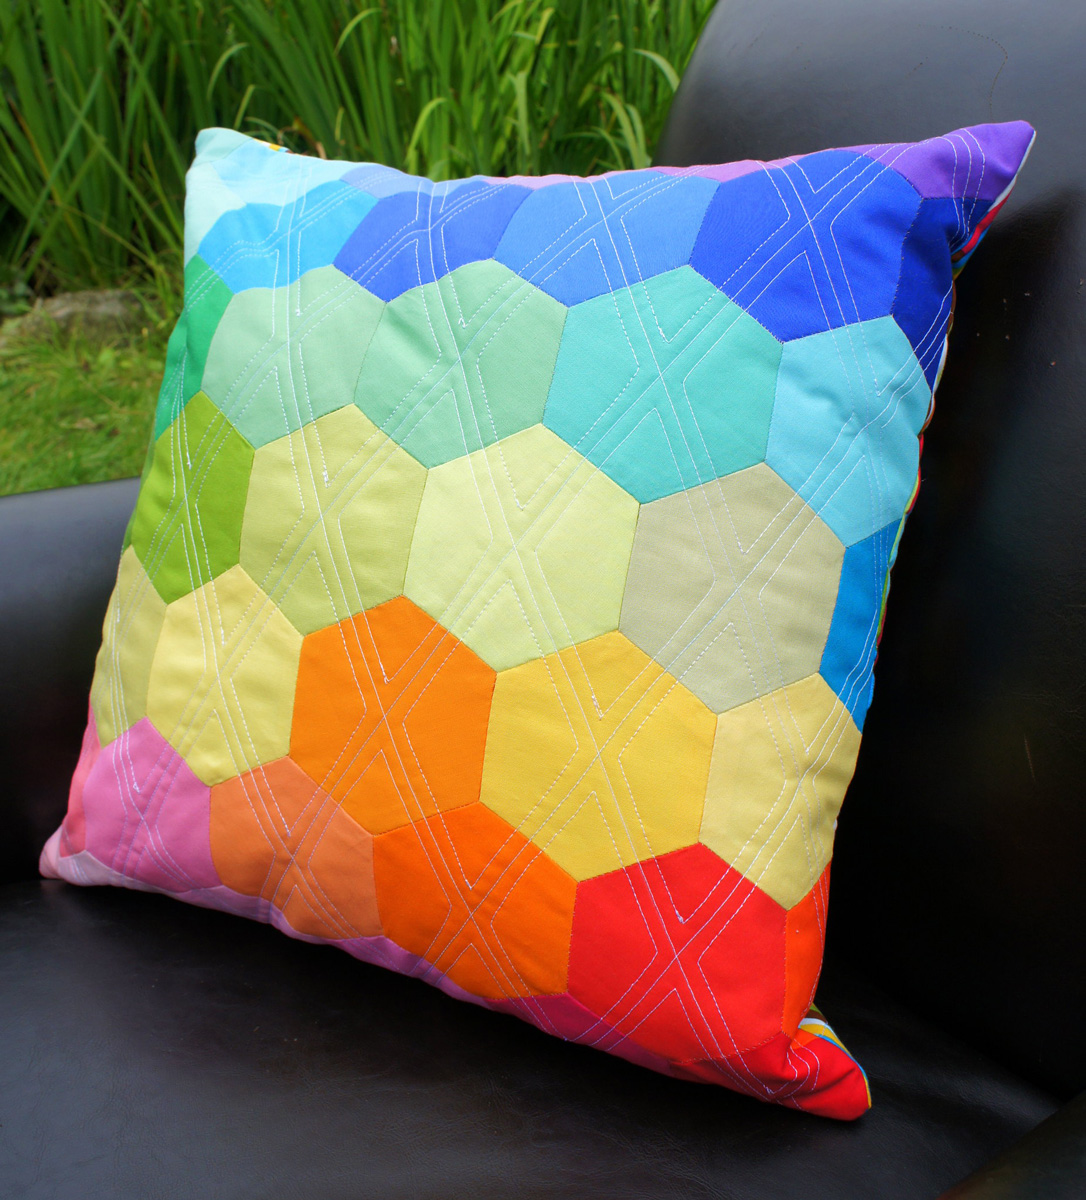

I recently joined the most current pillow talk swap on flickr. We all get to make a beautiful pillow for our secret partner and tease them with pretty pictures while simultaneously being teased with dozens of pictures that just may be for you! It’s a little intoxicating to see all the beautiful pillows being made in one place. Pillows are great to make because you use a technique or fabric or quilting style that are all out of the box because you are just making a 20″ or so square.
I can’t tell you who my partner is because it’s a secret. 😉 But I will tell you that I think she should really like this…in fact, she may have even commented on it. But I’m not saying a word…
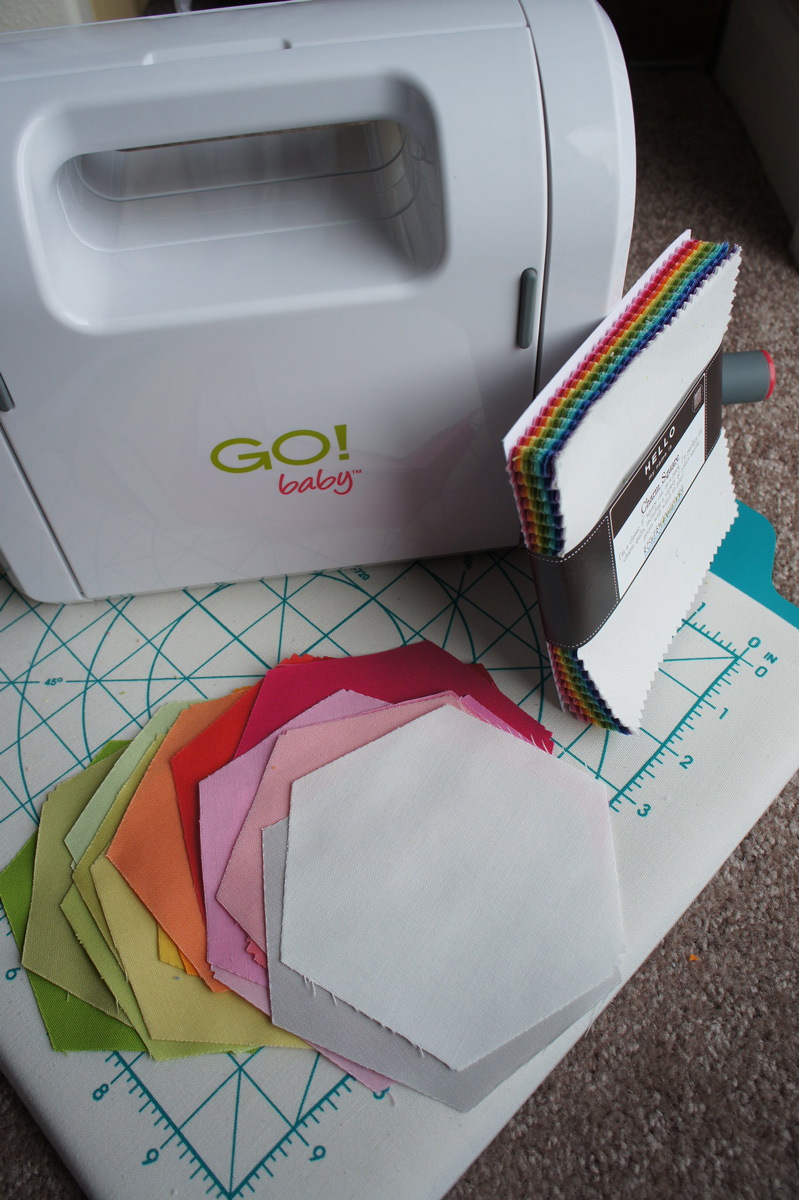
What I can tell you is how I made this pillow. It took a lot of work, but I used some great tools to do it. Some of you might remember that Accuquilt recently gifted me with a Go! Baby cutter. And one of the dies that I chose was the Hexagon die. I chose this die in particular because hexagons can be a bit annoying to cut out…all those sides. 😉 I also had a lovely Kona Solids Charm pack that I was given when I lived in New Orleans as part of the Modern Quilt Guild’s challenge with Kona solids. I wasn’t able to make anything before I left, but I’ve been planning on something for a while. Regardless, I was quite happy to discover that with careful placement on the Hexagon Die, I was able to quickly cut the whole charm pack into a lovely stack of rainbow hexagons.

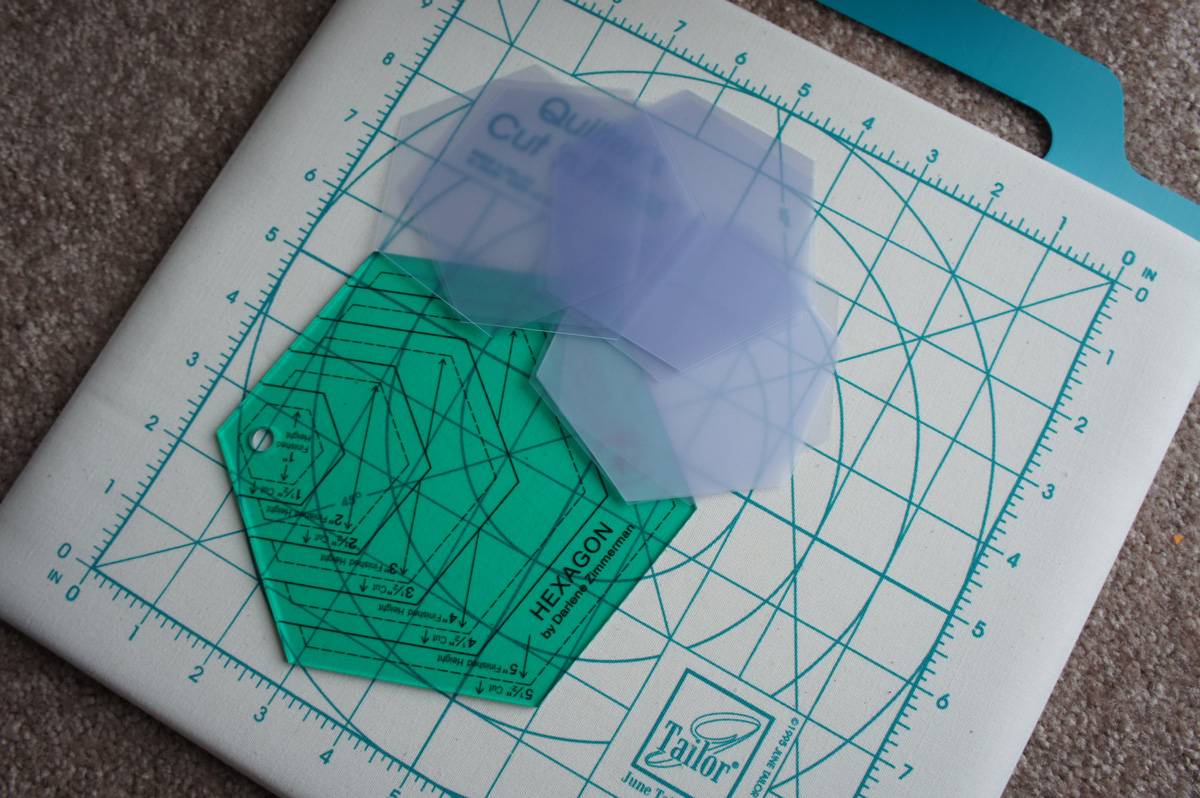
I wanted to hand sew the hexagons together using the English Paper Piecing Technique. But since I have the accuquilt cutter and will be able to make this size of hexagon easily over and over, I chose to make some plastic templates to wrap my fabric around. With the help of another hexagon template, I was cut enough templates for a charm pack. I believe I ended up with 3.5″ hexagons.

Using some lovely Aurifil thread that I was also given (boy I’m a lucky gal!), I made fairly quick work of basting the fabric around the plastic hexagons.
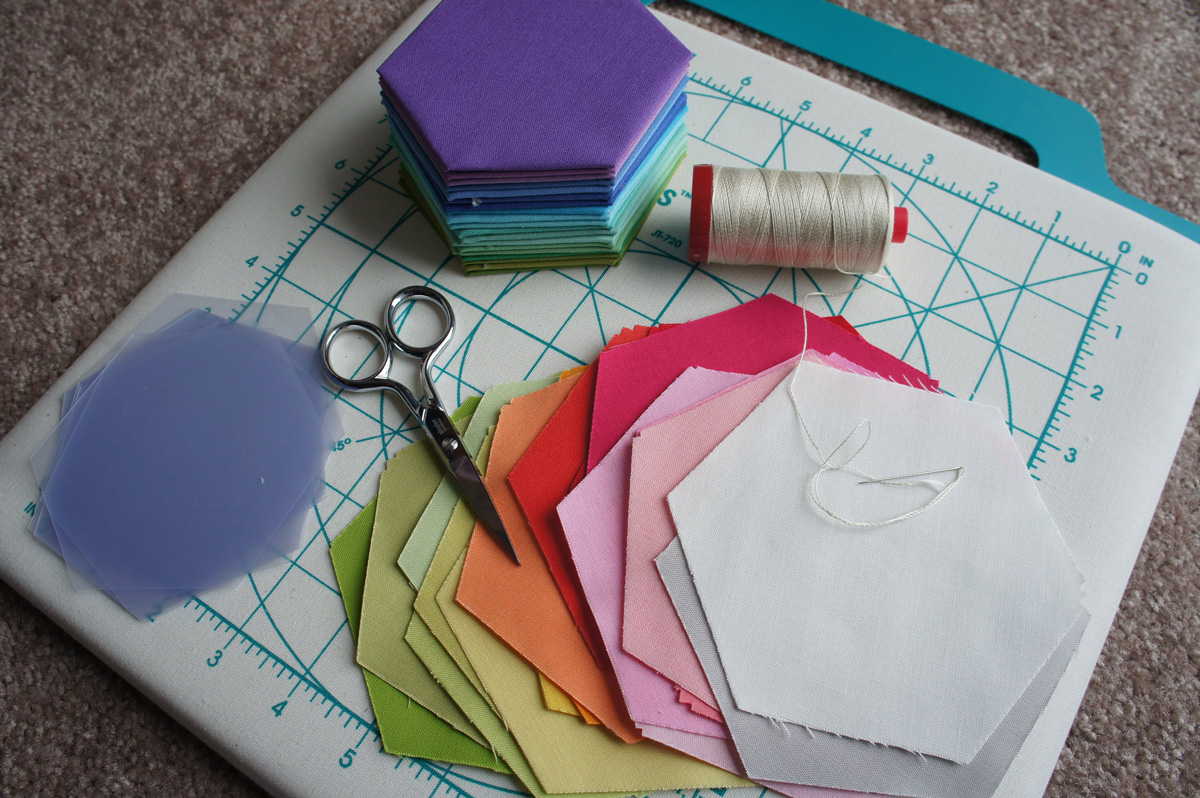

My little stack grew and grew!
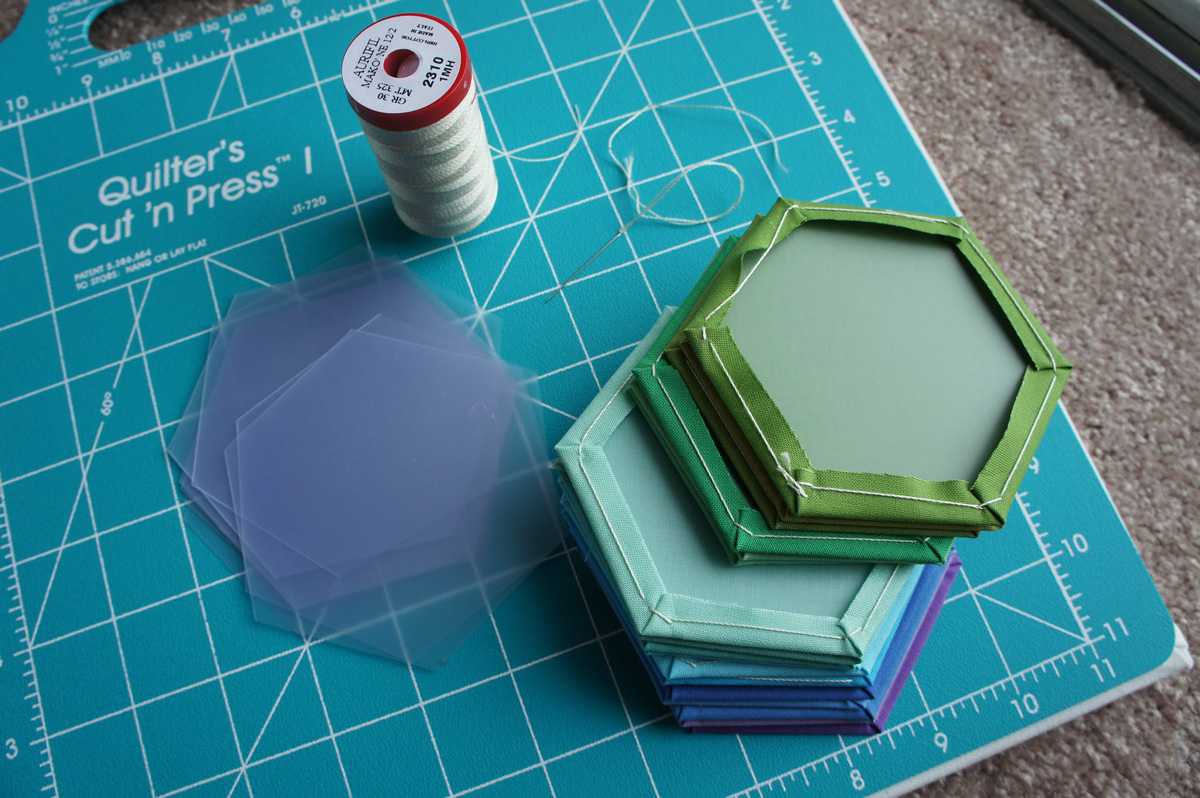

I then played around with the fabrics until I found a layout that I liked. I did end up tossing two green charms and adding in a few other Kona solids to make this work…but that’s just because I’m picky like that. I hand sewed each piece together. Such a small sentence for the most work! lol
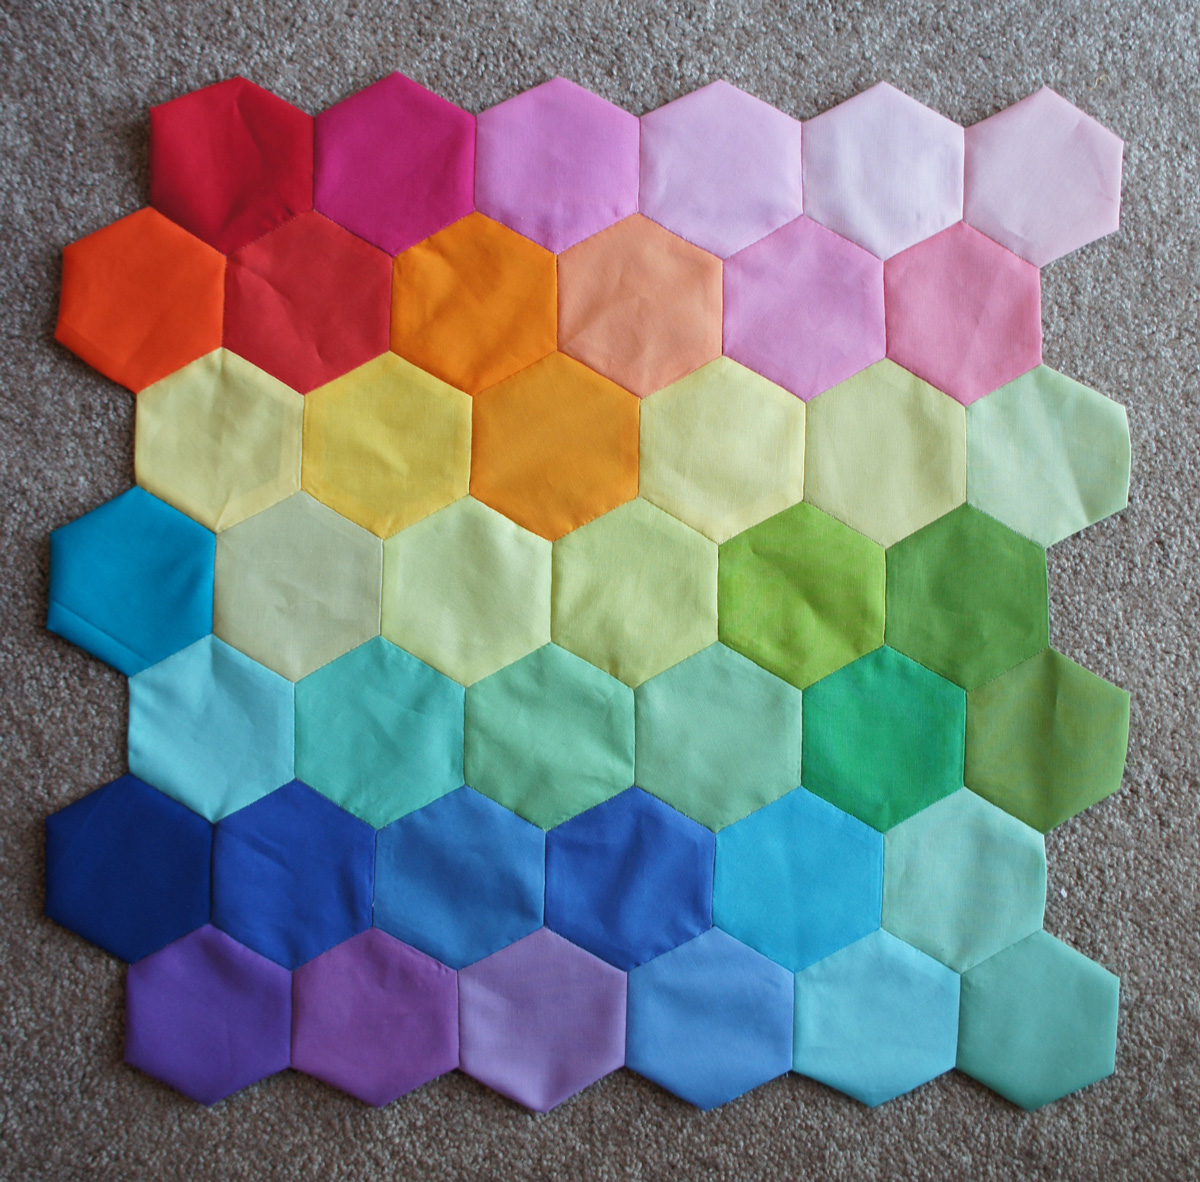

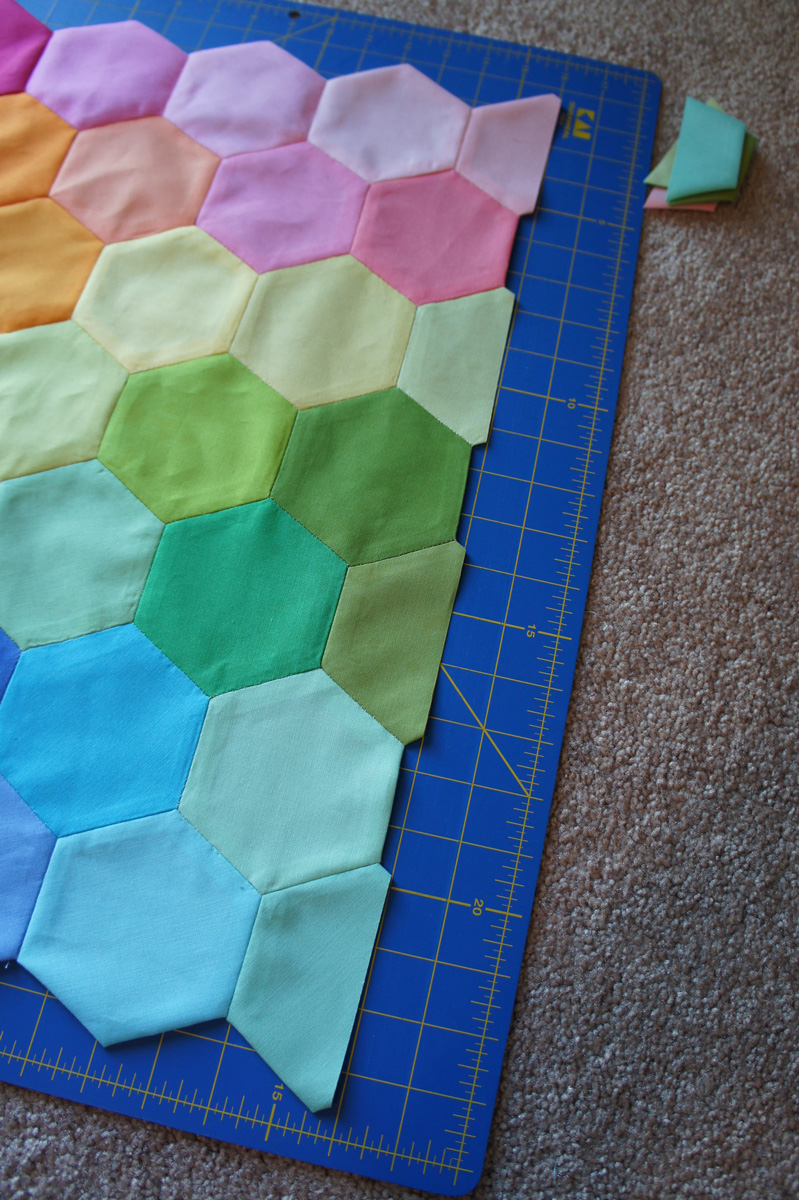
You might notice that at this point, the hexagons are not square. Hmm…what a concept. That’s what a math major gets you. A keen eye. 😉 So, the next step is to square up the pieced hexagons. You might think that you can just slice up the piece, but you need to be a little more careful to account for the seam allowances.
I lined up the edge of the hexagons so that there is a quarter-inch past the folded finished edge.

Then, I use some small scissors to snip some of the basting threads to undo the folded edges adjacent.
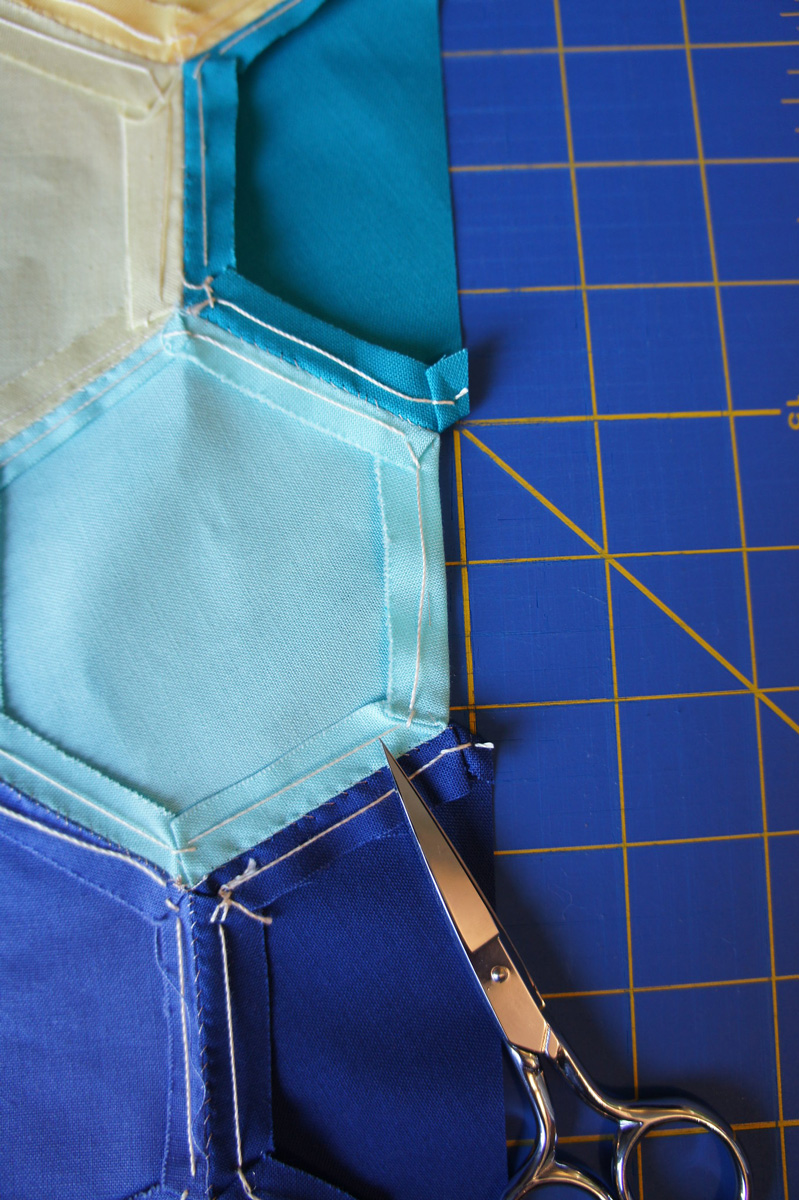

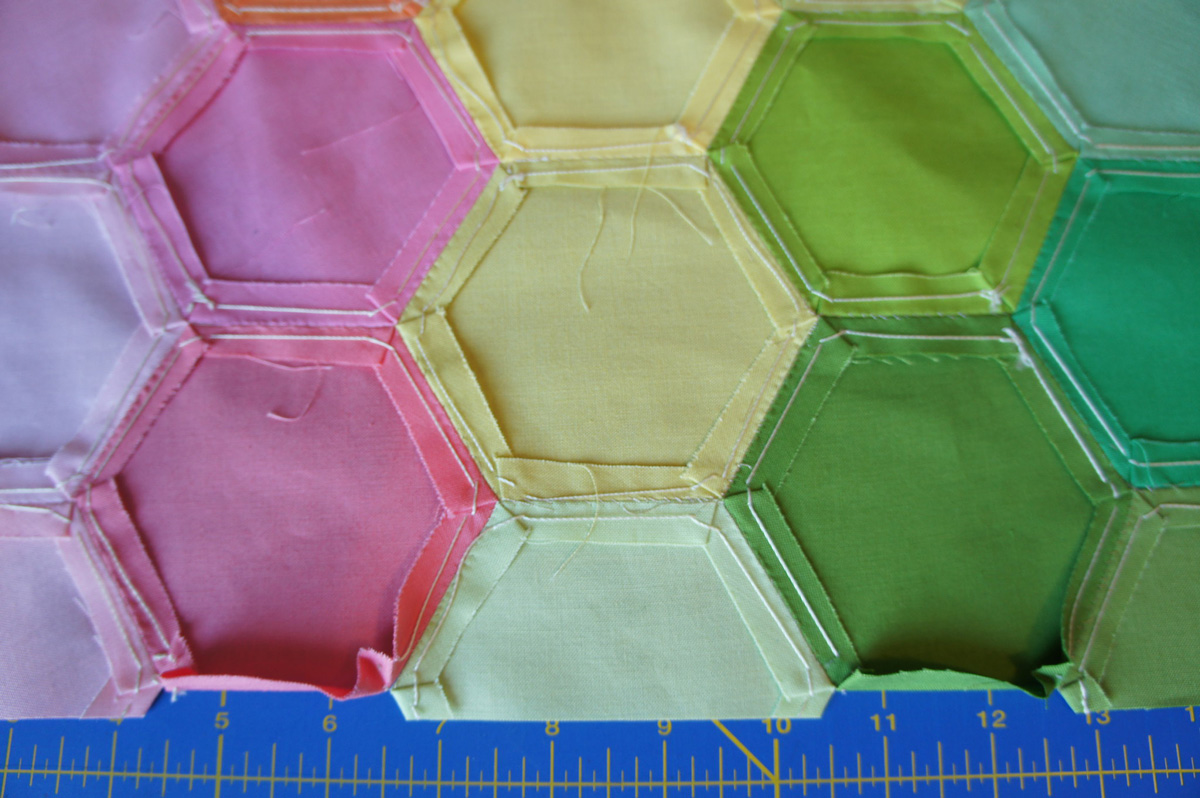

The adjacent sides could be sliced and diced because of the measurements…20.5″ I believe. I marked a line and cut!
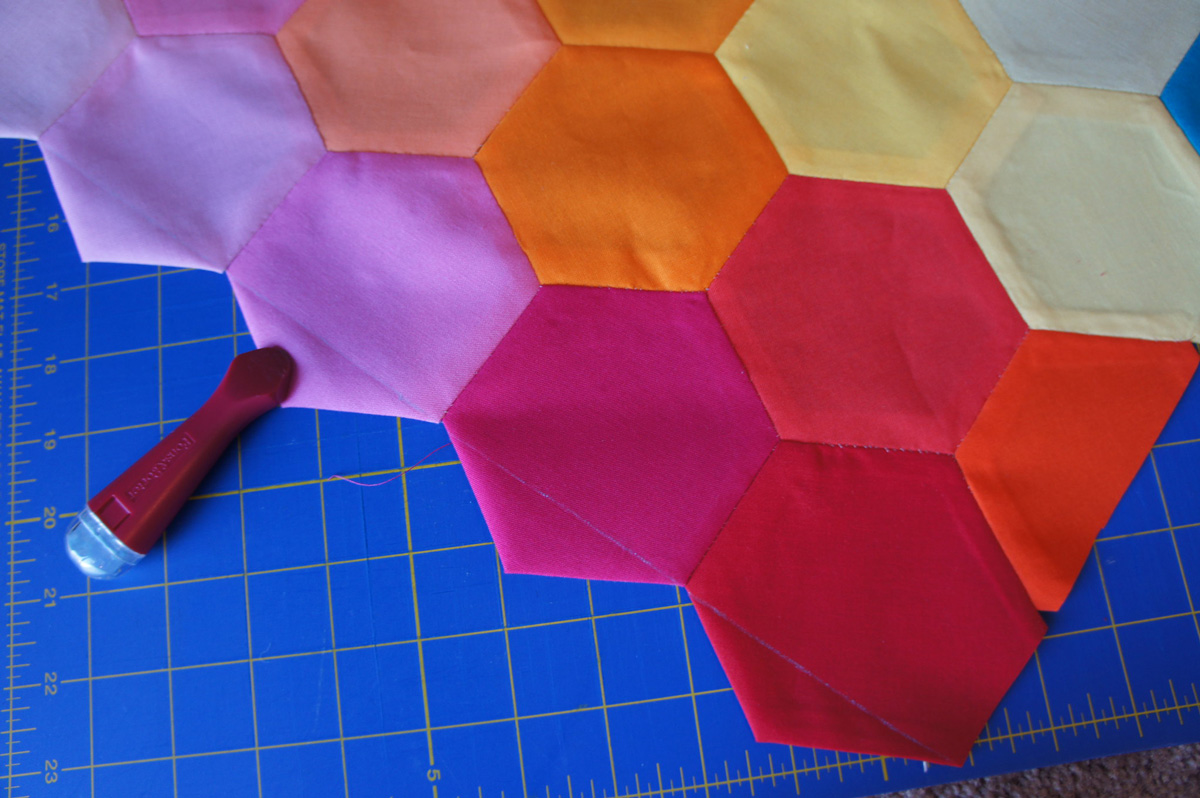

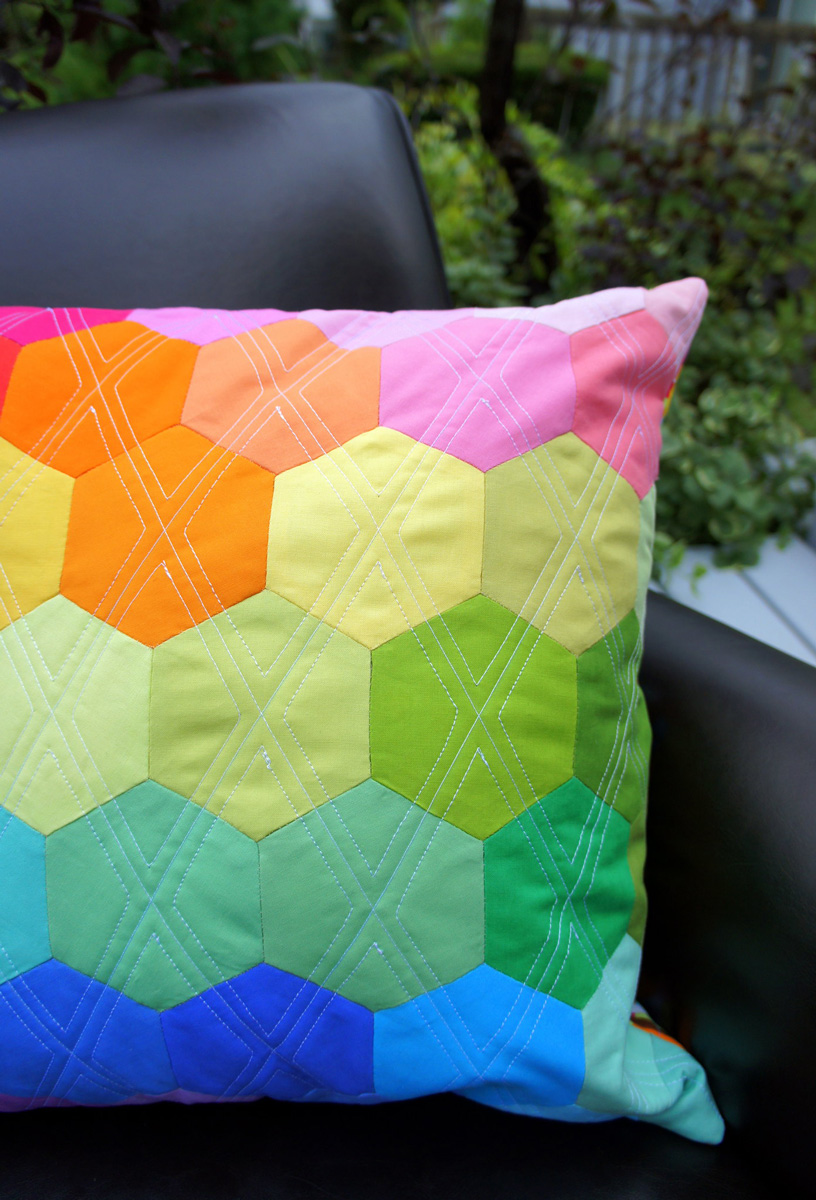
You should now have a squared-up, hand-pieced rainbow hexagon design. From here, you can use your favorite technique to turn this into a pillow. I spray-basted some batting onto this piece and then quilted the hexagons with another geometric pattern. Here it is partially quilted so that you can get an idea of how I did this particular design.
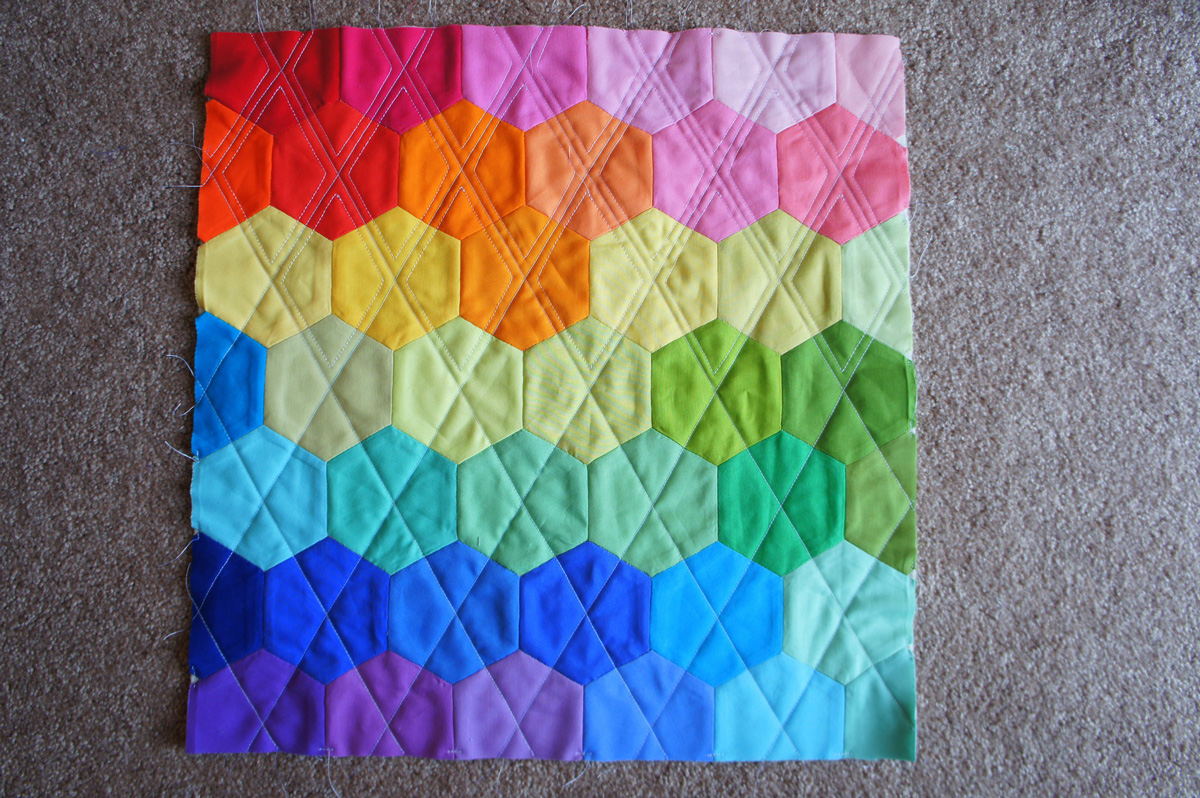

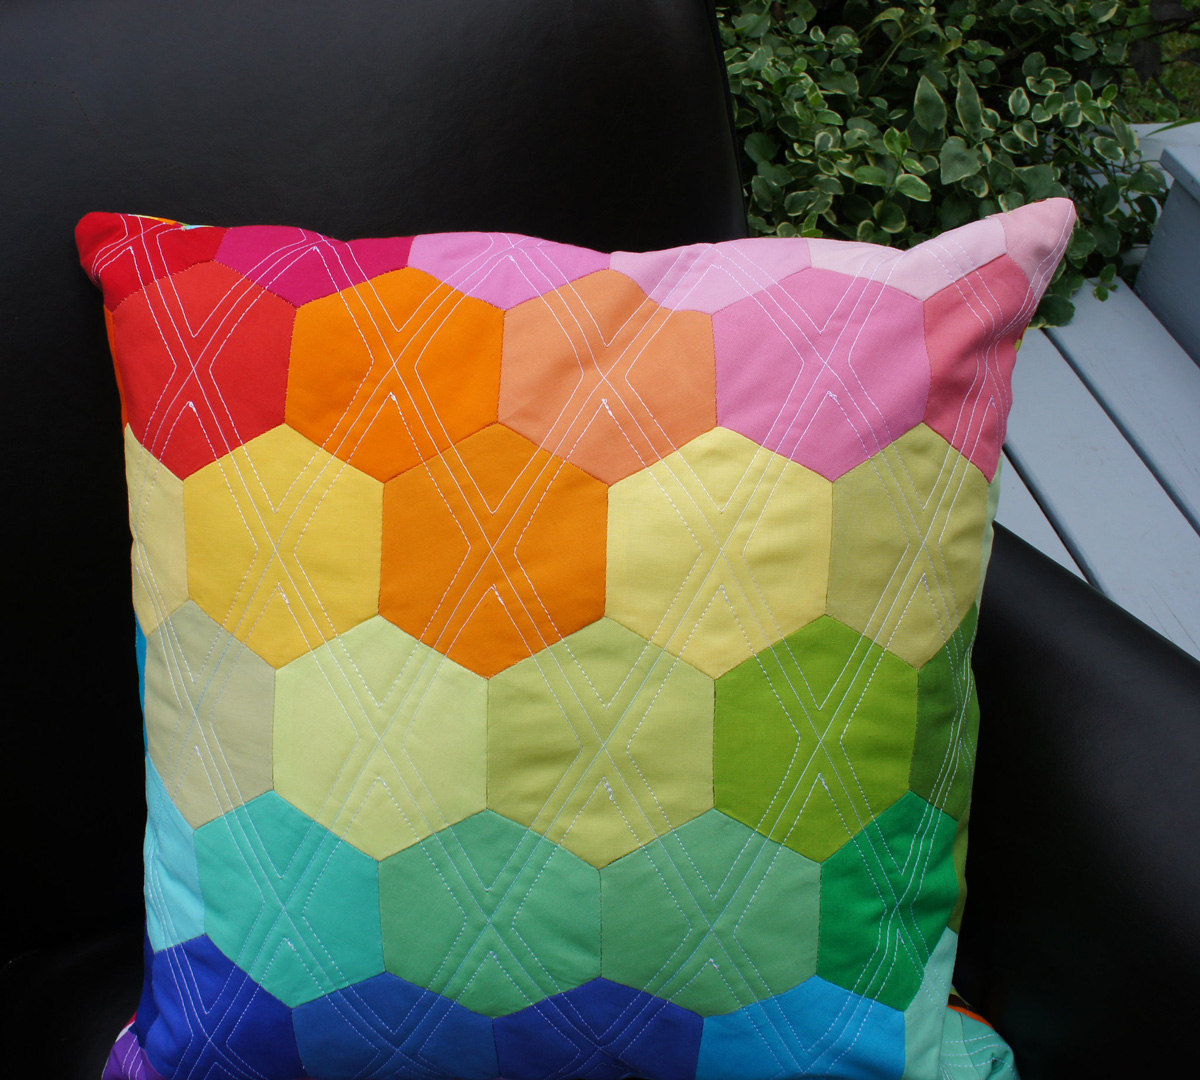
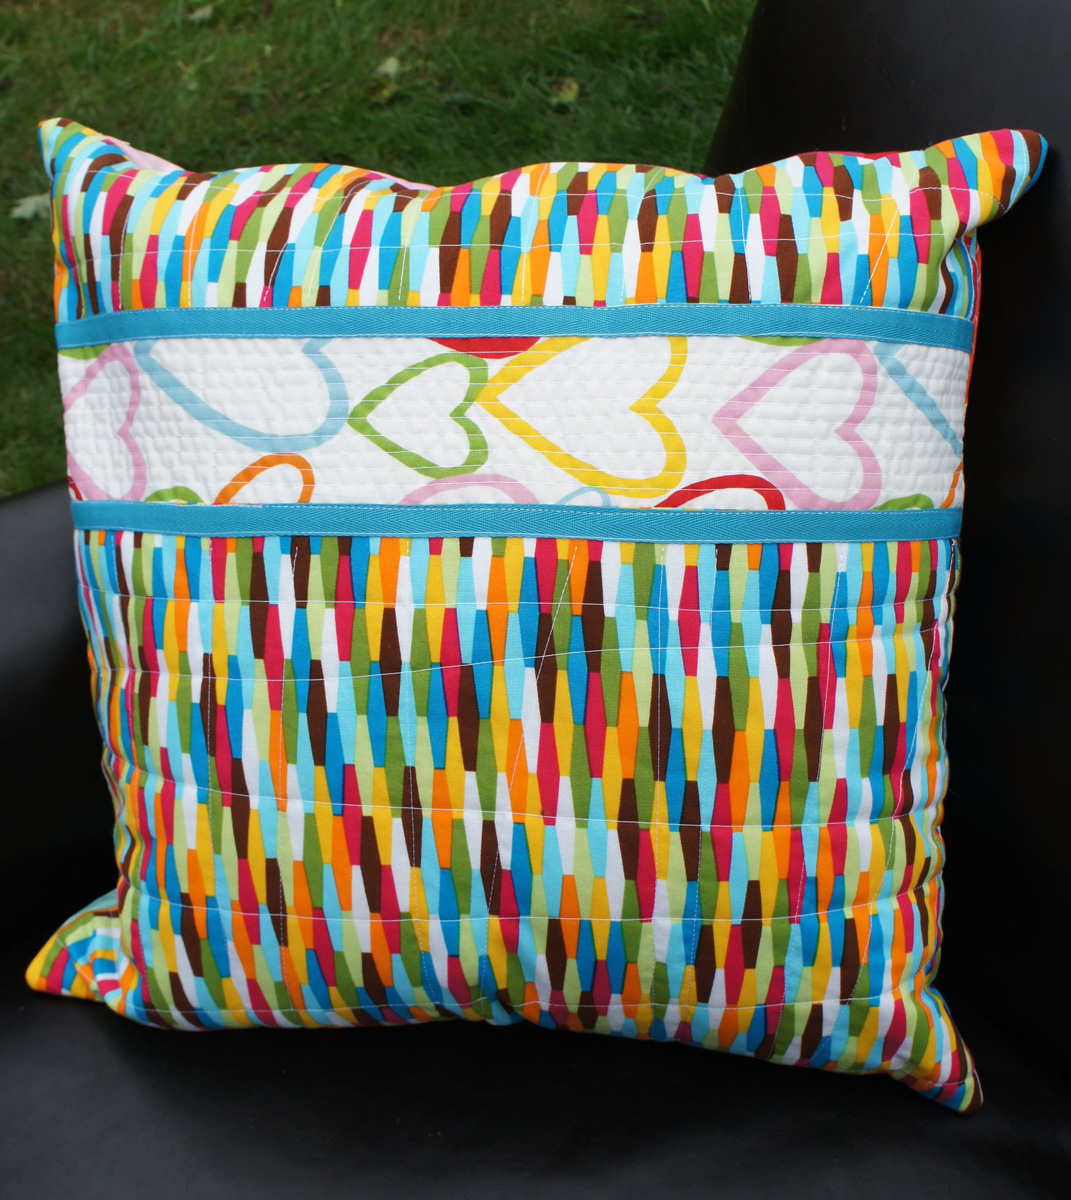
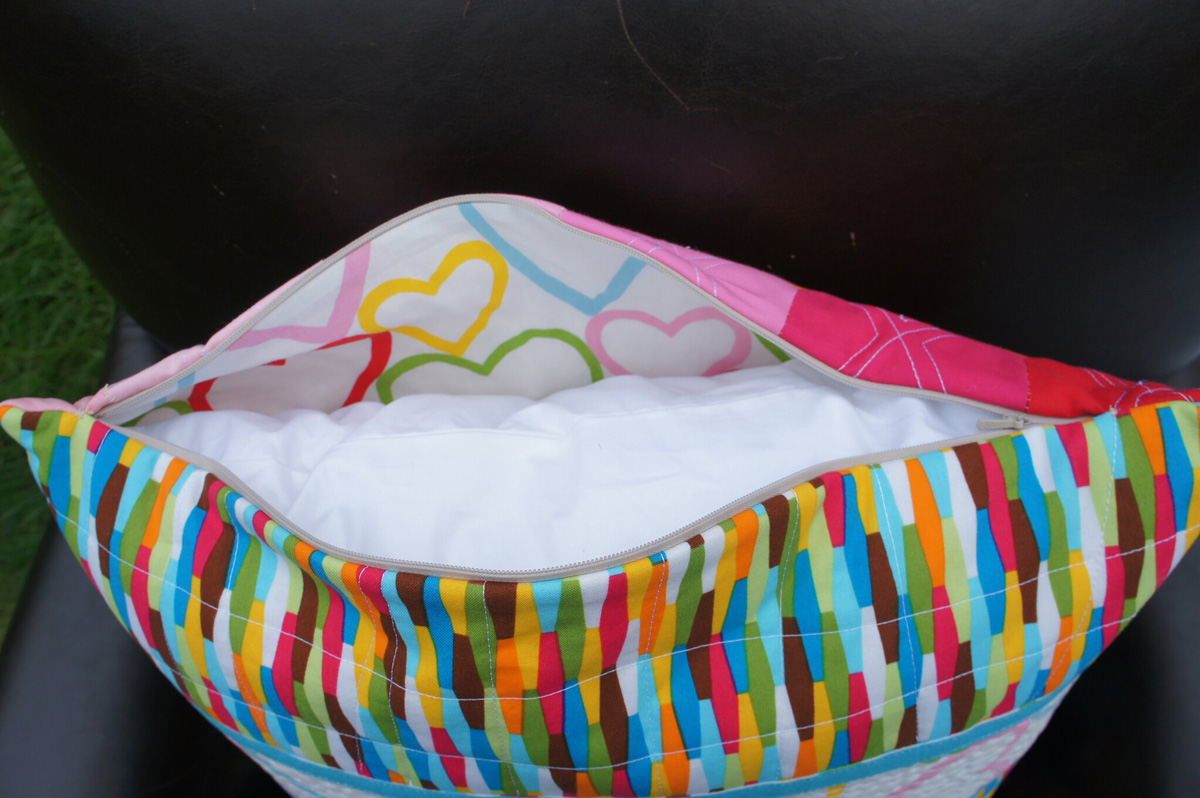
I was being all fancy-dancy, so I also quilted a pieced backing for the pillow as well as lining the pillow cover and adding a hidden zipper. All of that adds up to one pretty pillow!
Front:

Back:

Lining and Zipper:

This is one rainbow that should have gold at the end!

It's gorgeous! Someone is going to be very happy to have that pillow cover! 🙂
That is beautiful!
This is stunning! Thank you for sharing!
I enjoyed how the cushion, which is practically the cutter
Loves it!!!!
thanks for the tutorial ad sharing your beautiful creation
I love this pillow. My favorite thing is the quilting, but now I'm all excited about the wedgy print on the back. What is that?
Thnks for the tute 🙂 You should also make a tute about zippers, LOL, it looks perfect!
Gorgeous! Thanks for the tutorial. LOVE the quilting choice you made.
It looks fab, and I'd never have thought of using the template plastic for the hexies – great idea, I have loads of ths stuff sitting around from other projects!
You have one lucky partner….nicely done!
Lovely pillow & awesome tutorial! thanks.
Great pillow – I love the front, but the back really took my breath away! I love that fabric!! This one is definitely going on the bucket list….
so how bouts you ditch that partner and send it directly to me. you already have my address and everything…*wink*
That's a great tutorial! I recognize that heart fabric. I couldn't pass it up either. 🙂
Oh my wow!! This is just gorgeous! She will love it for sure! 🙂
OH, look at the back, just as pretty as the front.
A zipper! Wow, they scare me. Maybe you could show us how you do that too.
Wow, that's gorgeous. I love the hidden zipper, too. I want to start making pillows so badly – this just feeds my desire. (I think that makes you an enabler. ;o)
aaahhhhh I already loved the front and the great quilting and then you go and make it even better with that gorgeous back!! Perfect.
pretty! i love your quilting on this!
Loved that comment about such a short sentence for so much work! I'm feeling drawn into doing some paper piecing again, but I know the piecing part is going to kill me.
That is lot of work! Thanks so much for the tutorial. This is surely in my To-Do List!
LOVE the pillow! did you use your accu cutter to cut the plastic?