

This post is part of a series on my blog for a sew along using a single pattern to create many pretty princess dresses. Join in at any time!*
We’re working on the Alice dress right now. I have posted the instructions for the basics of the bodice of the dress previously in THIS post. So feel free to look that over if you have any questions. Now we’re on to those sweet girly details and the skirt of the dress.
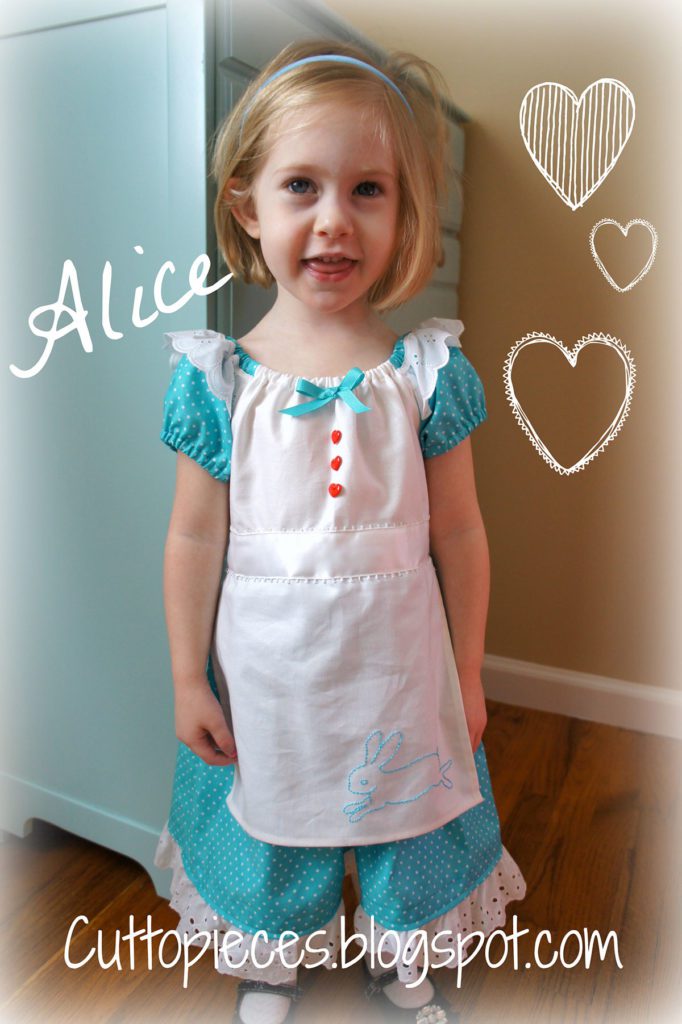

You should have the bodice completed but now we’ll add those sweet trims to make it all Alice. We’ll start with the eyelet trim around the neckline. This is how I put this together, but feel free to do whatever method works for you.
Fold under one end of the eyelet trim with a quarter quarter turn and press and stitch.
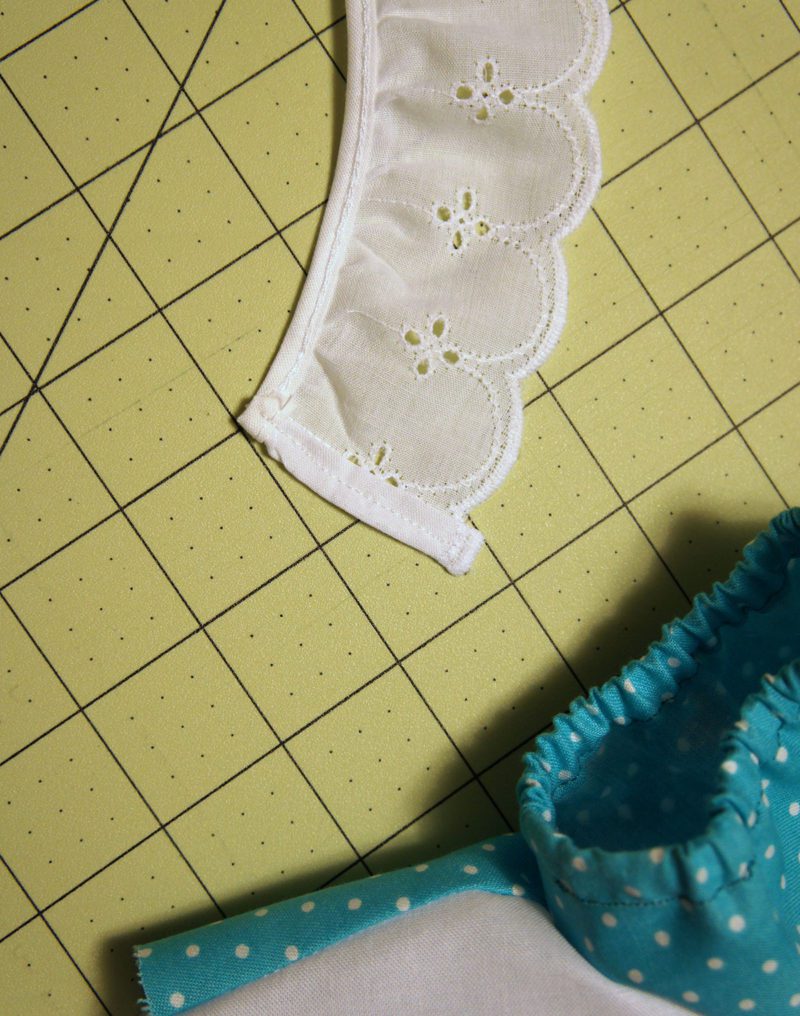

Attach the eyelet trim in place starting at the front edge of one sleeve, butting the trim right under the elastic of the neckline. Stitch the trim in place around the entire neckline.
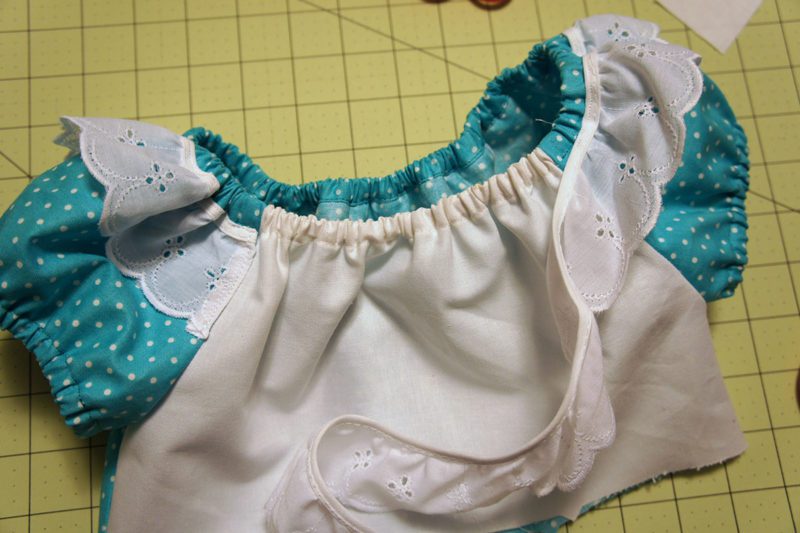

You will need to pull the fabric taut as you attach the trim. Just hold the neckline in one hand and the trim in the other. The trim will naturally gather once sewn on the neckline if you pull it taut while sewing.
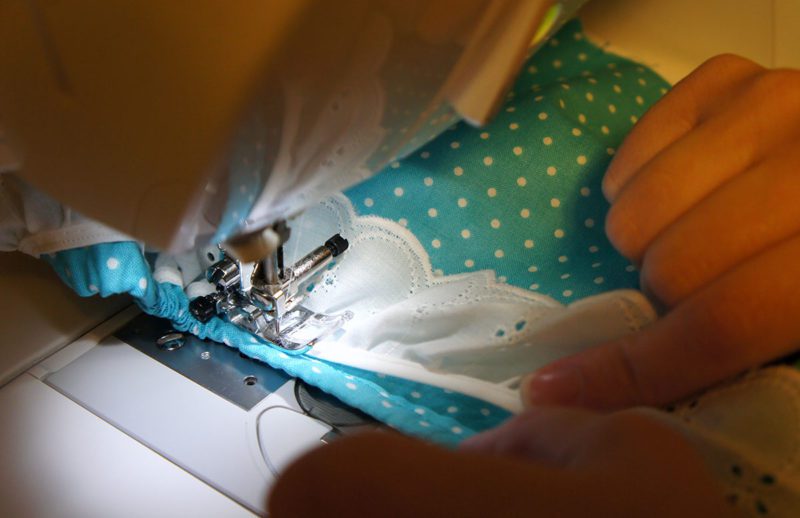

When you reach the other side of the front sleeve, before you hit the white bodice front, cut the trim and fold it neatly in place. Stitch it down. You will now have eyelet trim around the whole neckline with a hint of the blue peaking above it (the elastic casing). And you are ready to add buttons!
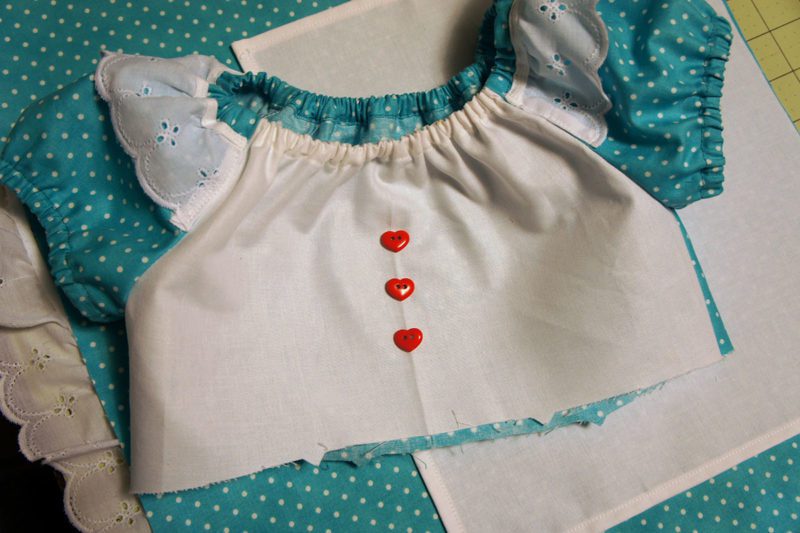

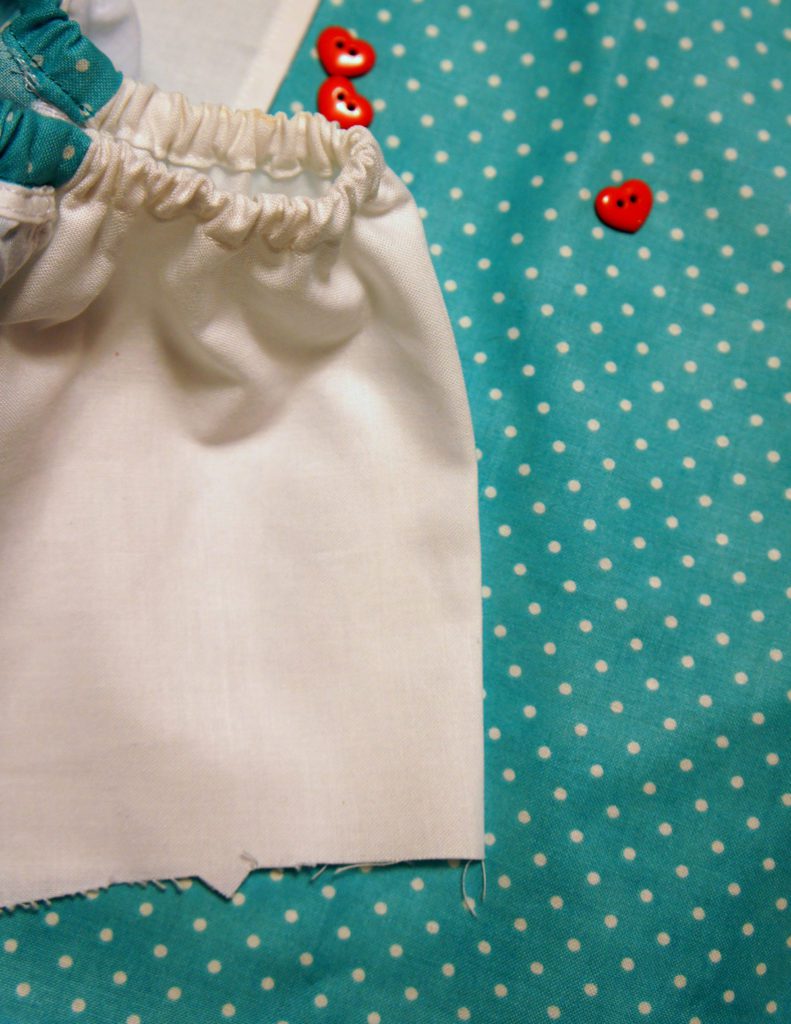
To find the center of the bodice front, simple fold the front in half and press a quick crease along the center. This will give you a line for placing your ribbon and buttons on.

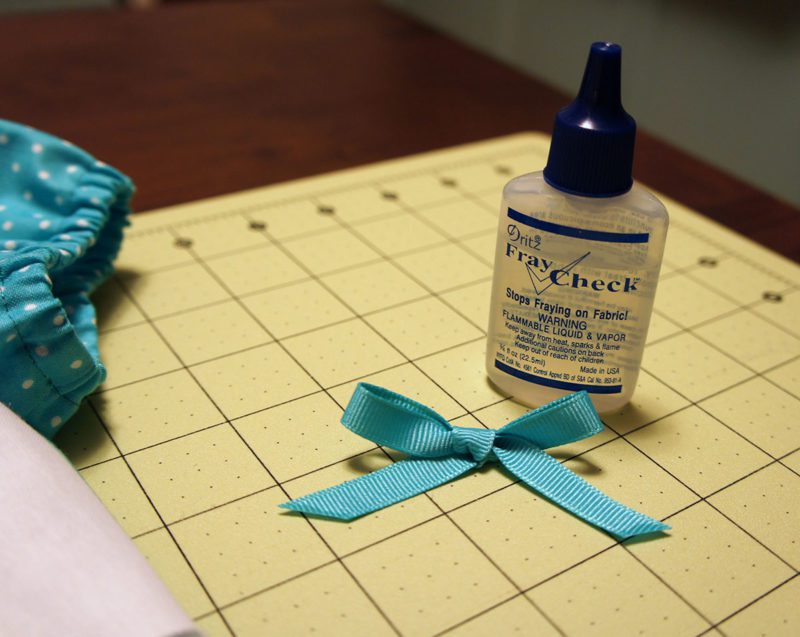
Make a small bow as well for the front neckline of the dress. Be sure to use something to finish off the edges of the ribbon so it will not fray later, like fray check. Dress up dresses get a lot of wear and tear!

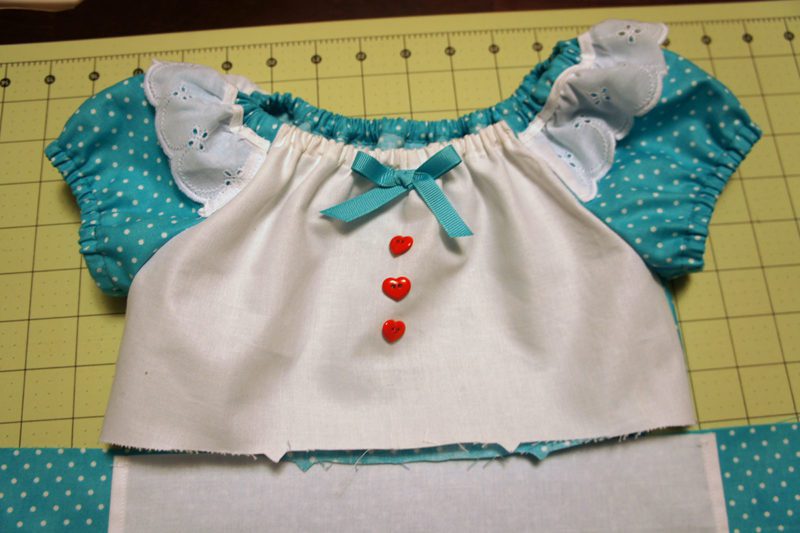
Place the buttons in place as desired and stitch in place using a matching thread. Also place the bow at the top center of the bodice front and stitch in place with a matching thread. There’s a whole lot of cuteness going on here!!

Now onto the skirt!
Sew the skirt front and back together and finish off the edges as desired.
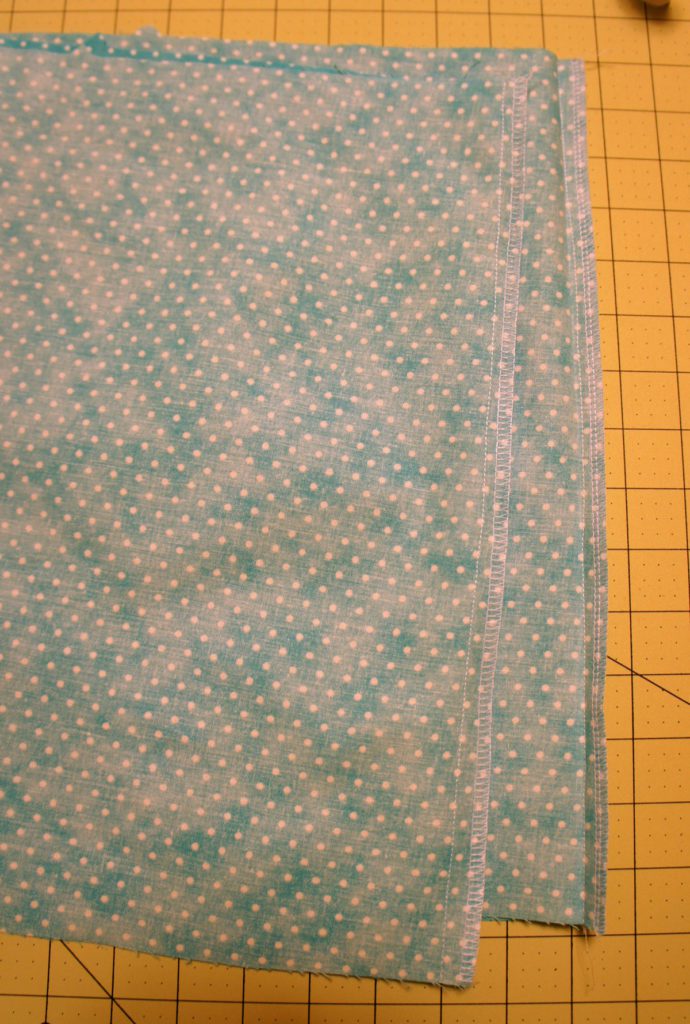

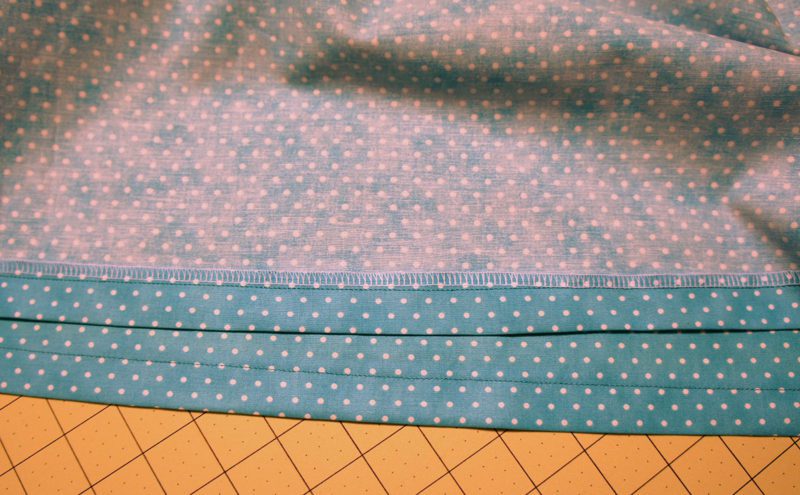
Hem the skirt according to the directions on the pattern or to the length necessary for your child.

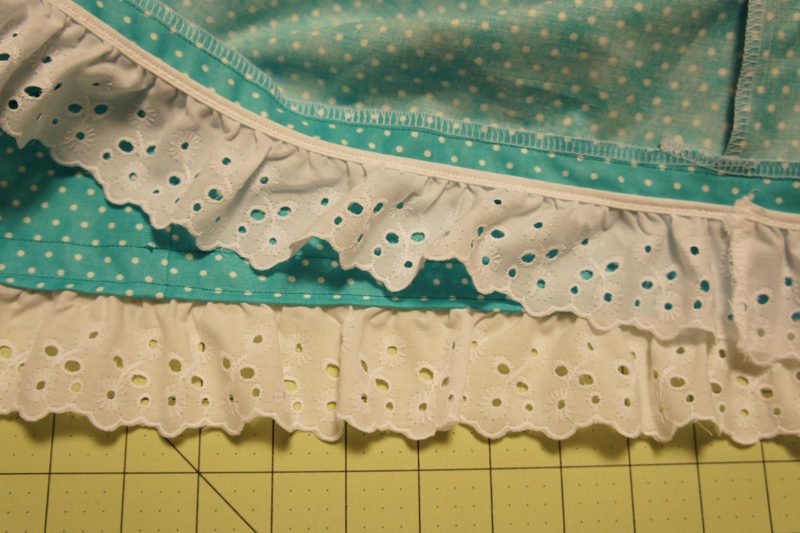
Attach more eyelet trim to the underside of the skirt at the hem, securing the raw edges together neatly at a side seam.

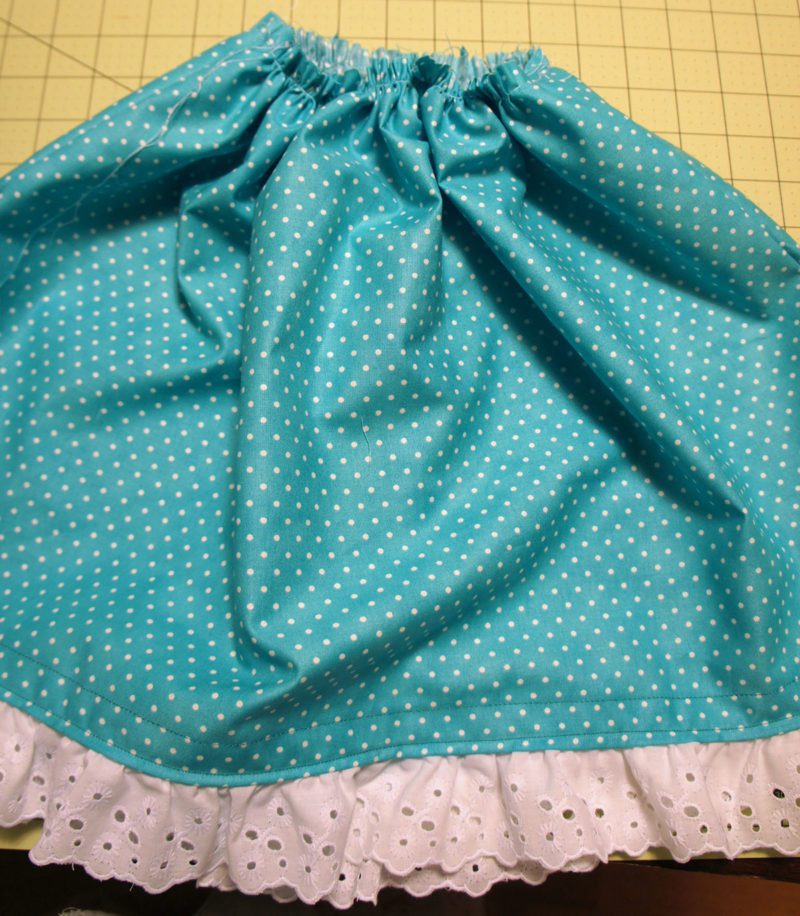
Follow the pattern directions for gathering the skirt at the waist.

We’re almost finished!! With the last post on the Alice dress, we’ll talk about the apron, the embroidery and the ribbon trim.
Be sure to add your pictures and progress to the Pretty Princess Flickr Group . Some of you are already smarty pants and skipped ahead. So fun to see!
And a little teaser for the next dress…. “I brush and brush and brush and brush my hair!”


Aww the dresses are so cute! This makes me want a daughter or niece! Emily! http://www.halfsquaretriangle.blogspot.com
So super sweet, Angela! And what the heck is up with all these anonymous comments??
testing my own comments
Can't wait for #2.
Can't wait for #2!!