
*This post is part of a series on my blog for a sew along using a single pattern to create many pretty princess dresses. Join in at any time!*
Today I’m going to share for you my tips on how to make a Minnie Mouse dress. Remember, we are using just one pattern (simplicity 2377 I believe) for all the dresses I’ll be making and I’ll be showing some adaptations along the way to get the dress to “feel” like each particular character. For information on previous dresses and general tips on making this pattern check out the page on the Pretty Princess Sew Along where you can find all of the posts on all of the dresses.
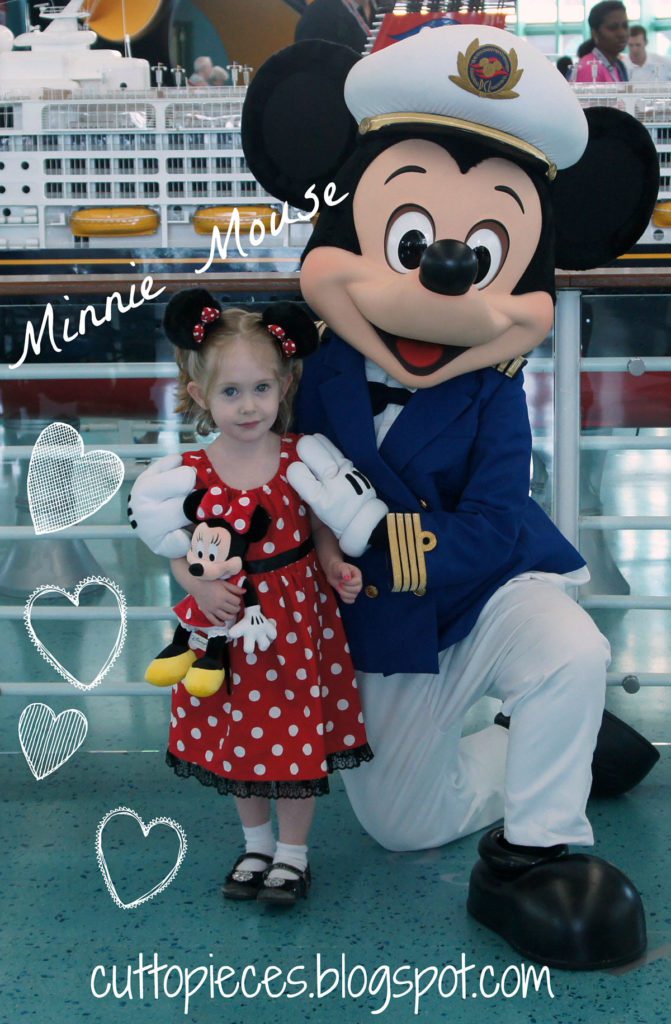

Let’s make this dress of one of our favorite mice!
Materials:
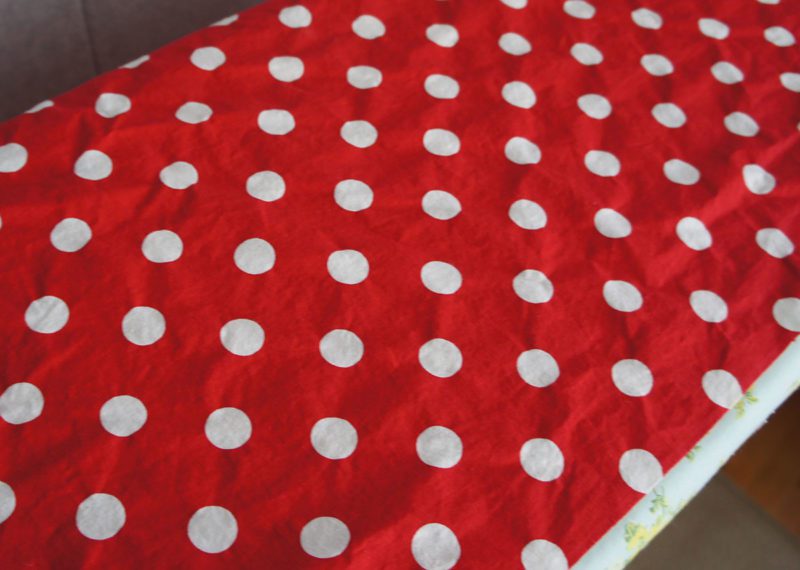

1. Fabric
– I’m making a Classic Disney Minnie Mouse dress. And Minnie is known for one fabric and one fabric alone: red with large white polka dots. That is the only fabric you will need for this dress. And unless you have a tendency toward large dots, it’s doubtful you will have this fabric in your stash. You might…one less thing to buy! But I had to buy my fabric. I actually found my fabric in the general cotton section at Joanns (they have a pink dot just like this too if you want to go with the “updated” Minnie”). I didn’t have time to order online, but once again there are some great options for polka dots. Nearly everyone sells a red with white polka dot. I like the fabric I picked because of the large scale of the dot…Minnie is not shy about that dot! I’m not seeing the scale on this at the moment, but Michael Miller is great for basics like this.
2. Trim
I chose two trims for this dress. One is a wider satin black ribbon for the tie at the waist. The other is a lightly gathered black lace for the hem detail of the dress. I bought a spool of each but I was really tight on the black lace. I want to remind everyone that I’m currently making the smallest size of the dress and your trim needs may be slightly greater than mine for larger sizes of the dress. Your best bet is to measure!!
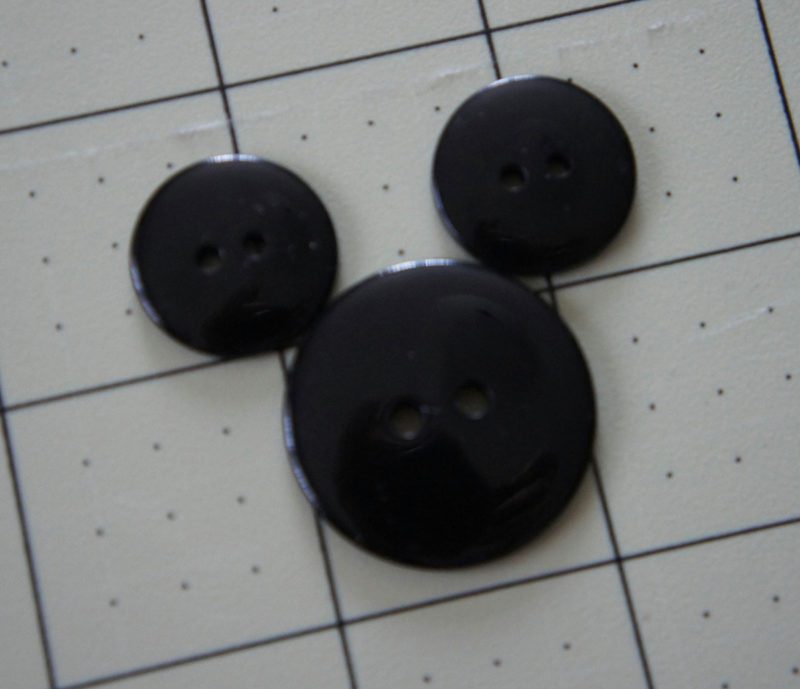
3. Buttons
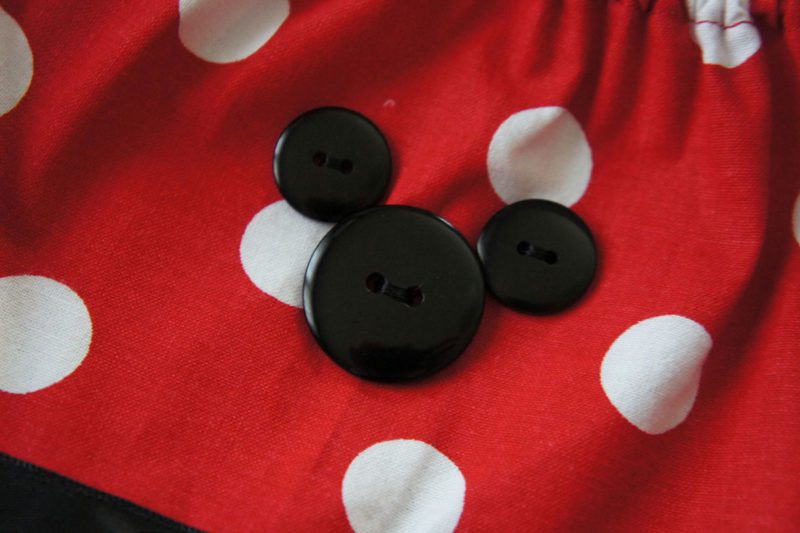
There are three simple black buttons that I used to make a Minnie/Mickey head for the bodice of the dress. You will need 1 large black button and 2 medium black buttons. Ideally these will all match, but you know the deal. Make it work!

Getting Started! Let’s make the dress
Cut your bodice, sleeve and skirt fabric all from the red polka dot fabric.
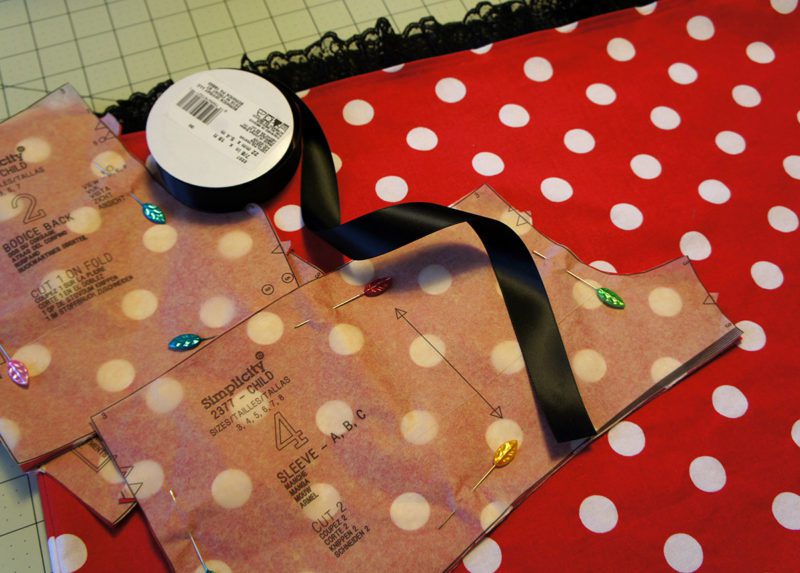

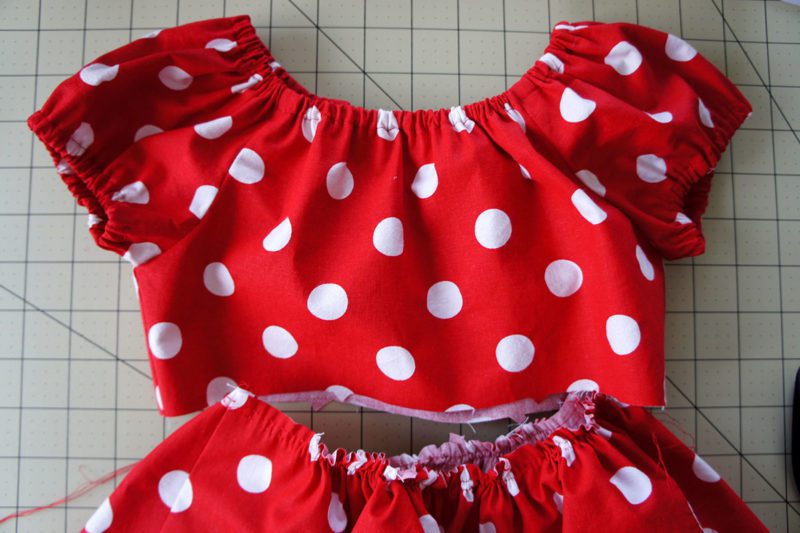
Sew together your bodice top following the pattern directions. This is easy and simple as our embellishment comes after the sewing. You can go ahead and sew your two skirt pieces together as well.

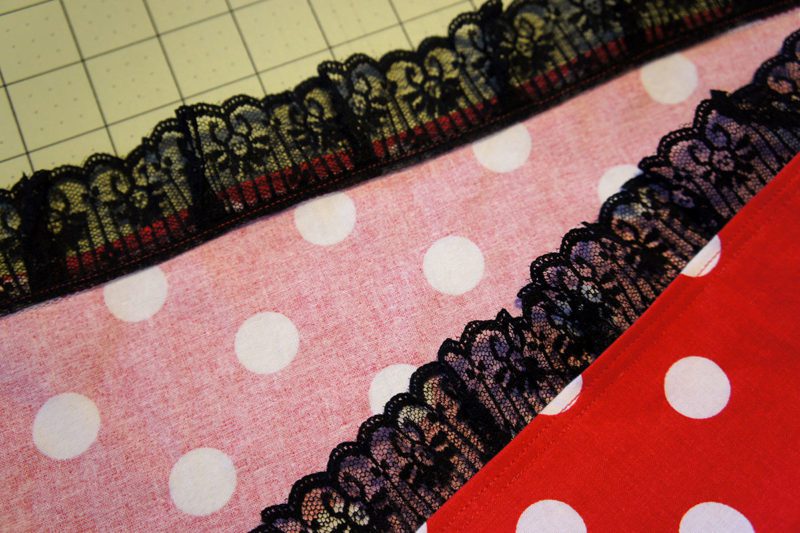
Hem the skirt and apply the black lace ribbon detail. I sew the ribbon to the interior of dress, so the sweet lace peeks out from behind the skirt.
<

Then gather your skirt top if you have not already and prepare to sew the bodice top to the skirt. You can apply the buttons to the bodice first if you like before sewing the top and skirt together. But I prefer to sew the two together first so that I have a truer view of the bodice. (no extra fabric that will actually be in the seam allowance)
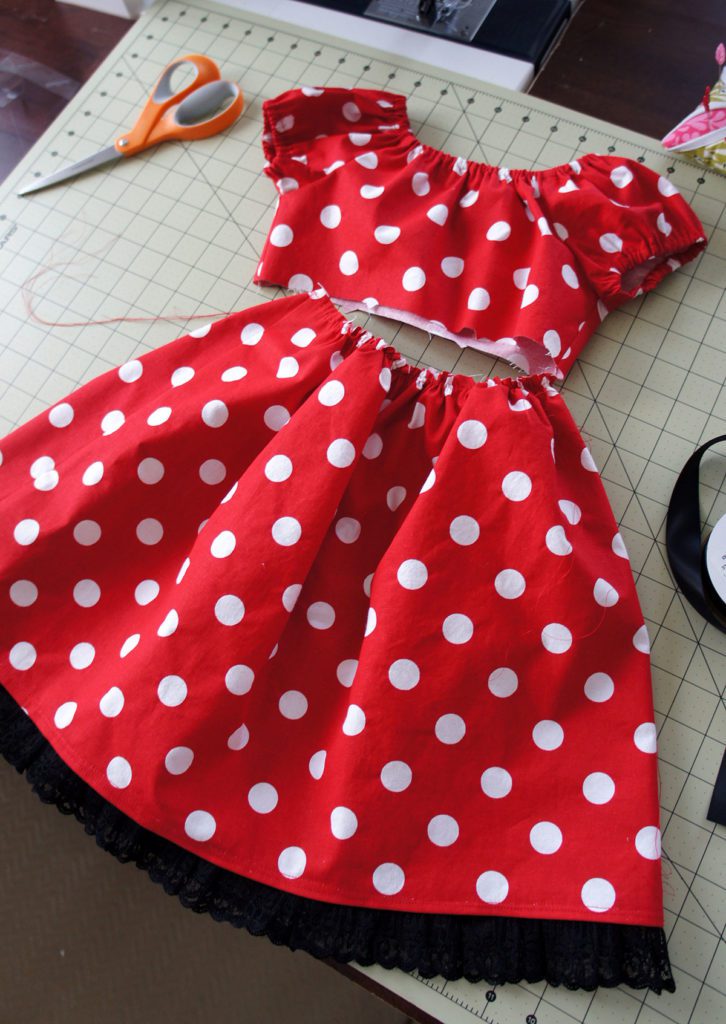

Again, I also chose to add the ribbon waist tie before the button detail to have the truest view of the bodice. Use the pattern piece provide for the waist tie. This pattern piece is for ONE side tie, so you will need to double it plus add the length of the bodice front to determine your entire cut ribbon.
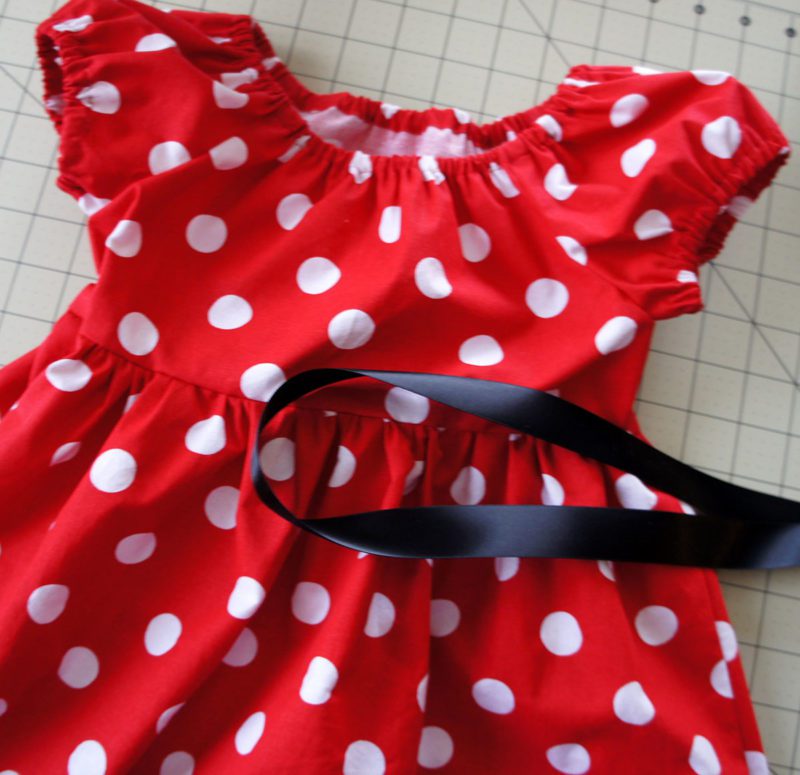

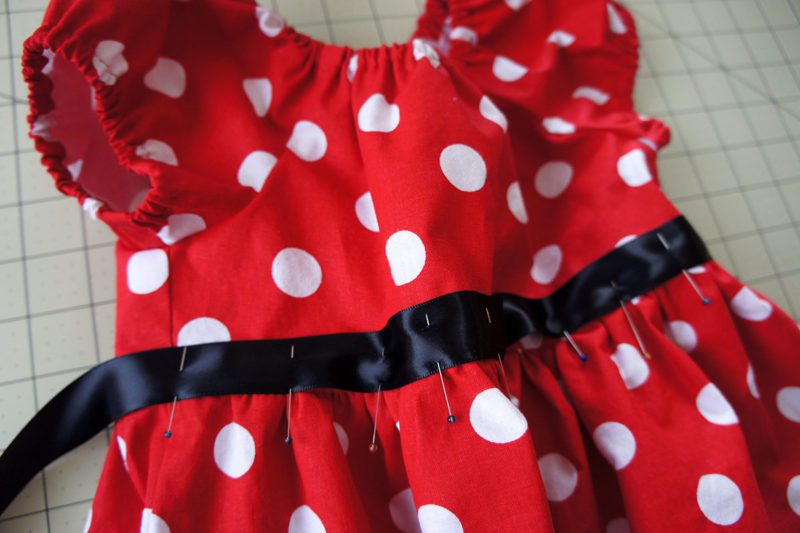
Find the center of the ribbon tie and match it to the bodice center at the waist line. Pin the ribbon in place along the bodice FRONT at the waist. Stitch the ribbon in place along the top and bottom of the ribbon as well as the side seams.

The very last step is to add the Minnie/Mickey head made from three buttons. Place the three buttons on the bodice front center as you find pleasing. Mine is fairly center in terms of height as well after the waist has been sewn and the ribbon tie is added.
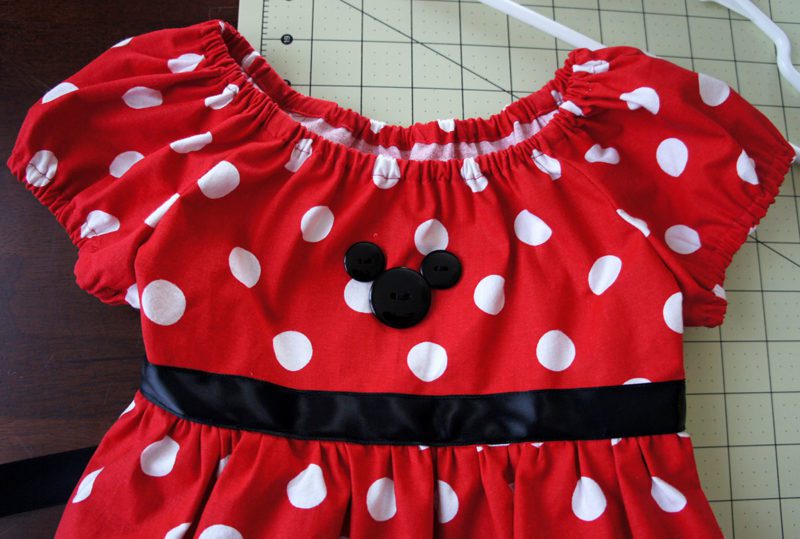

Mark your button placement and carefully sew your three buttons in place. This step was slightly trickier than I wanted it to be but I’m a perfectionist and I was in a rush…so you’ll be fine…just take your time to get everything lined up just so.

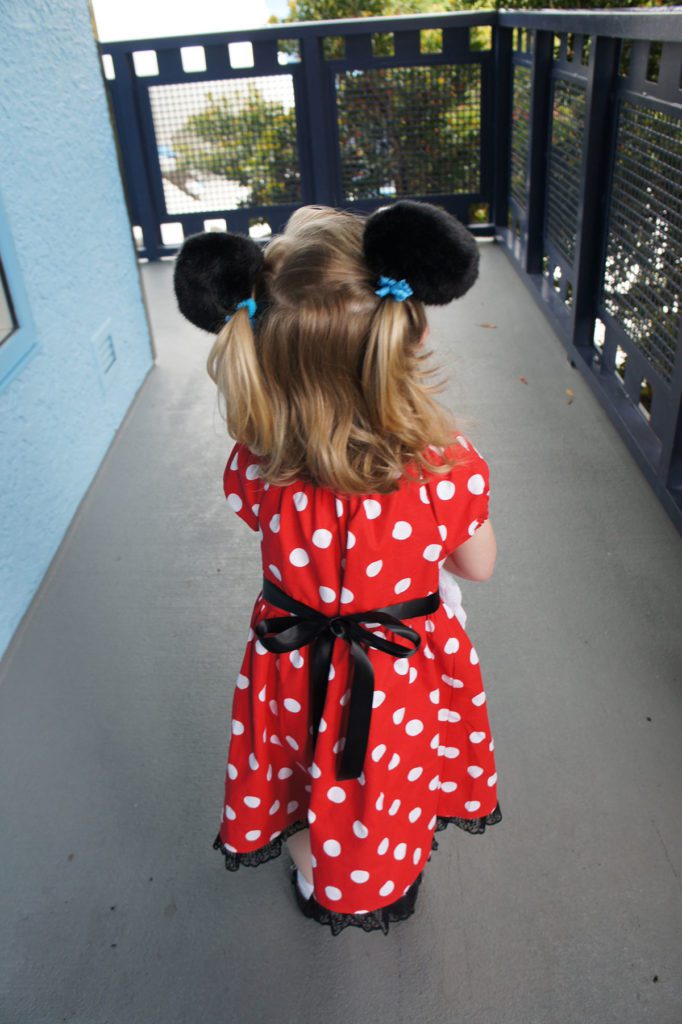
And now you have the perfect Minnie Dress! Complete the look with an ear headband or Ear Hair Clips (what I used) purchased from Disney (I can’t make everything!! lol). A minnie doll in hand helps complete the reference just in case someone is REALLY confused. 😉 A life size Mickey friends helps too.
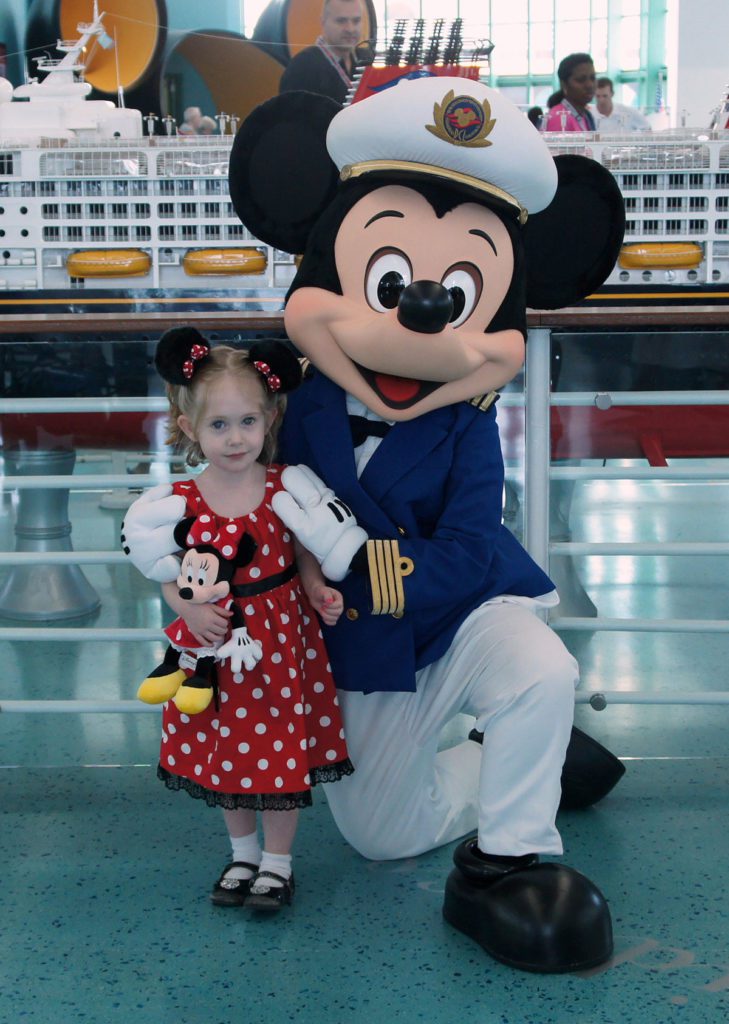

She’ll be cute from the front and the back!

Be sure to add your pictures and progress to the Pretty Princess Flickr Group . Check out all of the fun dresses there!
Oh and I’m taking suggestions on the next dress. I have the cleaning dress for Cinderella in mind and Snow White. Any others that you want to see right away or preferences on which to do next?
So, so, so cute.
too sweet!
How adorable
I love this dress I need to make it for my Grand daughter, I have one dress cut out from 2377 right now it is a lavendar with white polka dots. Now I have to make this one we are going to Disney in October hopefully I can get it made by then. I was wonder what sewing machine do you use? By the way love all your posts you but on here.
I actually have two sewing machines. But I have generally been using my brother innovis nx-650 for sewing these dresses. Honestly the most basic machine is all you need!
i am loving this sew along! I will add my photos soon (is it tough? :)) but I made two rapunzel dresses for my girls 4 & 2! They love them! I just bought fabric for Minnie and then saw your post!
I'd be up for Merda from Brave as your next sew along 🙂 but that is only a suggestion! I'll probably end up doing whatever you do! The girls are LOVING it!
http://babygillette-fox.blogspot.com (photos will be up tomorrow on my blog)
that is adorable. I'm SOOOO jealous of the disney cruise. I want to GO!! we might go next year…. two yrs ago we went to disney world and it was the best family trip EVER (well really the only family trip ever) but the best trip for all of us… heard great things about the cruise…. did you do a penpal swap thing on the trip? I heard about that a while ago…. and what did the adults do?
Thanks so much. I love how Minnie turned out. I finished mine on Friday and hope to get it mailed off to my little princess (niece) this week.
My granddaughter who will be 5 next week has requested a Minnie Mouse dress. She prefers the pink dress version.
I was so pleased when I saw your post and realized that you are using the exact pattern that I just finished cutting out tonight. It is a great pattern that I have used for her before.
Oh, this is soooo cute! Amazing project, Angela