Now back to our regularly scheduled programming. 😉 I’ve finally pulled together the set in circle tutorial that I have been mentioning for months now. I’m sorry that it has taken me so long to get to this. What can I say? Life happens.
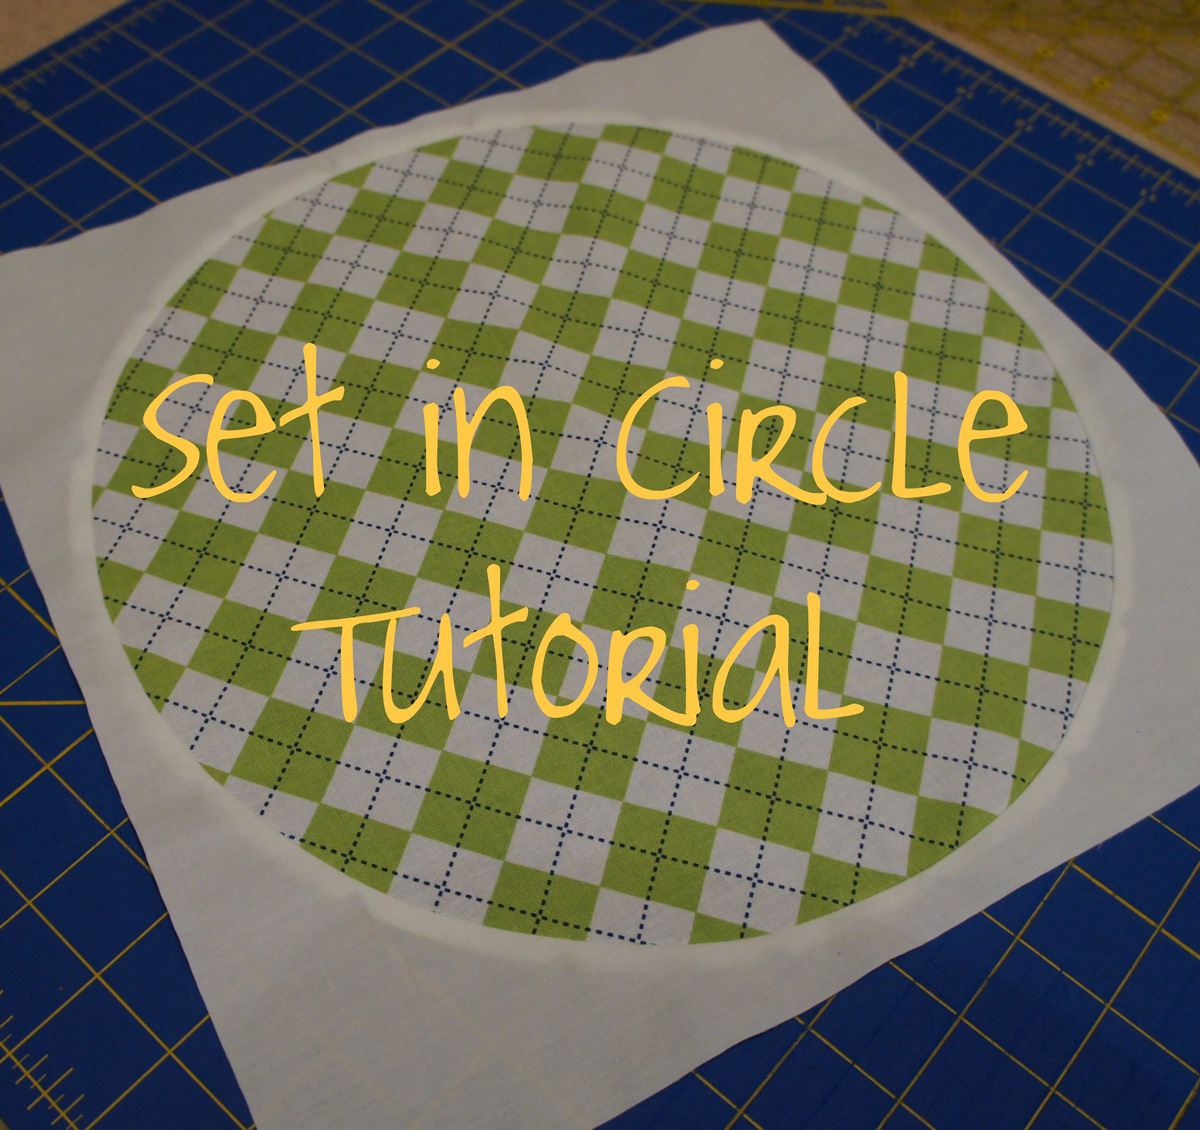

This tutorial will teach you step by step the method I used to sew a circle into another fabric (vs applique on top). Each method of working with circles has its own place, but I personally have grown to love NOT using applique. I’m a convert to sewn in circles. Well, at least I’m not completely afraid of it.
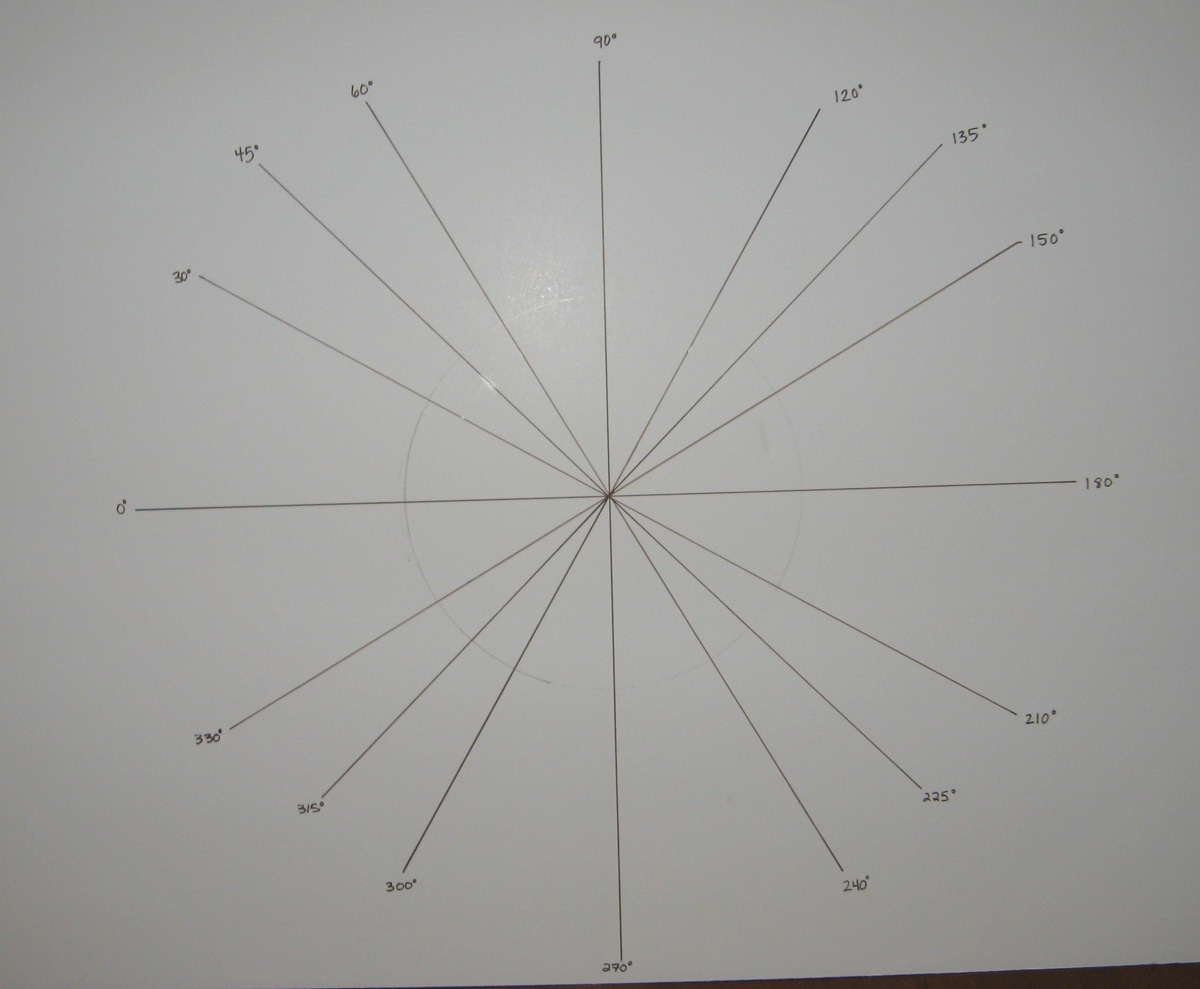
I’m going to start by showing you a board that I made for use with all of the blocks that I make with pieced circles. Now you may find that you don’t need to make one for yourself if you are only making one block. But if you are making more, perhaps enough for a whole quilt, this will ultimately be a time saver. And if you don’t find it necessary to make one, I think that the concepts in it will still be helpful.
I chose a piece of foam board (vs poster board) because I can stick pins into if necessary to hold the fabric in place. Start by roughly finding the center of the board. Use a compass to draw a circle around the center. It can be any size, but I lean towards the largest circle the compass will make.
Use a large ruler to draw two perpendicular lines that intersect at the center of the circle.
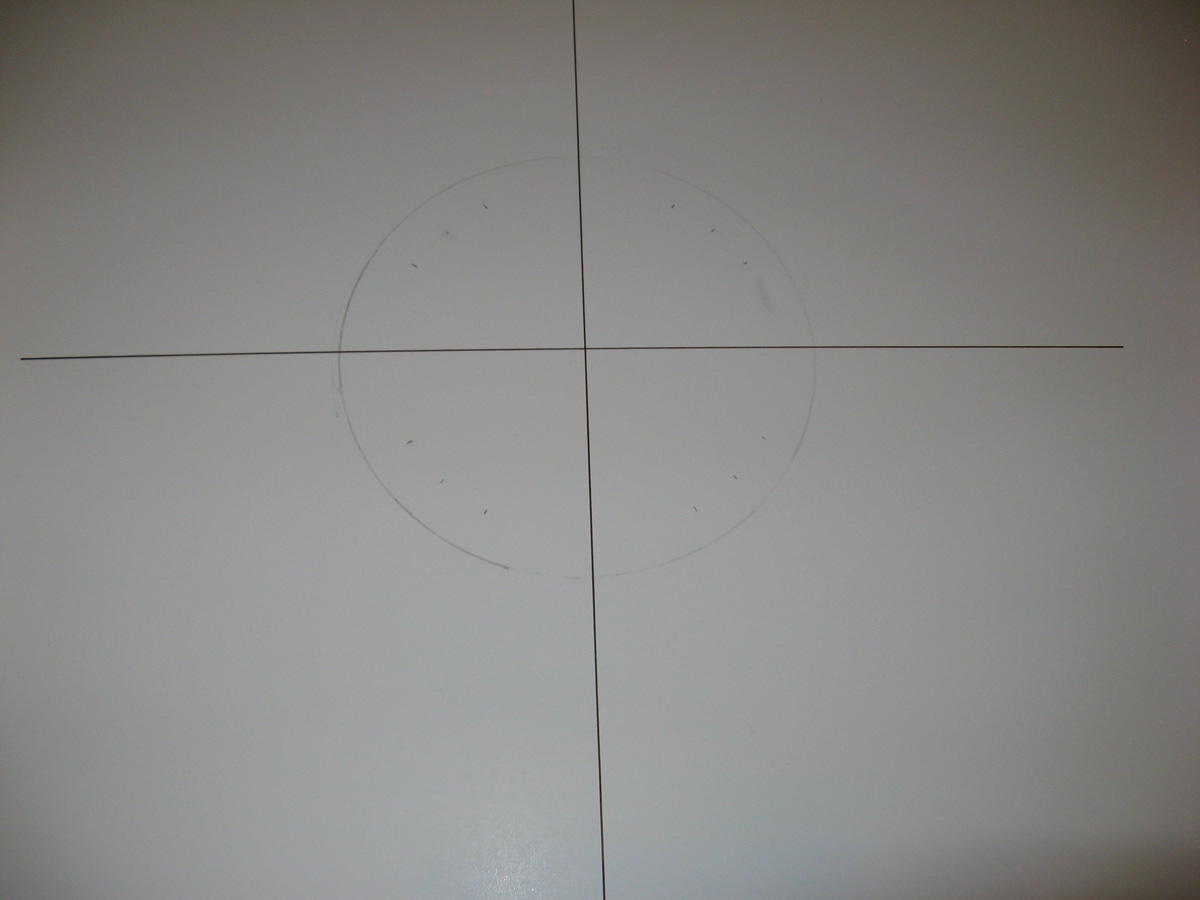

Rifle through old school supplies and find a protractor (warning: math nerd alert…there’s a reason I know exactly where mine is! lol).
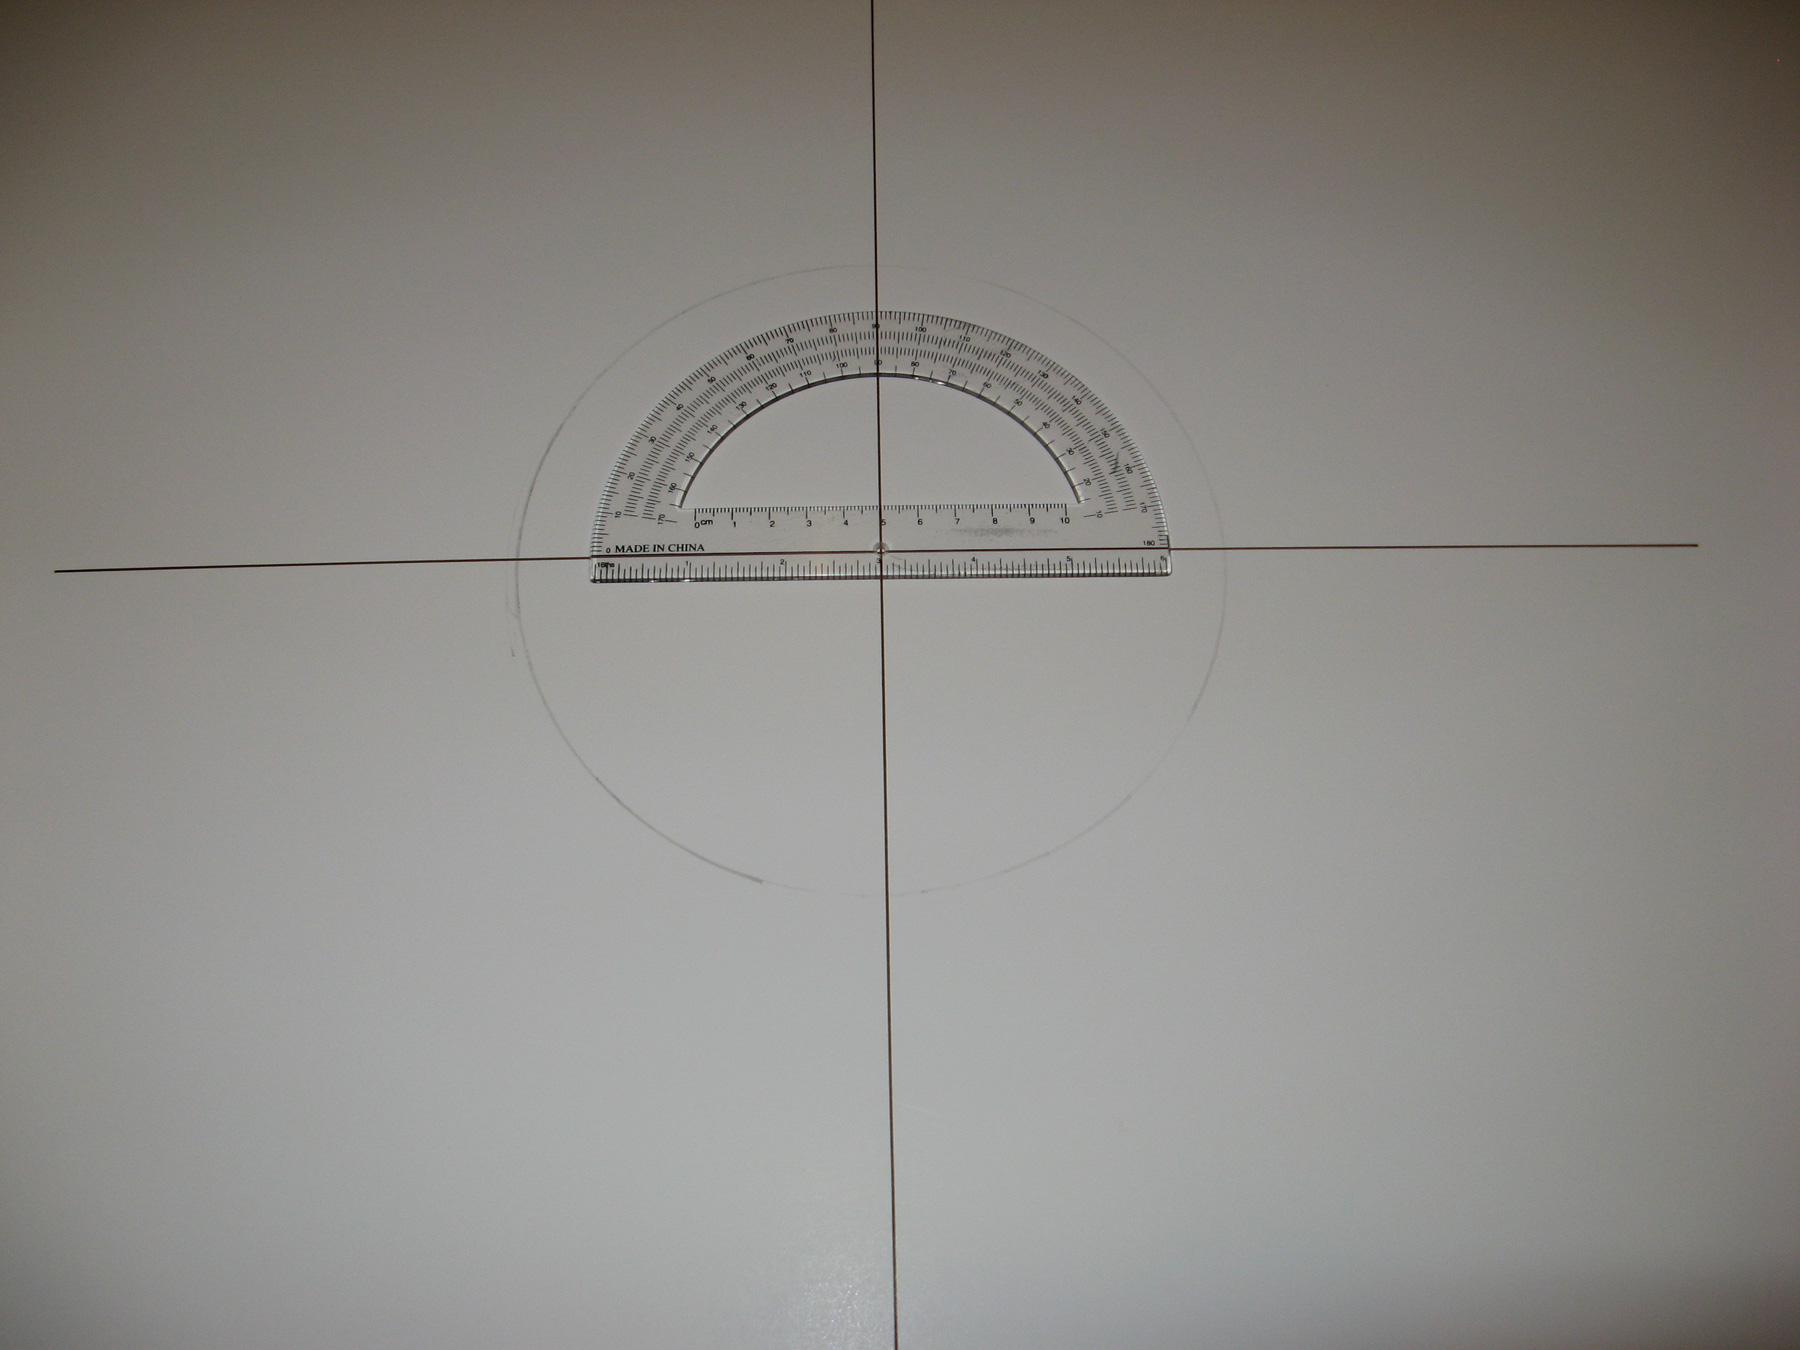

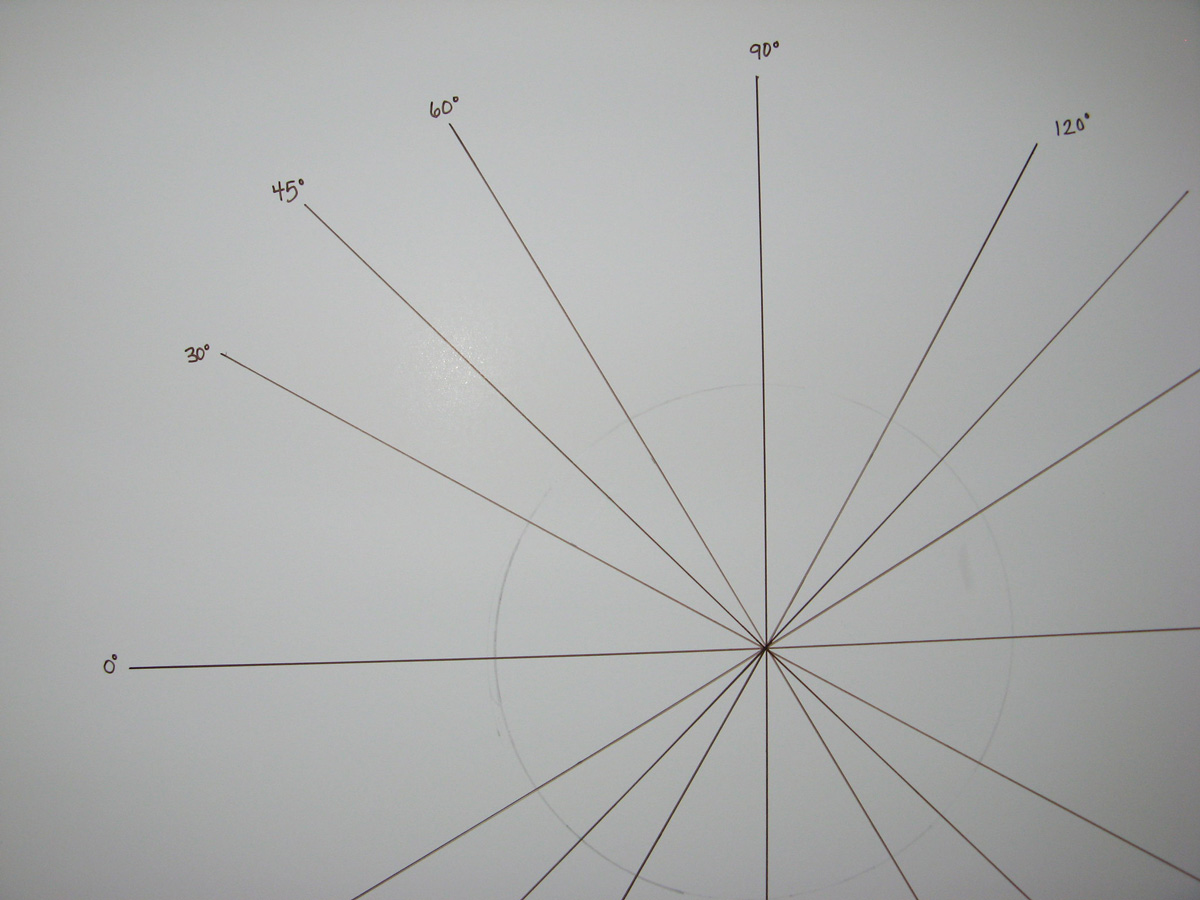
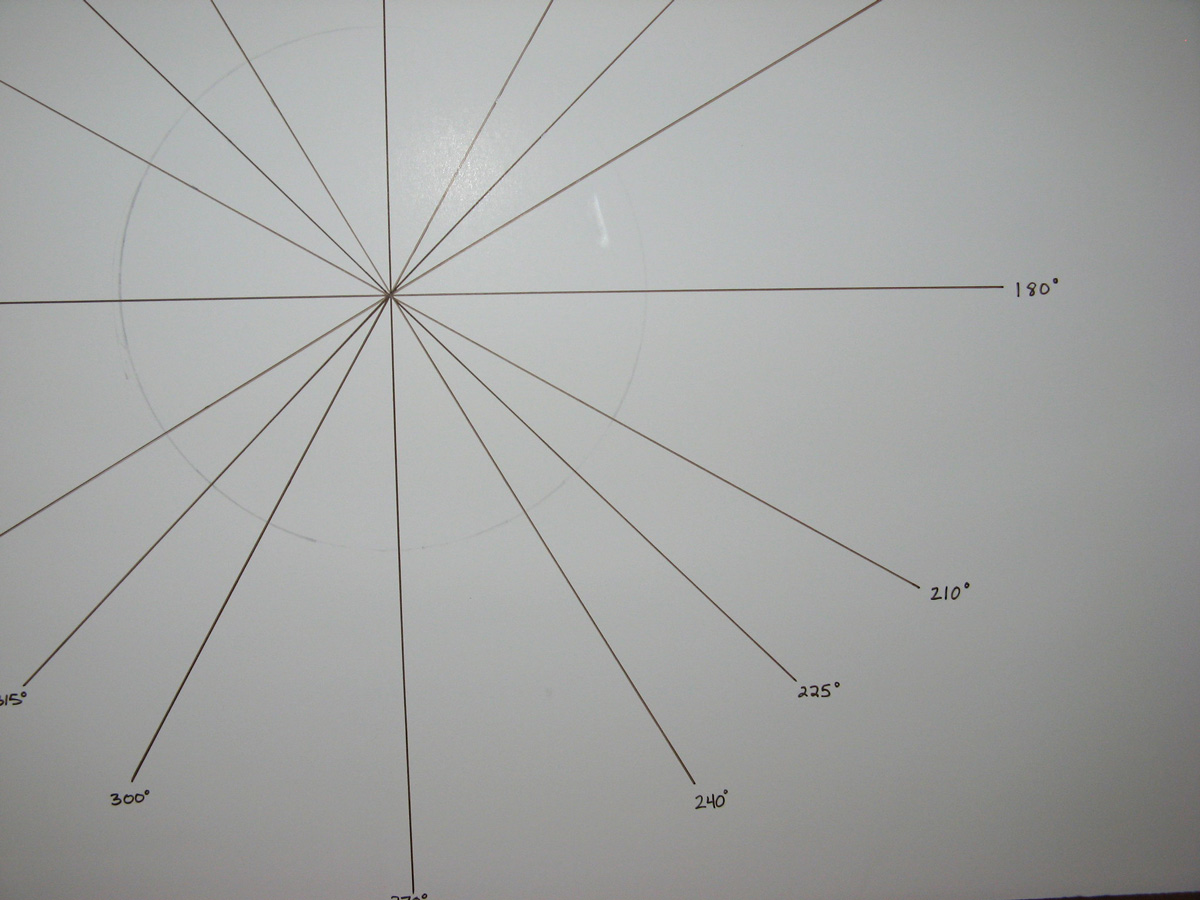
Use this to mark the angles of your choice evenly around the circle. I would mark at least three times per quadrant. I’m a creature of habit and the unit circle (precalc anyone?) is what I return to when I see circles, so you will see that my circle is marked at 30, 45, and 60 degrees in each quadrant. But feel free to use whatever angles make you happy. 😉 Once you have marked the angles around the circle, use a long ruler and draw more lines around the circle radiating from the center.
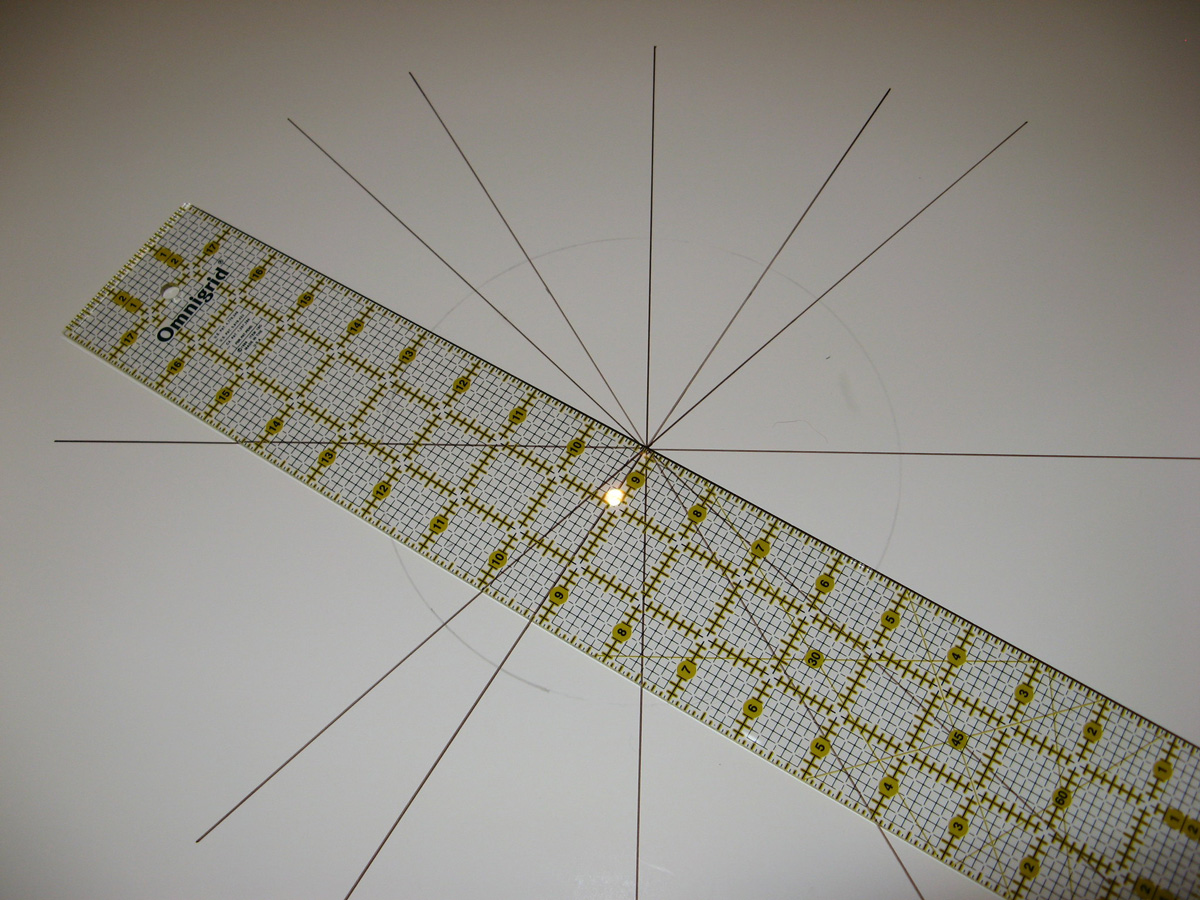

Once again, math nerd alert. I labeled all of my angles. But don’t worry…you don’t need to do that unless you want to. It might be nice to at least have a possible top and bottom labeled depending on the block you are doing, but that will be up to your work.



Now onto the fabric!
*My instructions aim to tell you how to use this technique for any size block and any size circle. So though you may see me use certain measurements in my pictures, they do not all match up to the same project. I will give general measurements for you to use on the block size of your choice.*
For simplicity’s sake, I am showing this technique with only two pieces of fabric, the inner circle, and the outer border circle. But there are INFINITE possibilities of ways to combine more complicated design pieces.
Choose two fabrics, one for the outside border (in my case, a white fabric) and one for the inner circle (my Ann Kelle argyle print). Set aside the inner circle fabric…we’ll get to that later.
Cut a square approximately 2.5″ larger than your desired block size. For instance, when I want a 12.5″ unfinished block, I cut myself a 15″ square block. This extra fabric is not completely necessary but you’ll thank me for it later. You will have more fabric to work with on curves and more ability to square up your block in the end. Fold the block in half one way, and then in half the other to form a folded quarter square.
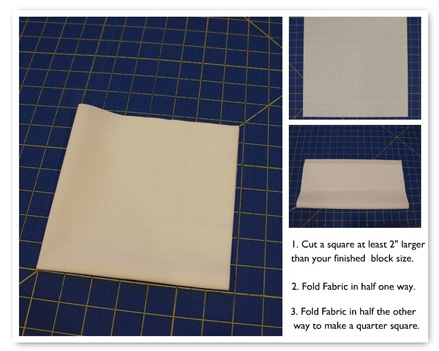

Using either a large compass or the method that I show below, mark a quarter circle on the fabric radiating from the folded corner of the fabric. Your radius will be dependent on the size you want the inner circle to be, but make sure to at least leave a 1/2″ from the marked quarter circle to the edge of the fabric at the smallest points.
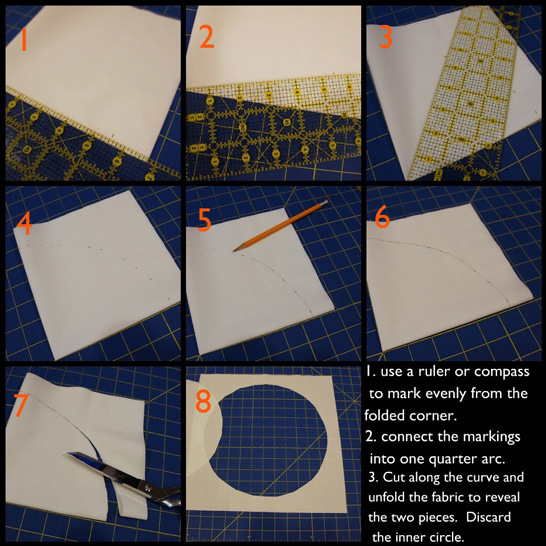

Cut along your drawn line with regular ole scissors and unfold the fabric. Discard the white center circle and hang onto the outer circle which now becomes your border.
*A note about choosing circle sizes*
*You can use this technique for any size circles you are willing to try. But I’ll admit that the larger circles are easier to handle because the curve is gentler. So set yourself up for success and try this out first with a radius of about 5″ for the outer circle.
Whatever size you choose to do, remember that you need to leave yourself a seam allowance around the outside of the outer circle because ultimately you will be sewing this block to something else…at least a binding.*
Now place your outer border on the fancy-dancy foam board with all of your angles. Line up the folds with the main cross (nerd alert: 0, 90, 180, and 270 degrees…I’ve got to keep you on your toes!)
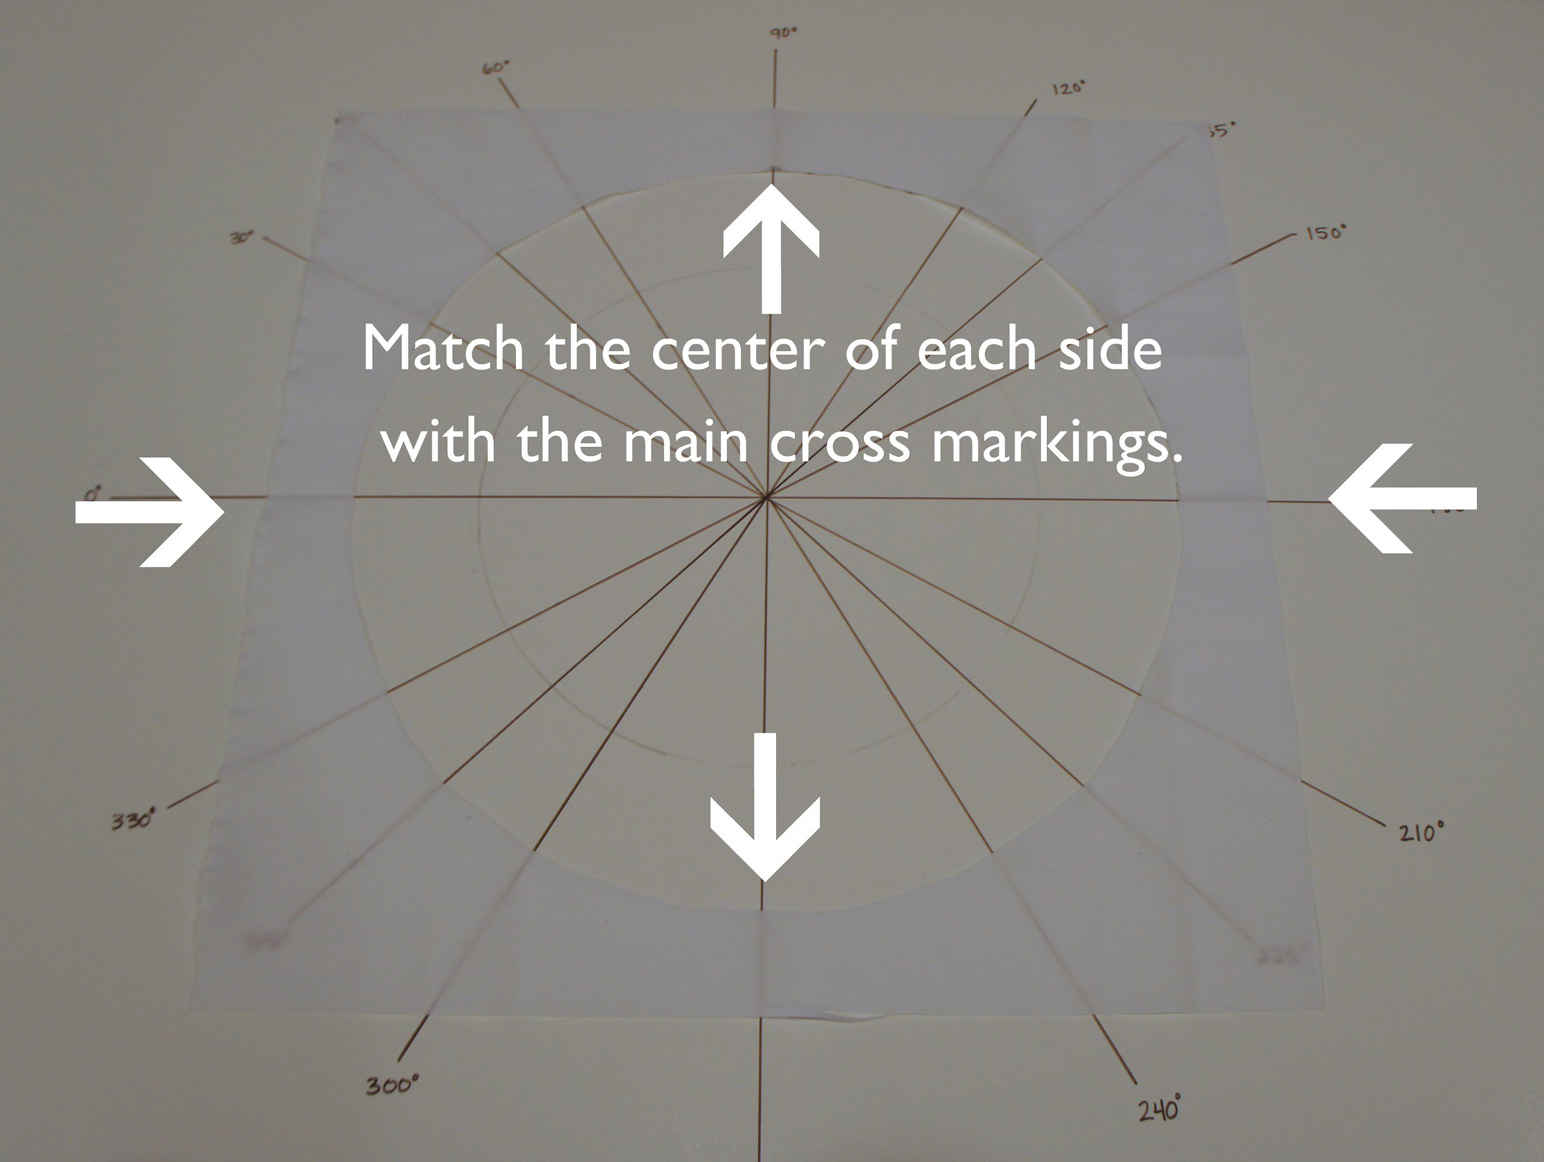

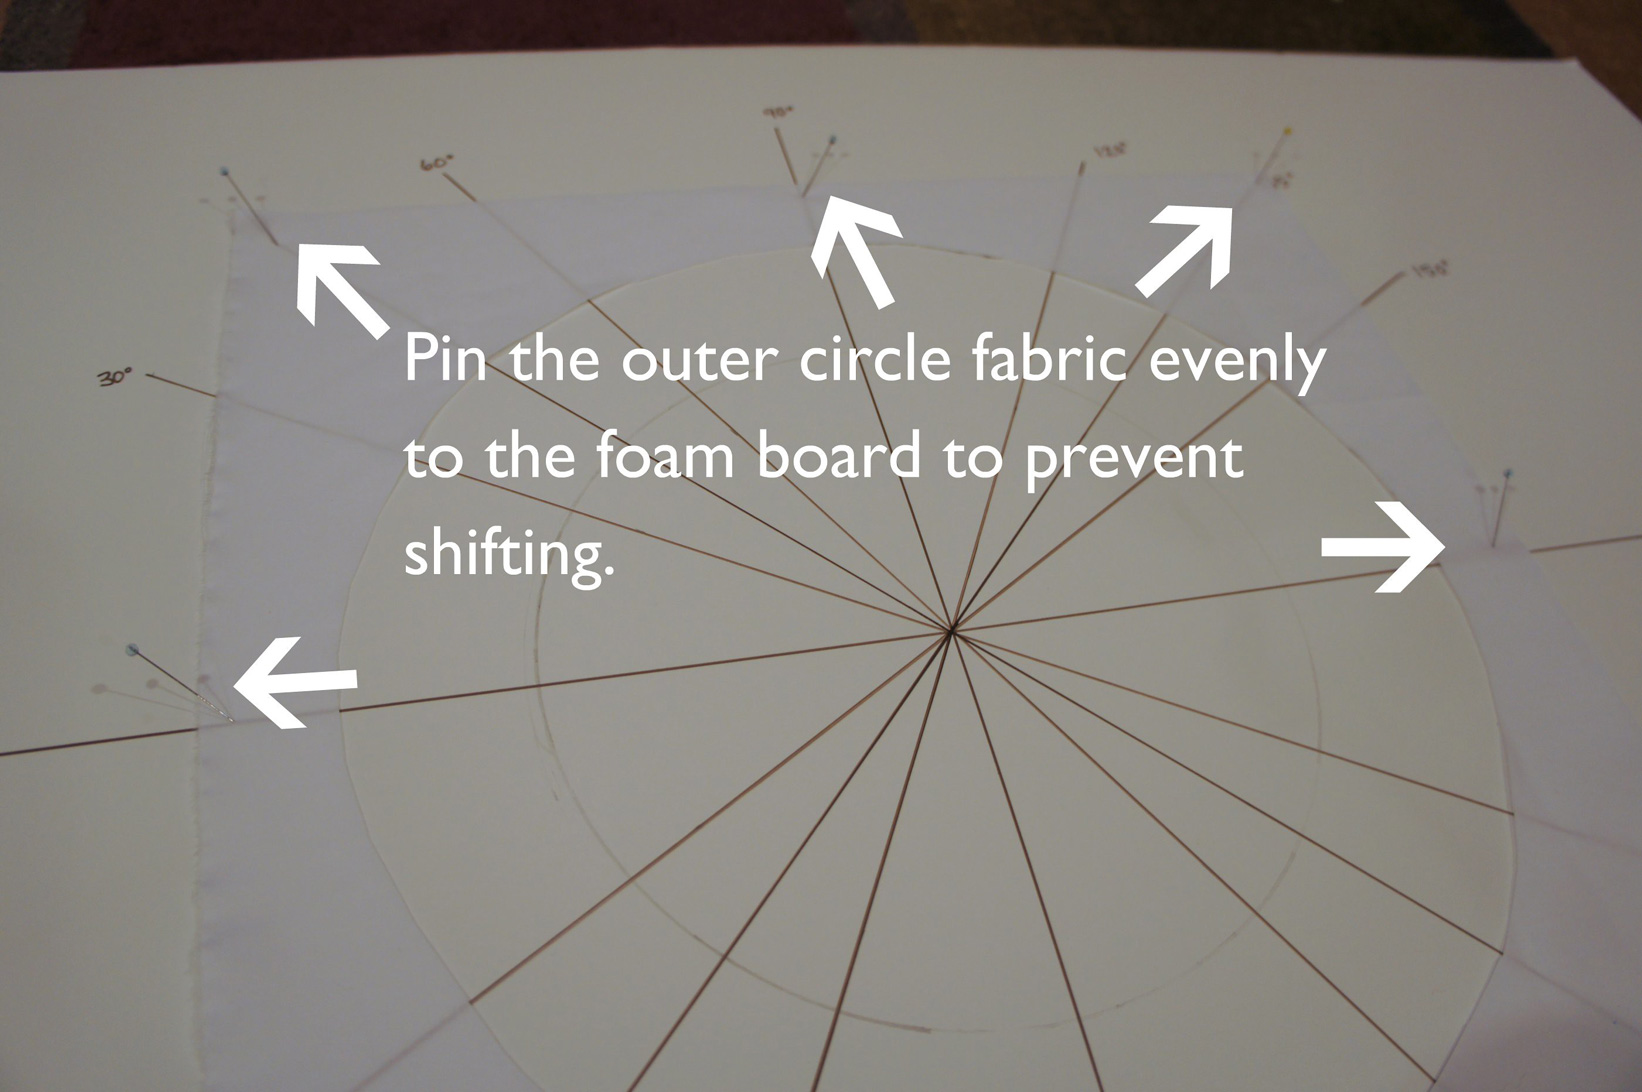
Throw some pins on there to help keep the fabric from shifting. It makes life a little easier.

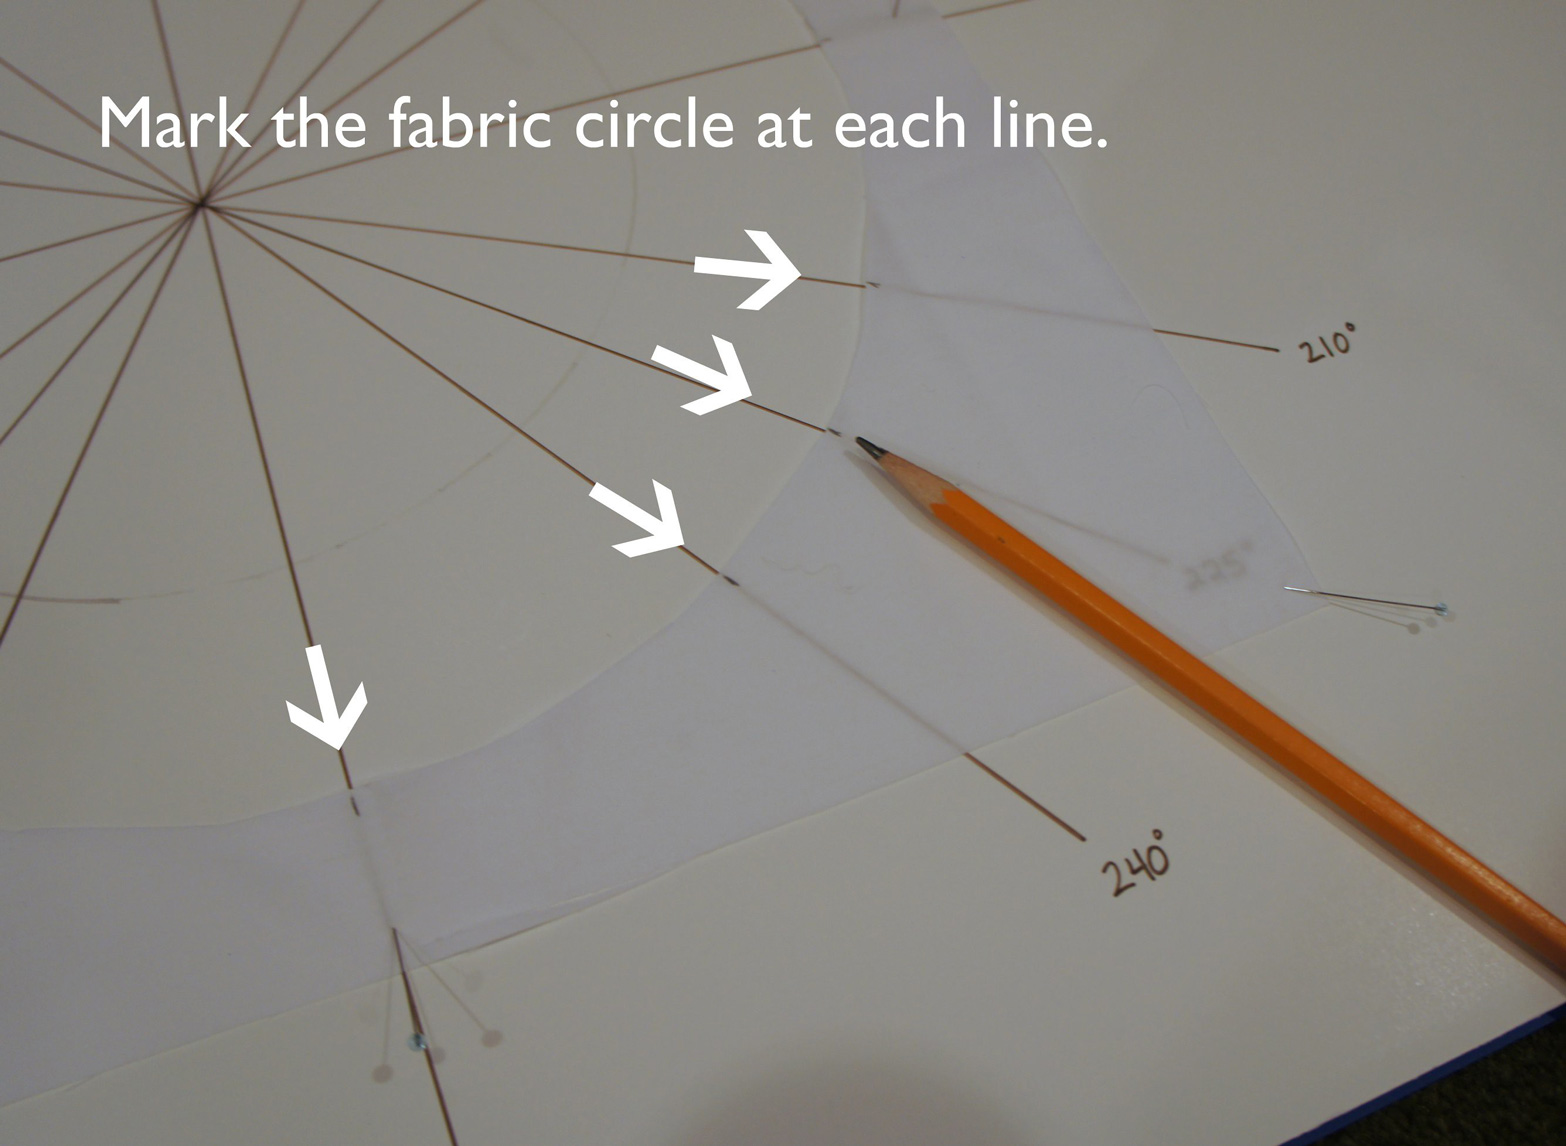
Mark the interior of the fabric along the circle edge at each spot around the circle. Tip:
You don’t want to make your mark larger than a 1/4″ because it needs to stay in your seam allowance.

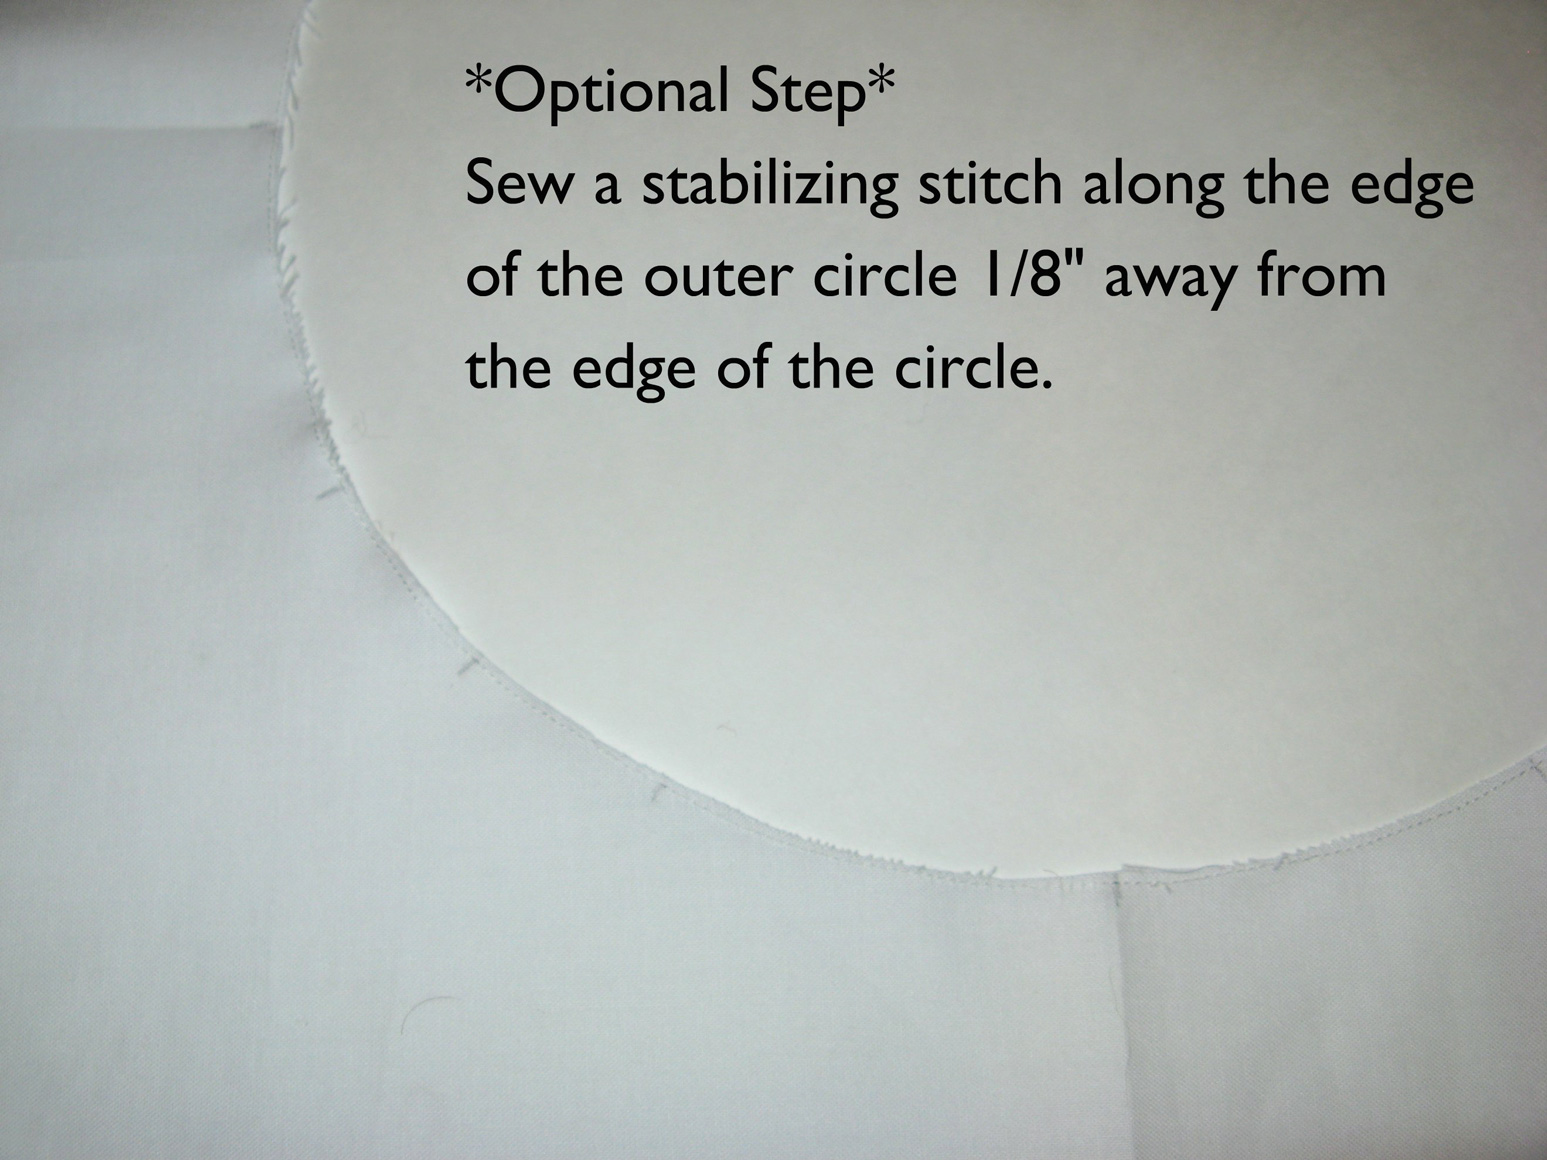
*Optional Step* Depending on the fabric used, I have found that I need or don’t need to do this step. Some fabrics have a little too much stretch to them and need to be stabilized. Others are rigid and you need the extra stretch for the curved piecing. For instance, Kona cotton generally does not need this step, but a gauze-like FFA by Heather Ross could use this.
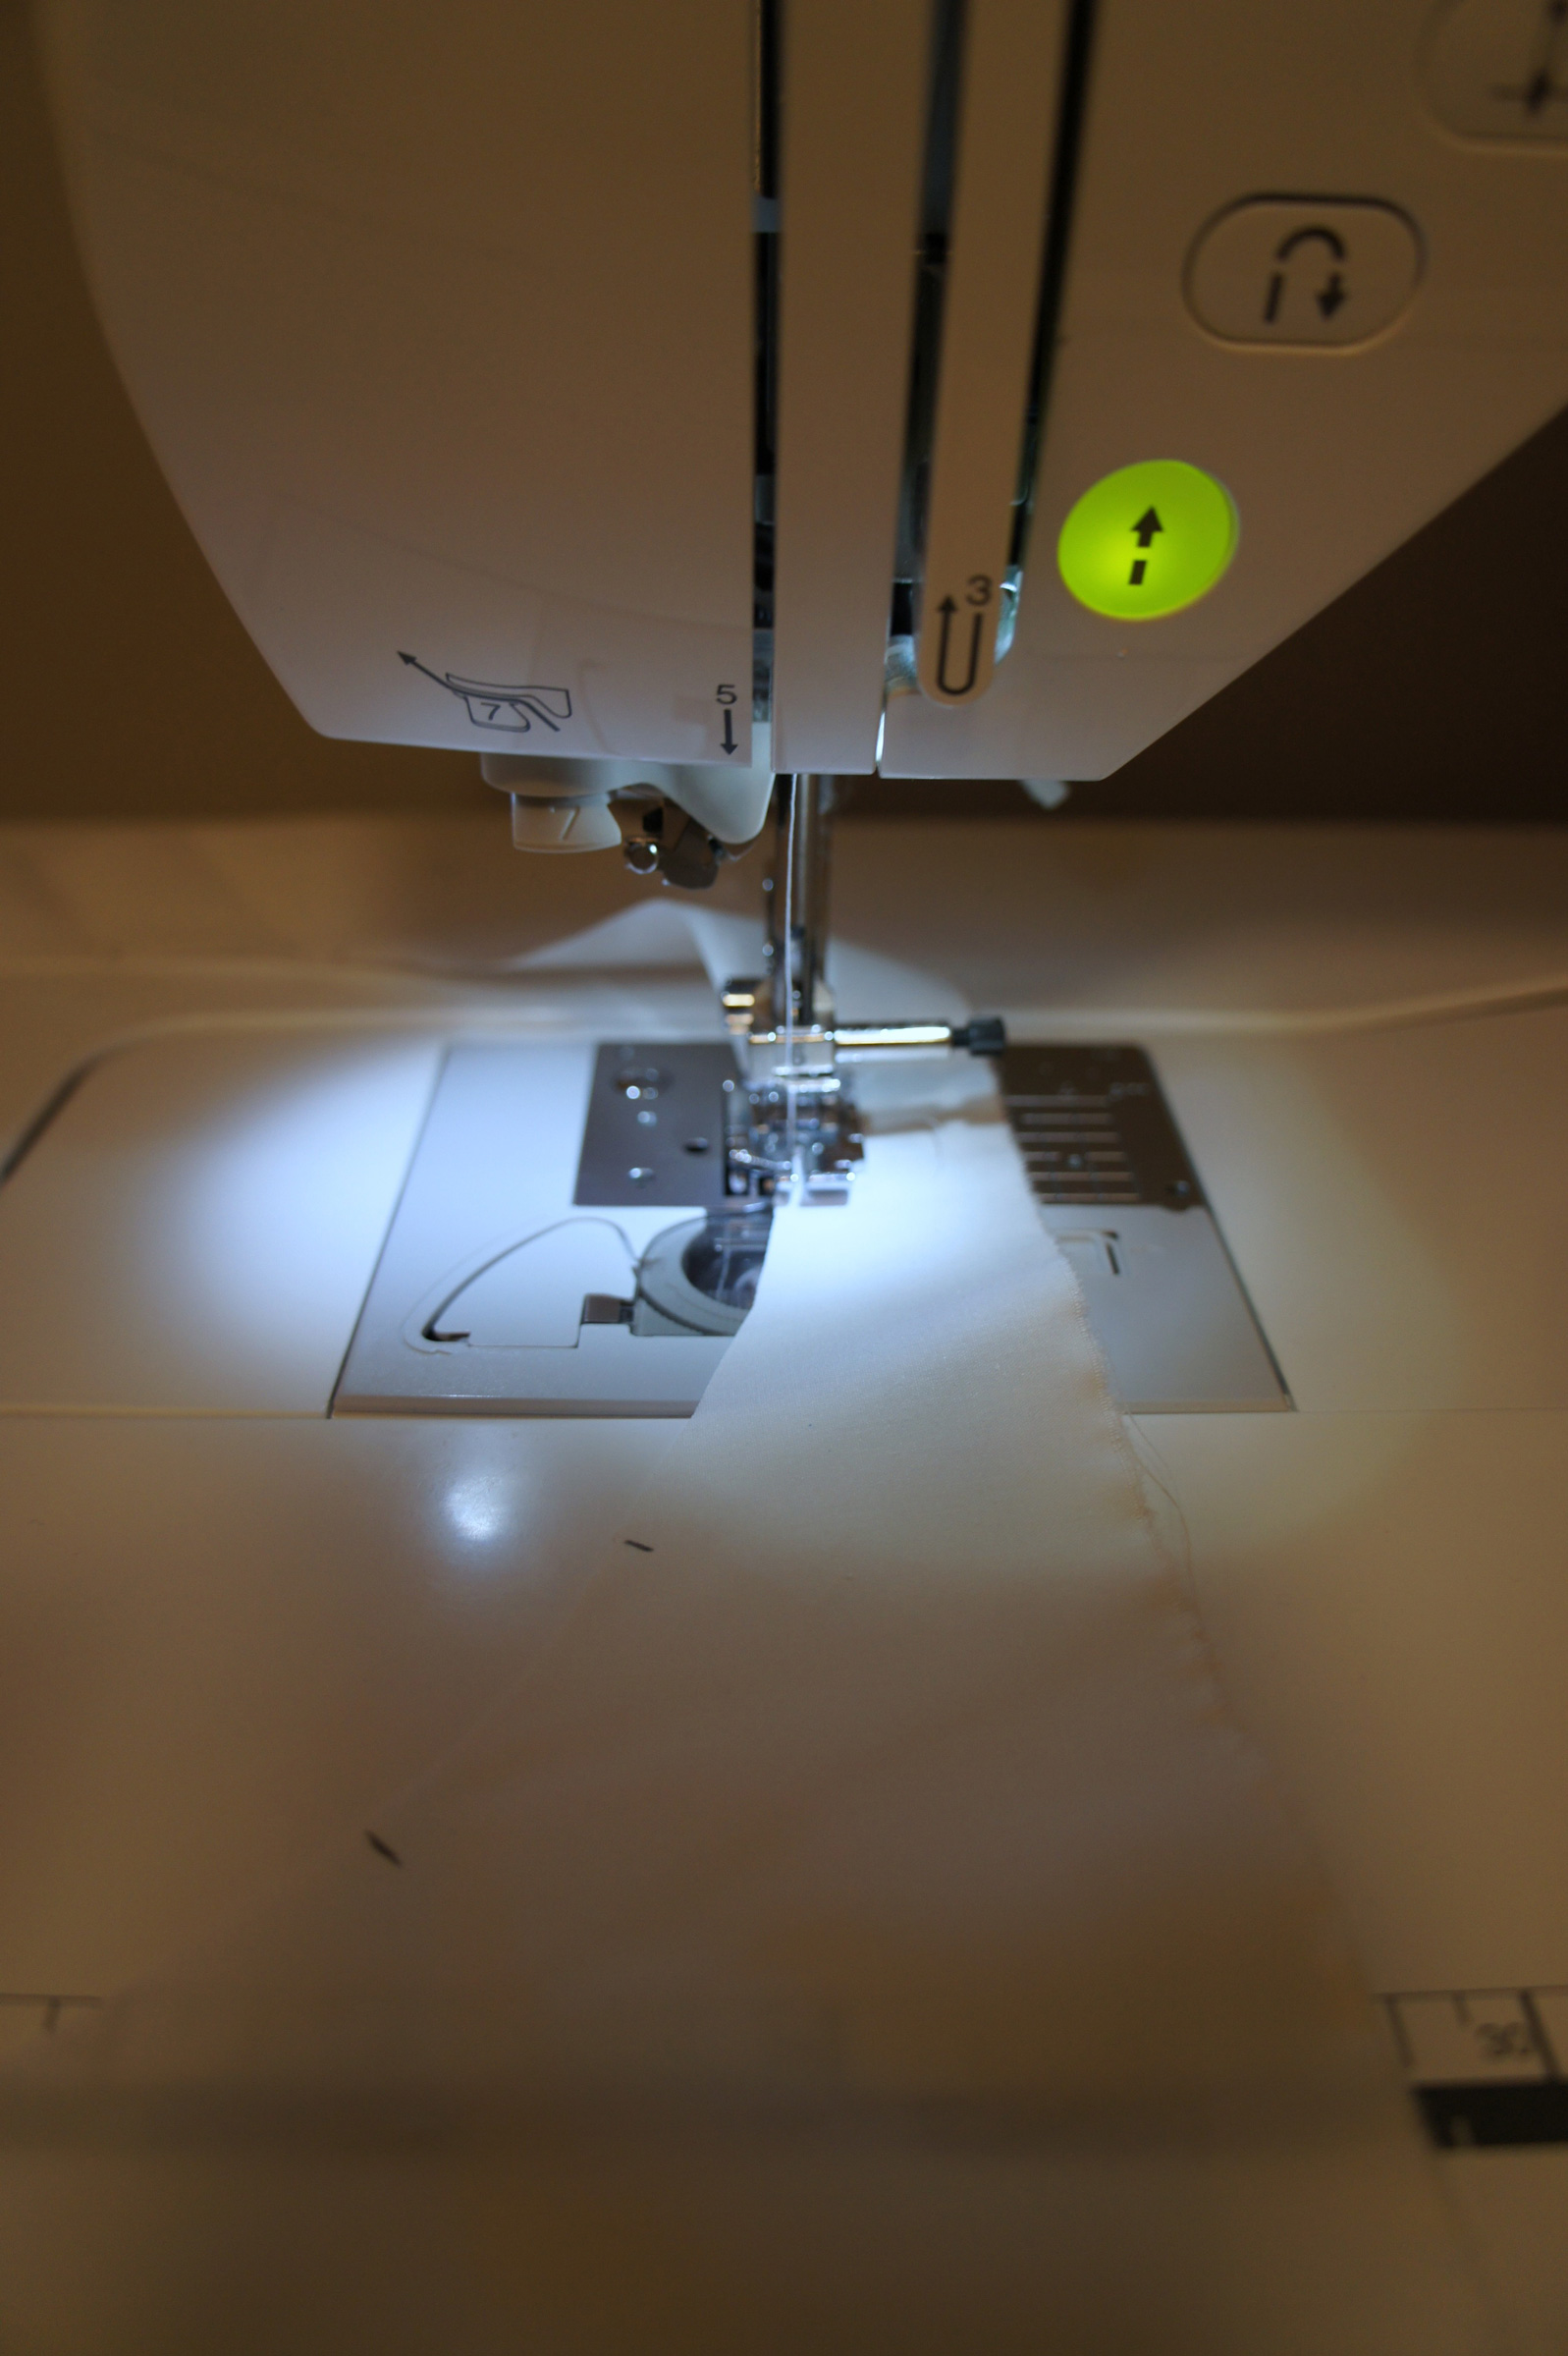
Sew a stabilizing stitch around the interior of the circle with a SHORT stitch length. My machine’s standard straight stitch length is 2.5 and I set my machine to 1.8 for this. Use a 1/8″ seam allowance. That short stitch length will help you get around the circle more easily as well with such a small seam allowance.


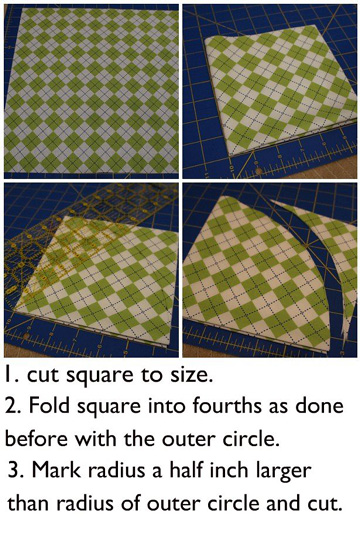
Onto the inner circle! Just as you did with the outer circle fabric, take the inner circle fabric and fold it into fourths, mark your desired size evenly from the folded corner, and cut. The radius you use should be 1/2″ larger than the one that you used for the outer circle. Yes, that’s a little counterintuitive. But the inner circle will be larger than the circle opening of the outer circle.

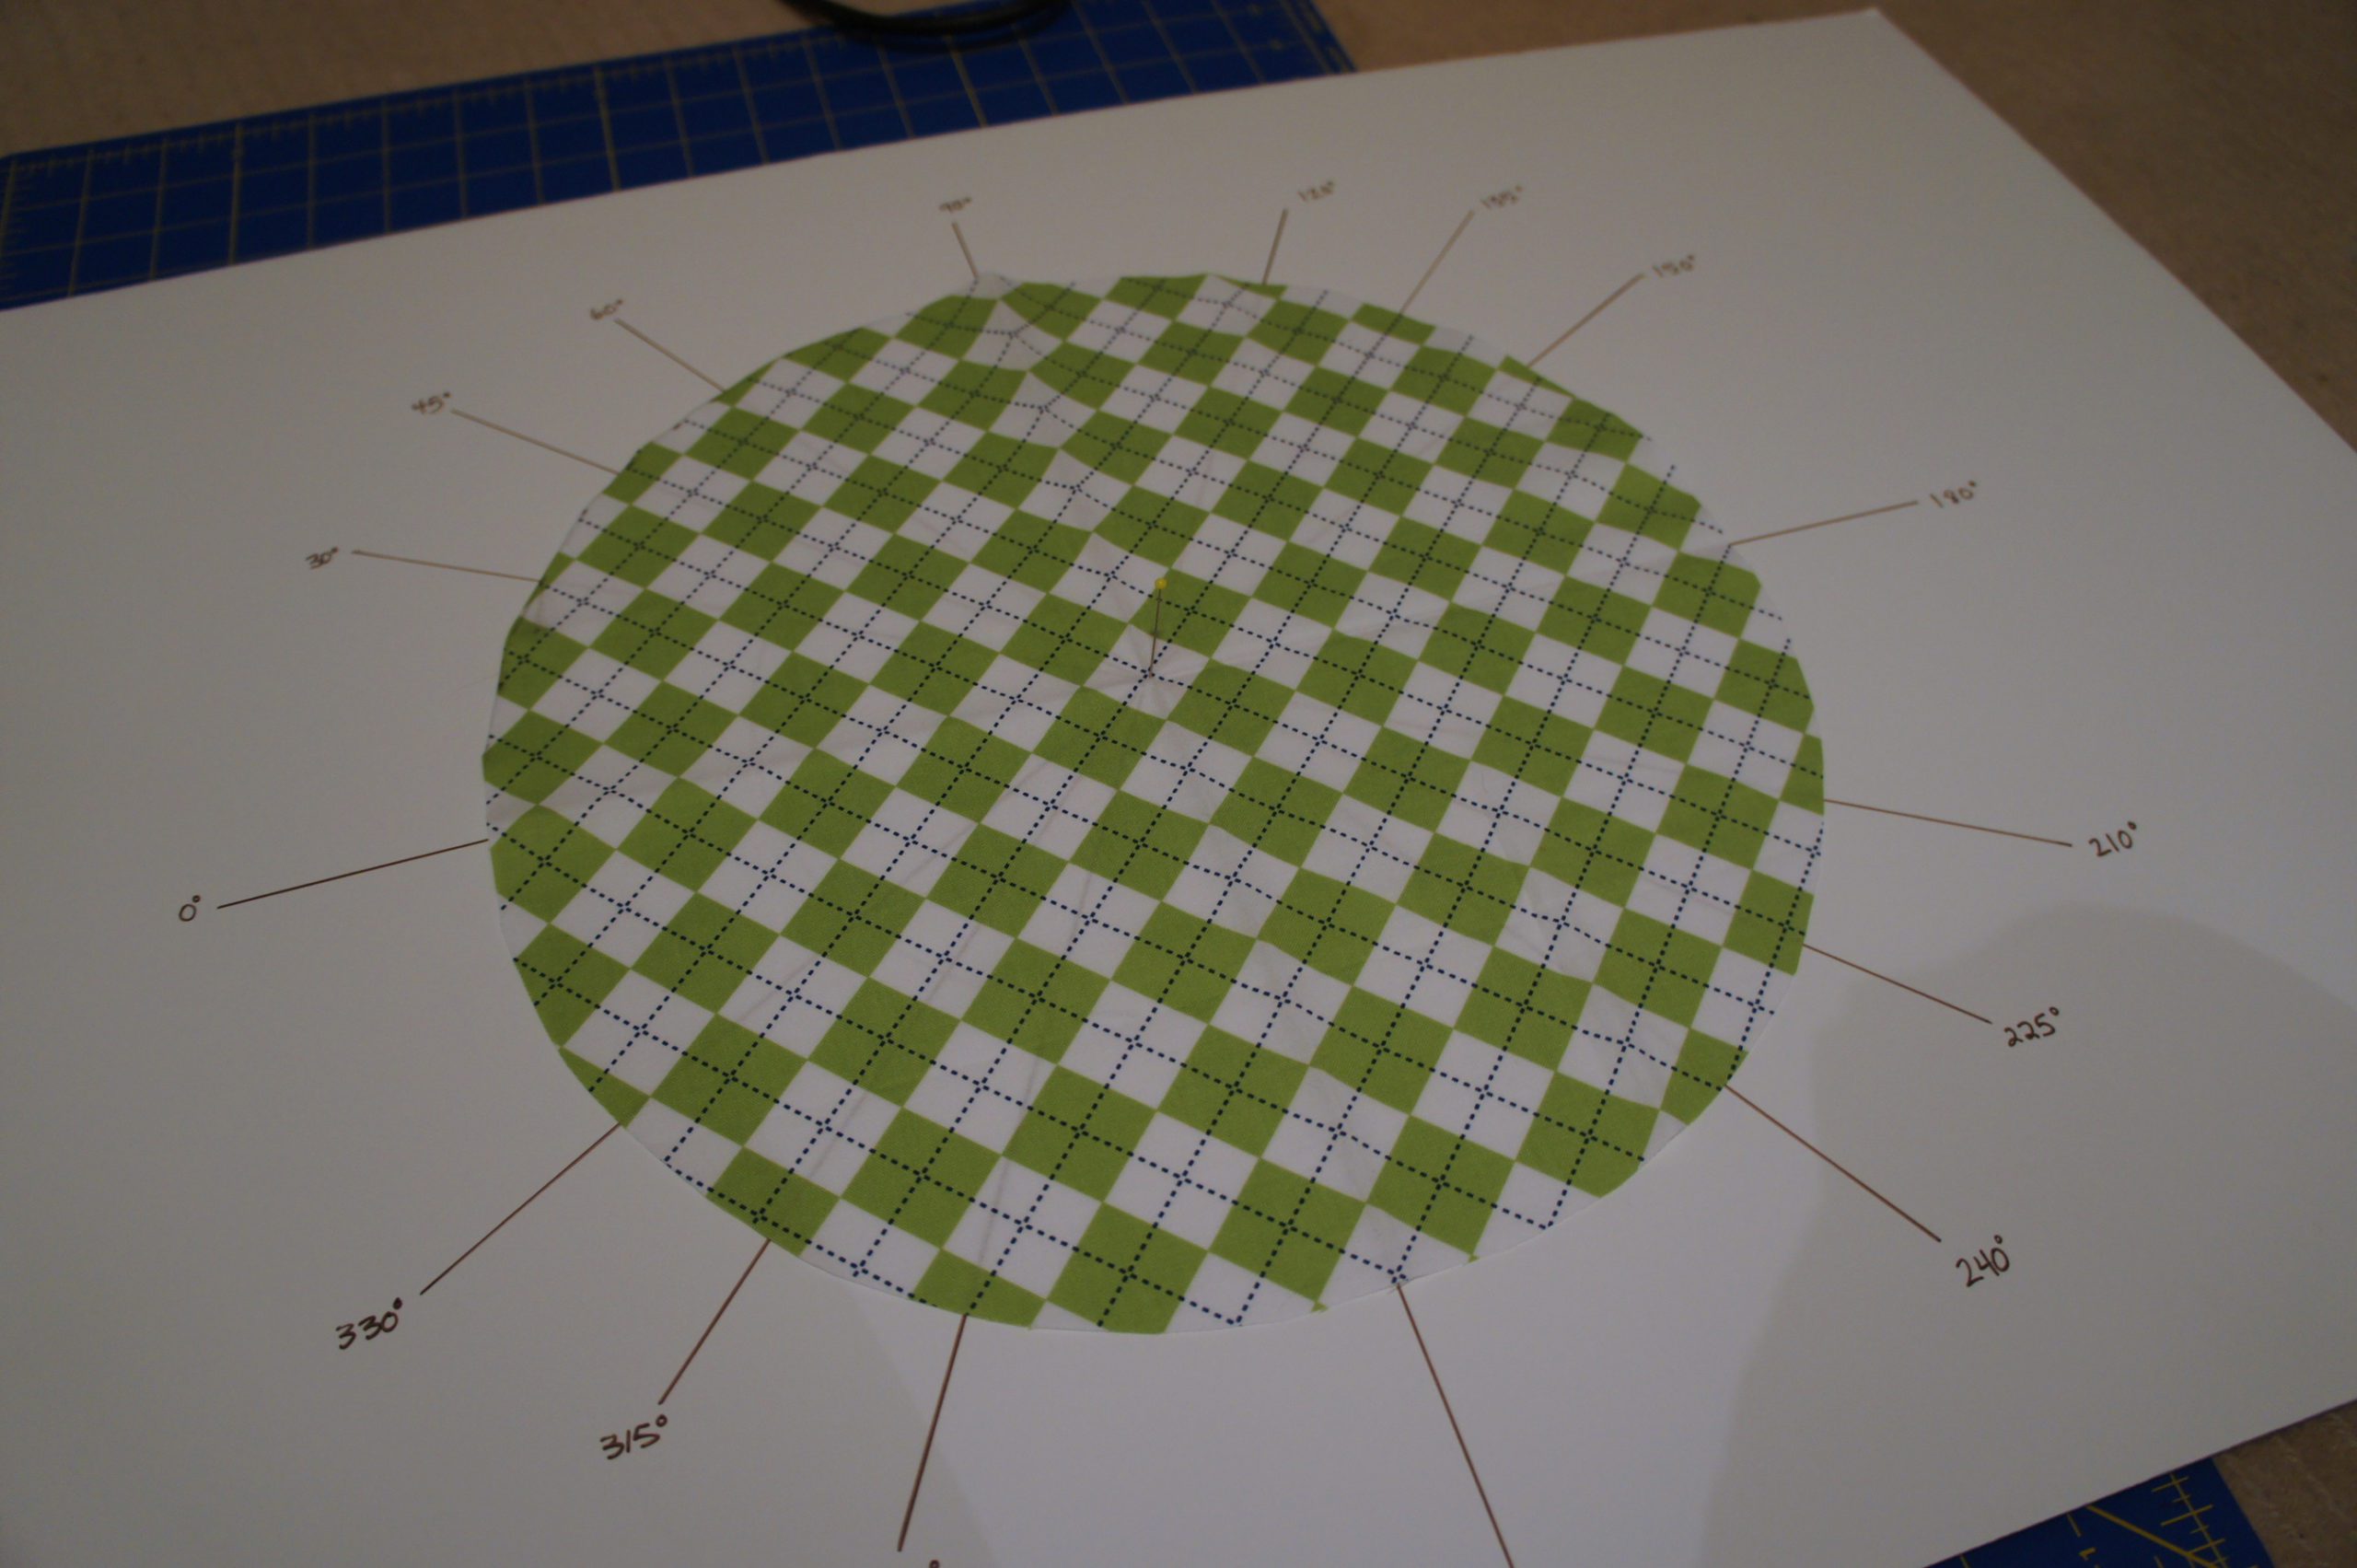
This time discard the outer trimmings and keep the circle. Again, just as before, lay the fabric on the foam board. Pin the center to the center of the board and mark around the outside of the circle.

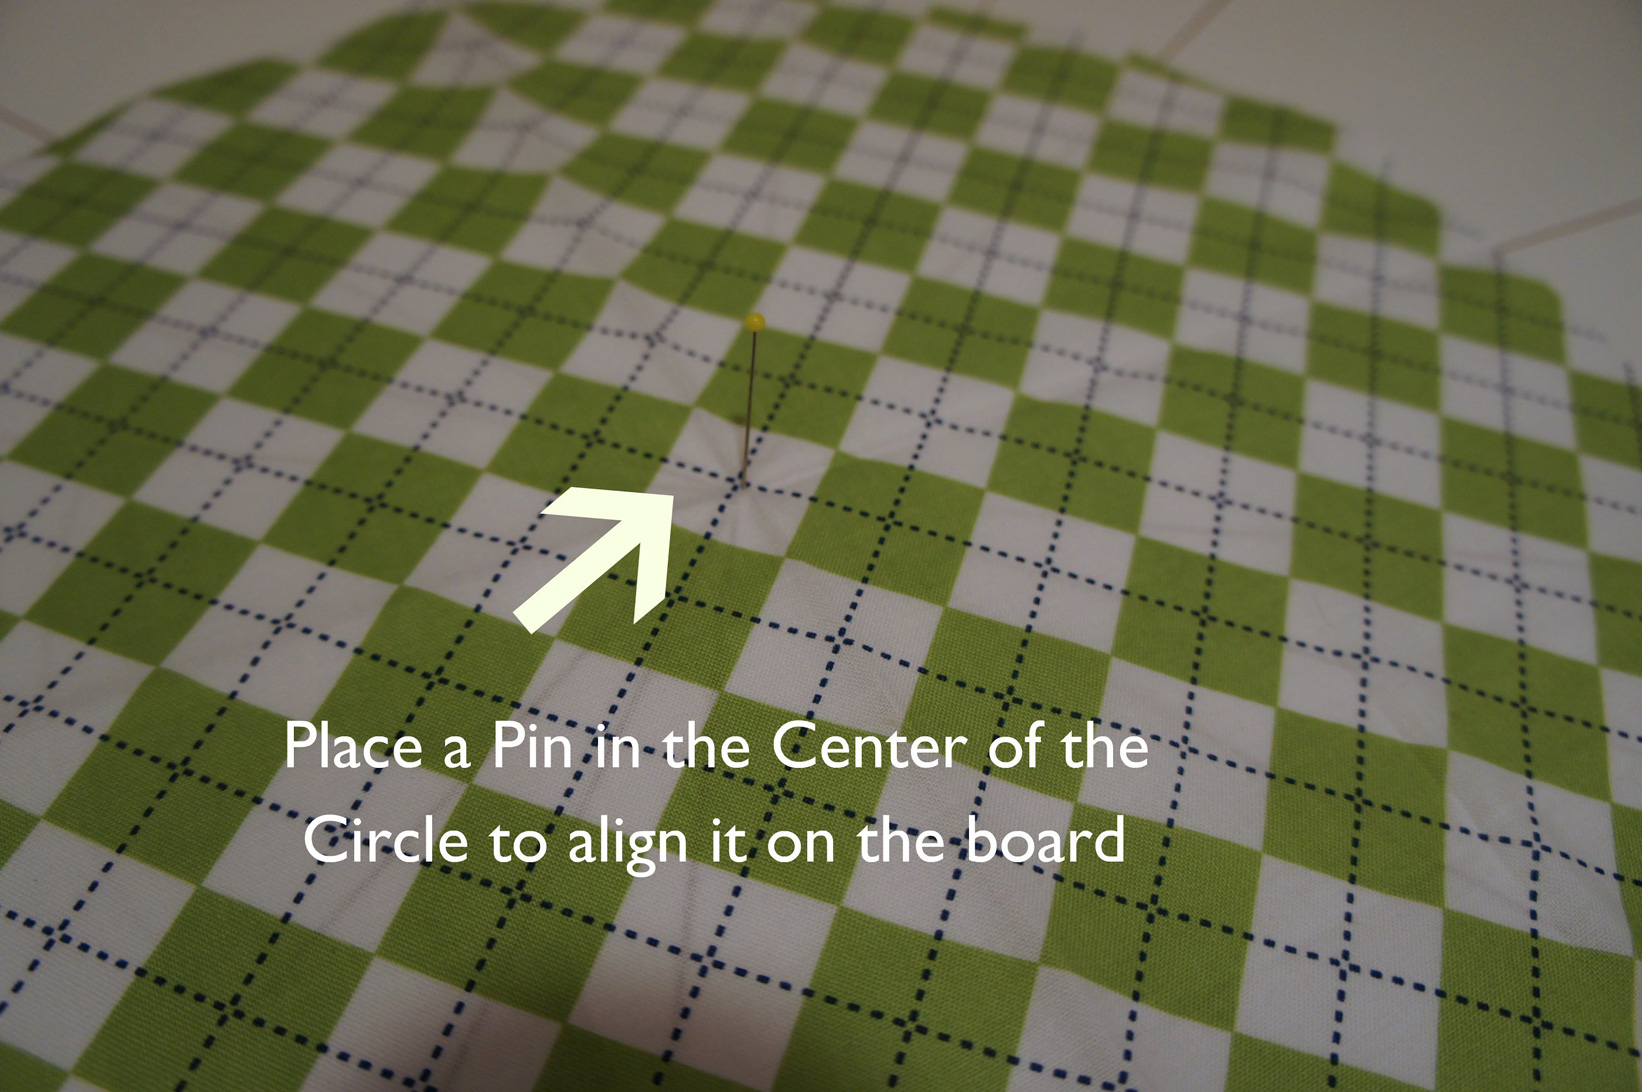

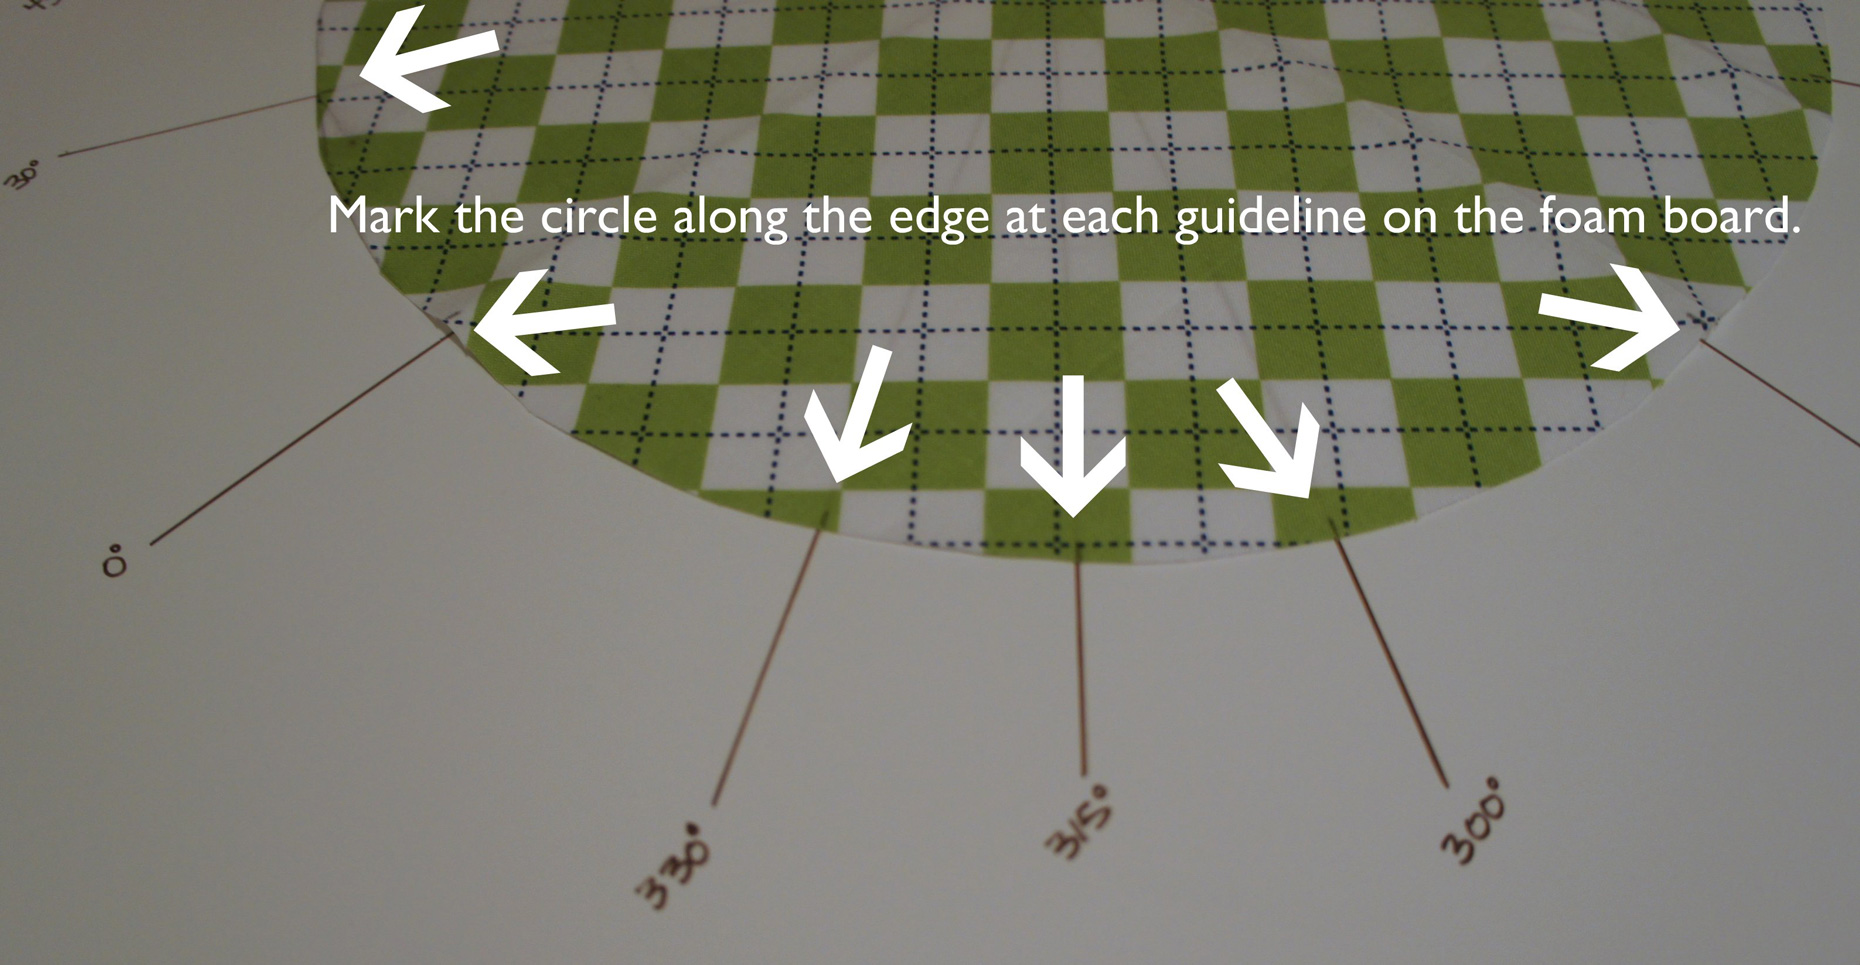

Alrighty!! Now comes the fun! We are finally going to join the two pieces together. All that work to get to this point will make this step easier than you think. Don’t be scared by curves!
Lay the inner circle on top of the outer circle and line up the markings. The inner circle is larger than the opening in the outer circle! But we’re just getting the pieces in the correct alignment.
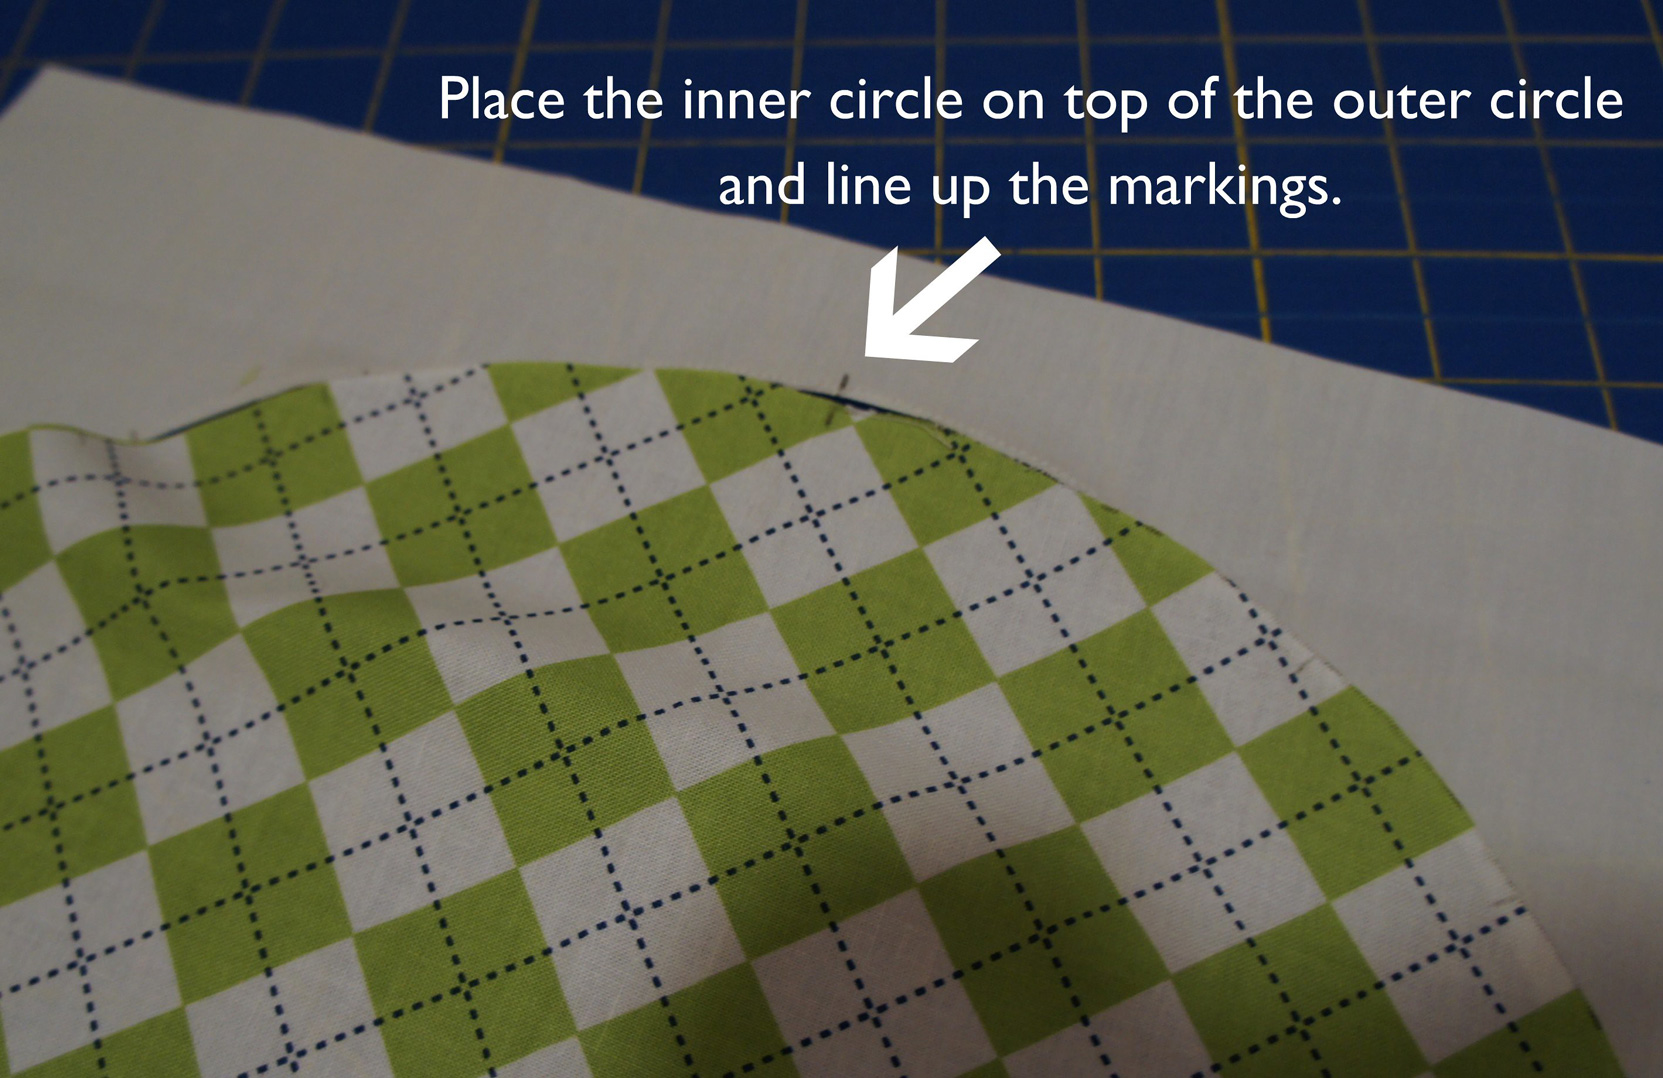

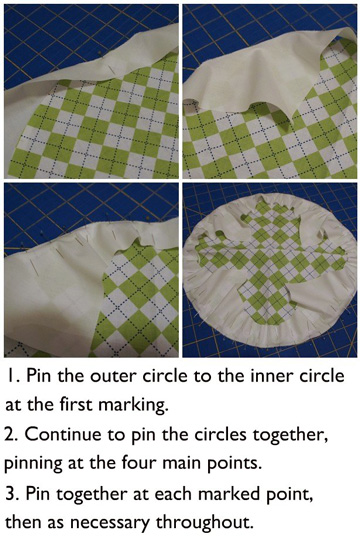
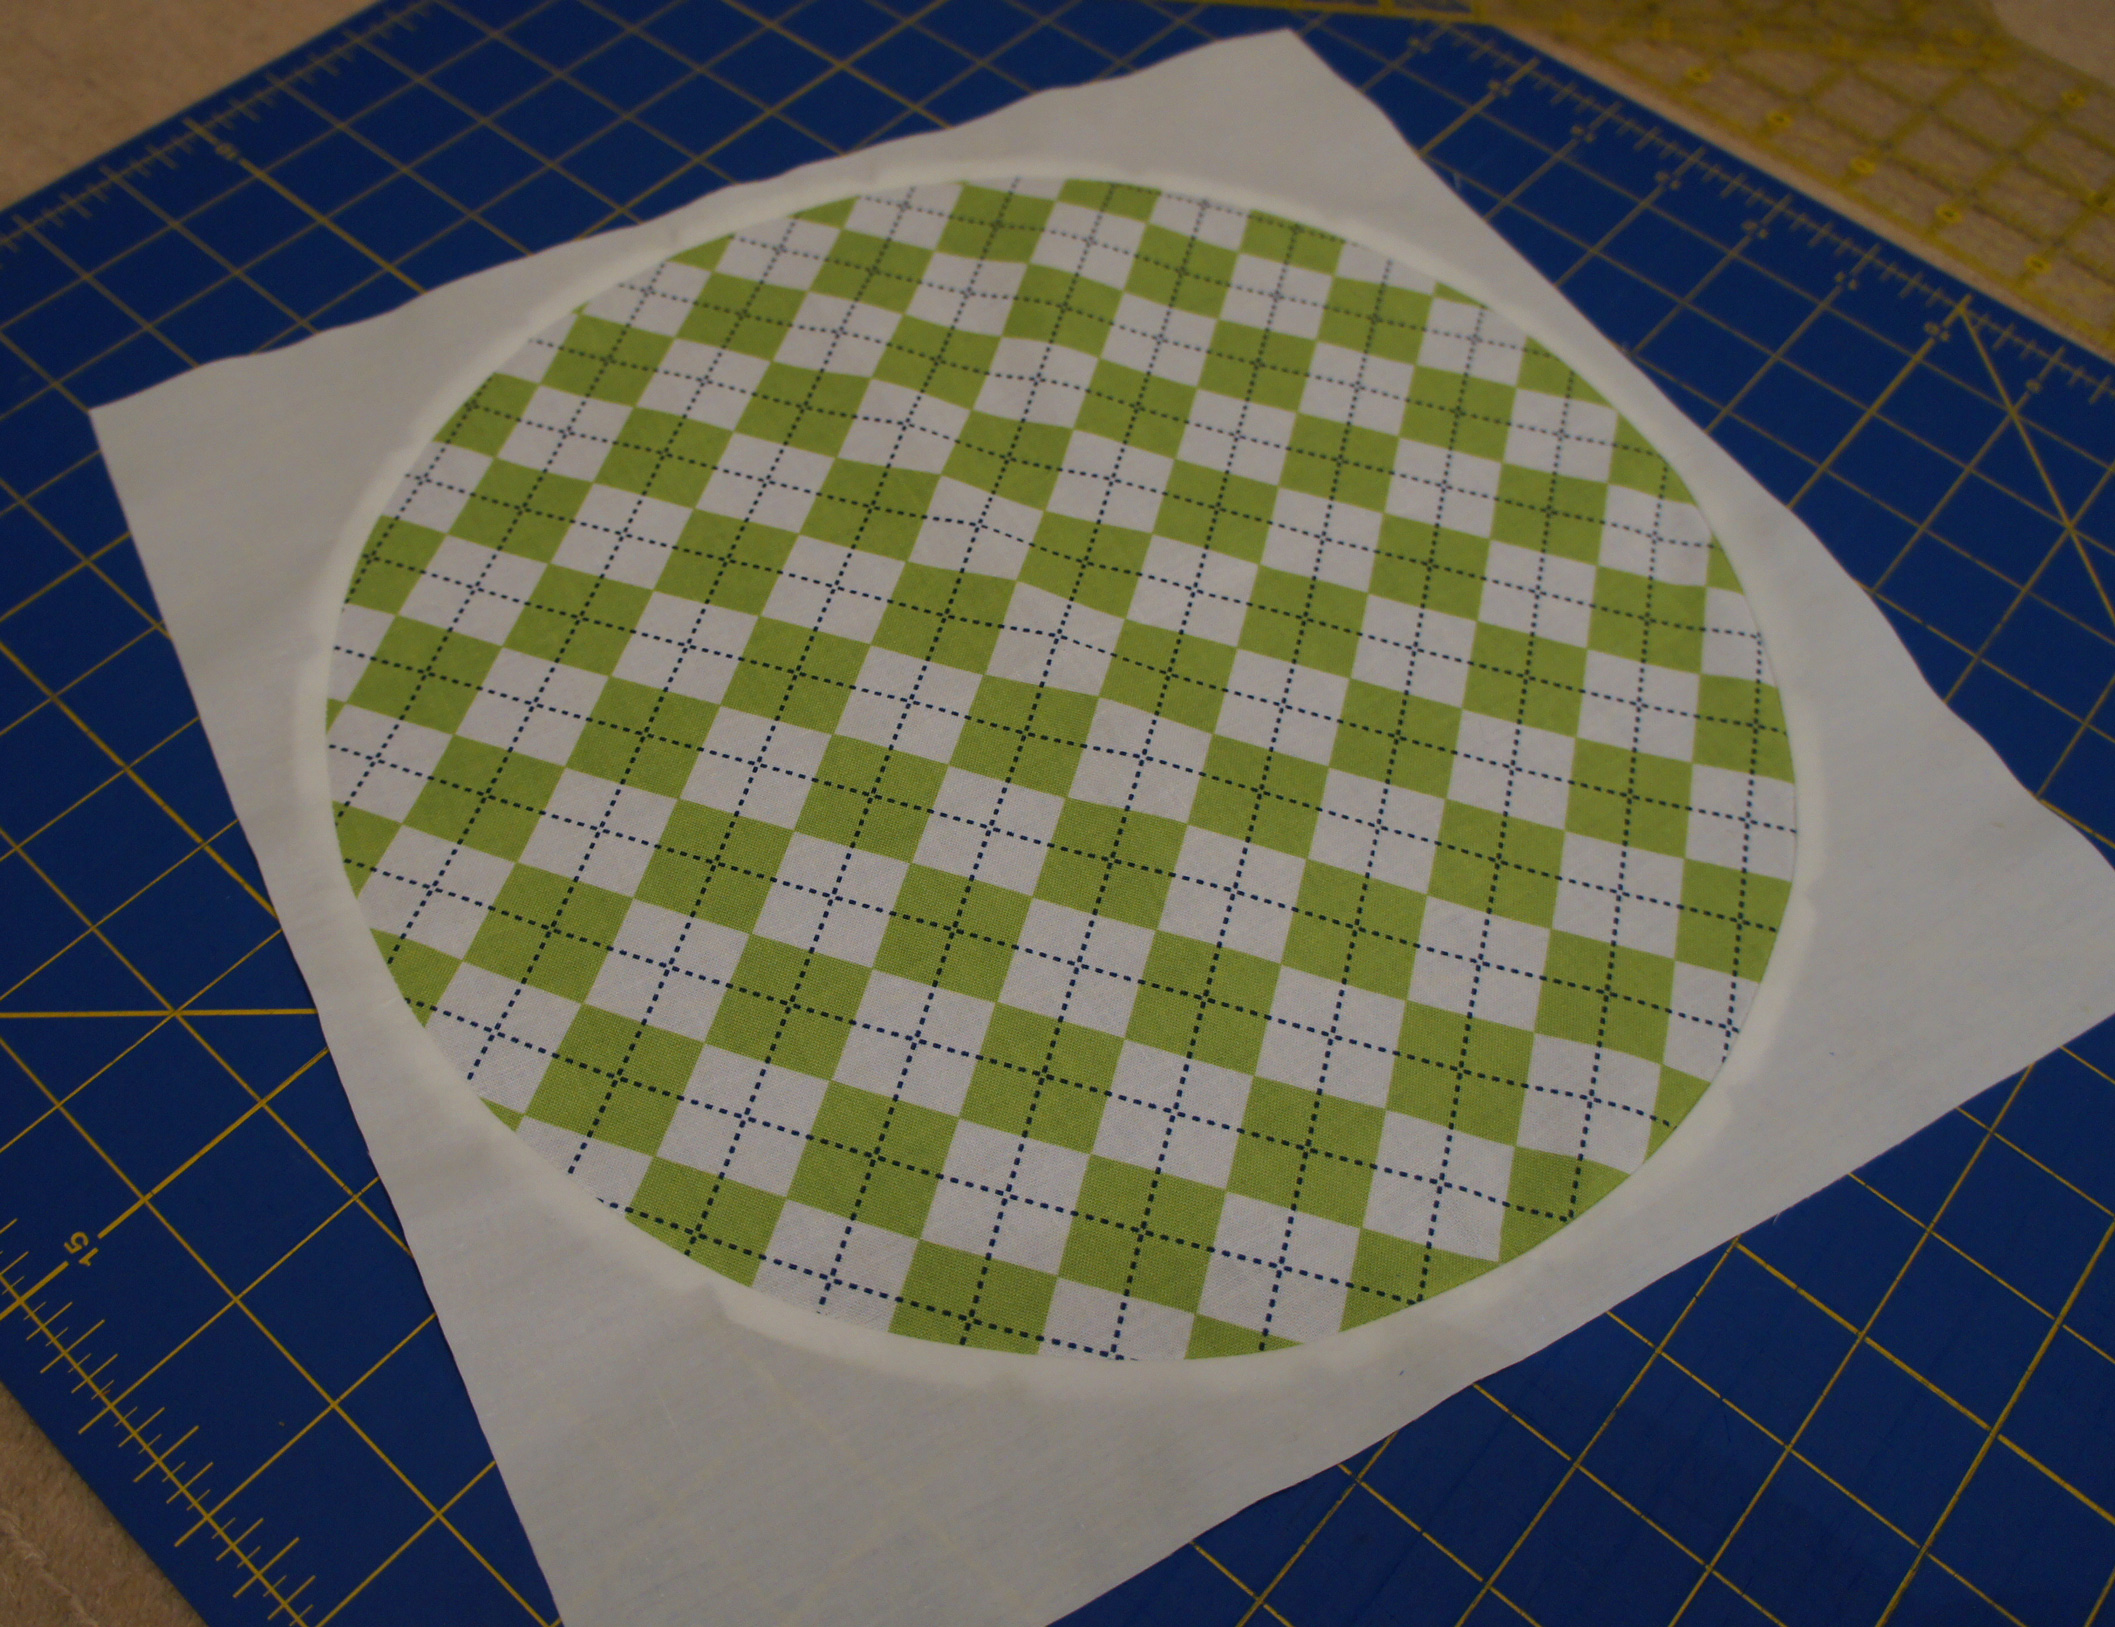
Start at one mark and flip the outer circle over on top of the inner circle. Keep the markings aligned and pin together.
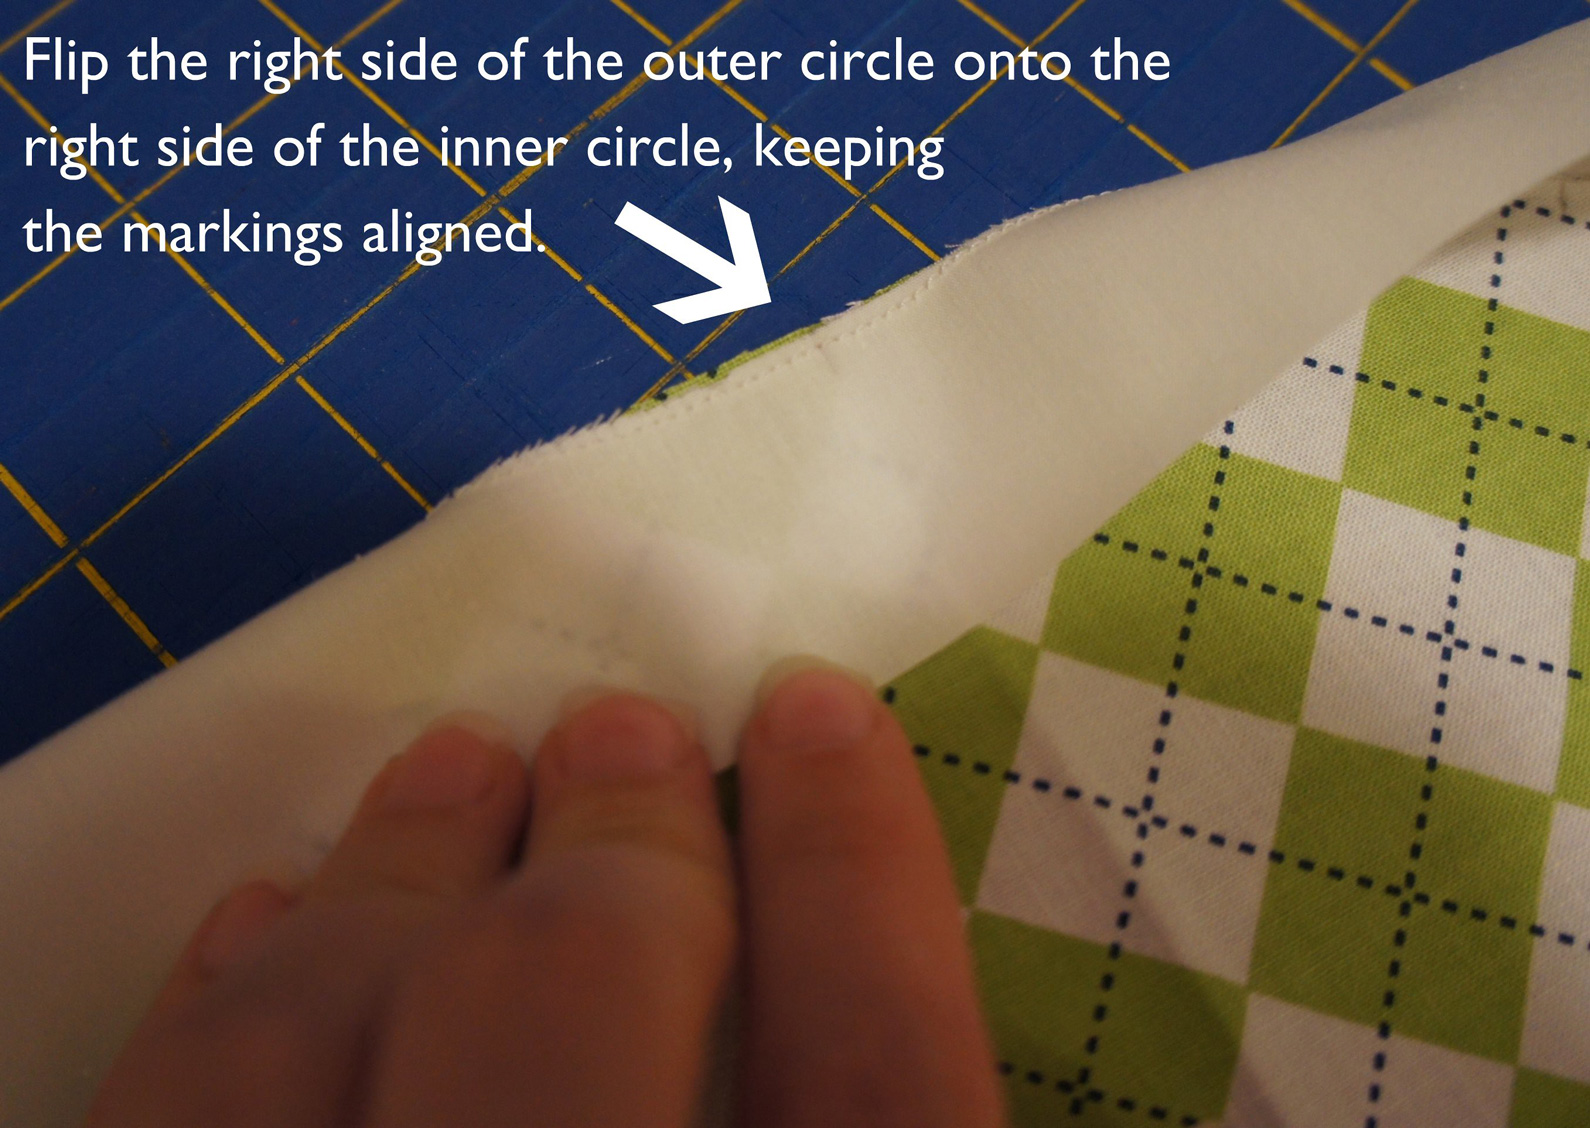

Do this first at your four main marks, and then pin together each quadrant starting with the center (math alert: 45 degrees). Don’t be afraid to use a lot of pins. They are your friend here! Well as long as they don’t prick you sleeping beauties. You end up with what looks like a pie to me. (oh just go with my crazy imagination.)

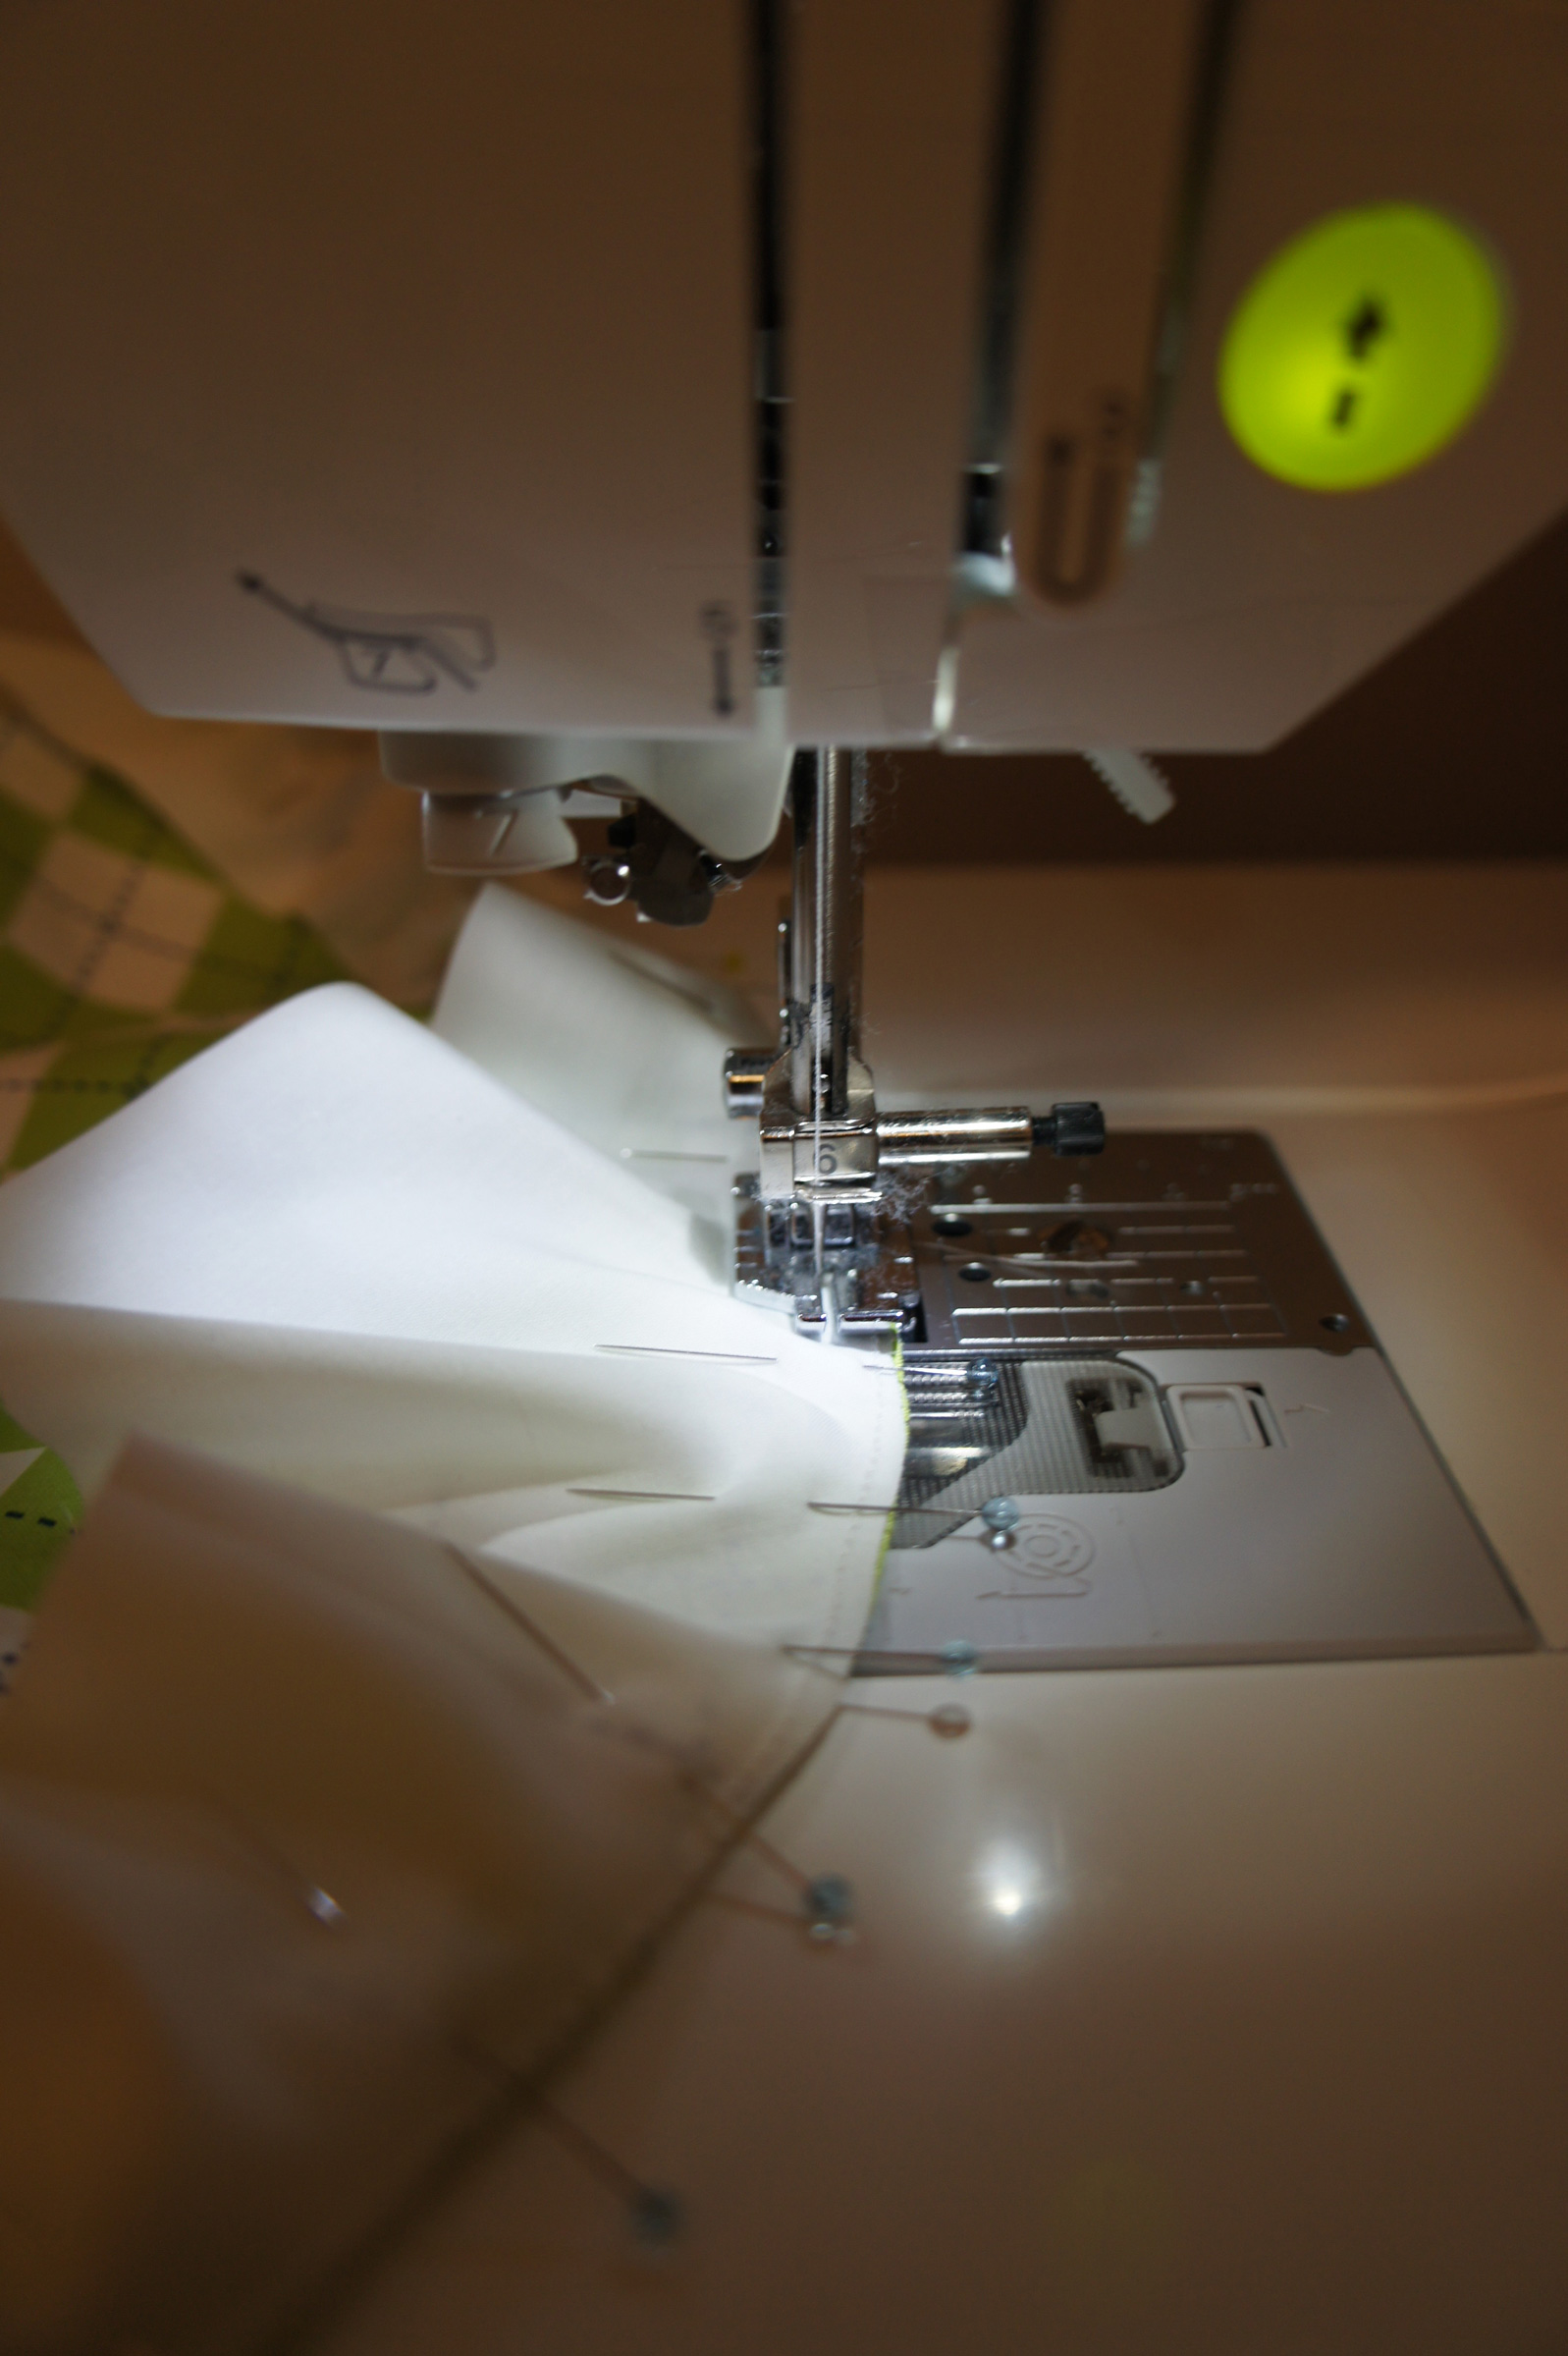
Use a stitch length of 2.0 and slowly stitch a 1/4″ seam allowance. The larger your circle, the easier this step is. The curve can be quite gentle. Ease your fabric as you go around the circle to prevent puckers, but don’t worry…a seam ripper can help you a lot after you sew the whole circle. You can easily unpick a little pucker and resew it…curves are actually fairly forgiving because of the stretch in the fabrics.

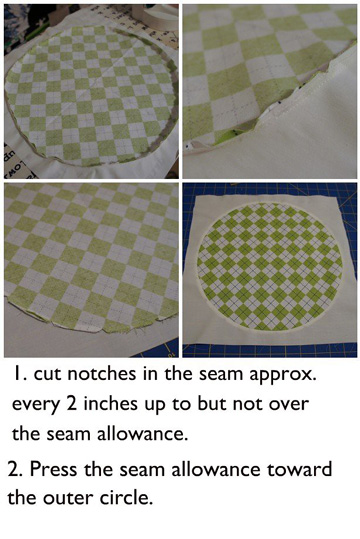
It never hurts and always helps to cut notches in your seam allowance with curves. This will help your seam to lay flat. Trust me, it’s amazing what they can do. So snip little wedges from your seam allowance about every 2″ or so…whatever you need. But be sure to only clip the seam allowance. Don’t go all crazy with the scissors and cut into your circles!
Then give it all a good pressing! Press the seams toward the outer circle…they are going to want to go there anyway. Press the back and front.

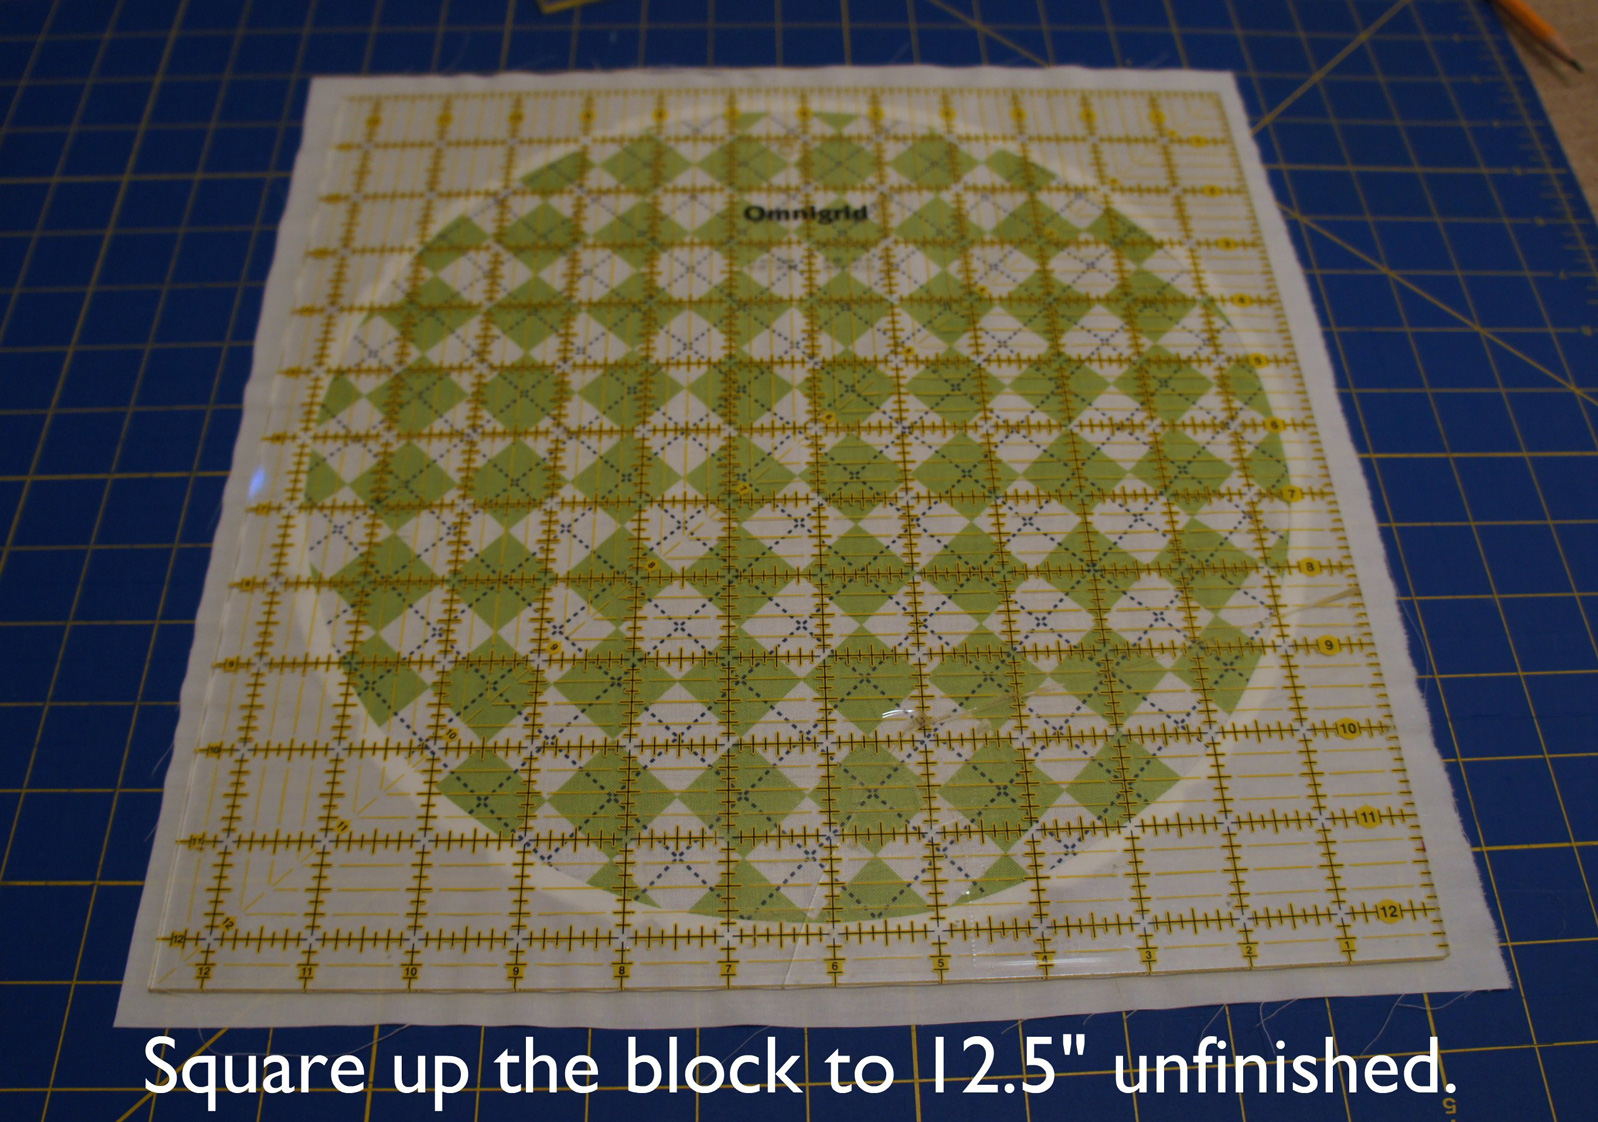
ohhh! We’re almost finished. Remember how we cut the white fabric larger than we needed? Well now is the time to square up our block. I’ve had blocks that were crazy skewed and others that I could have kept untrimmed…but I used the same technique and so much depends on the fabrics. I use a square ruler and center it on the center of the circle. Then I trim away the outside edges. But you get the point, just square it up!
(my finished block was 12.5″, but obviously this works for whatever size you are using)

And now you have a beautiful set in circle. That sucker is not going anywhere! This really is not the hardest thing in the world to do. If you have never done any quilting, I might not do this as your first project…but don’t be afraid to try this.

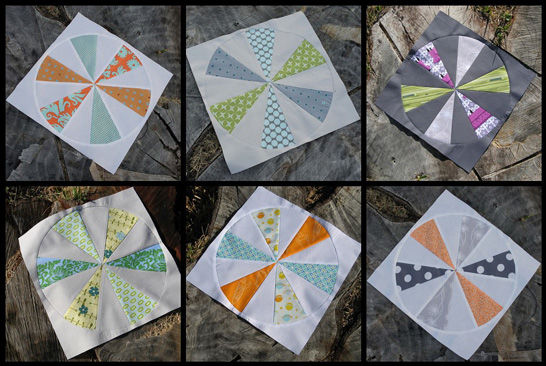
Then go all crazy creative on me and try this out! This is the exact technique that I used to make these blocks!

Wow thats a great tutorial I understood it all! I have added it to my list of things to try! Thanks 🙂
Wow, this is perfect timing for me. I have been working on some placemats. (http://kristylouscreations.blogspot.com/2011/03/one-week-challenge.html) I have stopped because I have been dreading doing the appliqued circles. And now I need to do them all tonight! I am definitely going to try this out and see if it works with the pieces I already have cut. THANKS!
Can I adapt this for the quarter circles used for Single Girl quiltalong?
P.S. I can NEVER remember which is called the compass and which is called the protractor. That is the first level of my difficulty!
I am glad you posted this! I have a circle project bubbling in my mind and this makes it even more exciting! Also I want to compliment you on your beautiful photos and very clear instructions!
Thanks for sharing your wonderful method so clearly! I've sewn plenty of curves making clothing (so curved quilt piecing doesn't intimidate me), and have seen other tutes that just line up the quarter-circle marks, but your use of marked foam core to stabilize the fabrics and line up in more places is so clever and helpful. Great job!
totally impressed.
This is fabulous! I've always avoided circles because I don't like applique. I'm going to have to try this one for sure.
I am SOOOO excited to try this! Thank you so much for this tutorial!! Pics soon hopefully! Thanks again!
Thanks for taking the time to create this tutorial, I can't wait to use it!
Wow! What a lovely tutorial! It sure makes sense and I would really like to try this soon! Thank you!
Great tutorial!
Whoa, that it seriously involved. No wonder it took you ages Angela! Wow, thanks for doing all that work for us!! Great tute.
What a great tutorial. Thank you so much!!!
That is so precise! I did my pieced circle technique in a similar way but used compass points – North, East etc. I like the stabilising stitch idea on the outer circle, I think that could work in curved paper piecing too
Angela your tutorial is perfect I can't wait to try this, you make it sound so easy now I have to buy foam board this weekend and find the compass and protractor. Lets see compass in sewing room but protractor mmmmm? not sure the search is on…. thanks for the great tutorial!!!
Ouuu, I love your last few examples!!! MUST add this to my "to do" list :)!!
Looks hard.
This is a really good tutorial, very thoughtful and clear. I am thinking a lot about circles these days, thanks again!
Thank you so much for taking the time to put this together – it made complete sense and does that rare thing for me of making maths feel exciting! I've always wanted to try circles, but been too worried about how to get them to lie flat. Thank you. x
Thank you Angela! Its so clear and precise… I have a plan for this already lol 🙂
Hmmmm.. I wondered how you did that. Very cool! Can I just hire you to make me more though 🙂
nice and clear – and very helpful. I will be giving this a go at some point. my current obsession is snowballs – but I can easily see that morphing into a need for circles! 🙂
That is so cool, I have always done reverse applique and now I have a new technique. Thanks
This is exactly what I needed to finish the quilt I have beed working on for, well, for too long. I have a dozen circles that I didn't want to simply applique on the surface. i made your angle board and LOVE it. I know I will use it to death and have great results. Thank you SO much.
Compass draws Circles, Protractors are Plastic. CC, PP,LOL
This PreCal teacher appreciates nice geometry used. Thought about marking angle but the foam board is brilliant! TFS
Evelyn
You make this look simple; directions seem very straight forward. I'm going to give it a try.
Wonderful Tutorial! I have been frightened by curves and my fear is gone now. Thank you!
Such a generous gift of your time & expertise, Thank you!
As a "visual learner", I really appreciate you adding this to the "Global Quilt Brain".
I am seeing circles in my future, many, many circles!!
Cheers
Lush
Worthing, UK
A very good tutorial! Thanks for sharing with us!
This is exactly the instructions I was searching for! great tutorial! I'm going to attempt doing a large medallion sized circle approx 45" in diameter – any tips for doing one that large?
Thank you very much for putting together such a detailed and helpful tutorial!
Thank you for a great tutorial.
I have one comment and one question. I really appreciate your instruction on the size calculations for the inner and outer circles. I’m working on a quilt where the pattern instructions have proven to be somewhat unreliable and I’ve been trying to convince myself how to cut the outer circle; I don’t want to make a mistake as it is pieced.
Now my question relates to the purpose behind sewing the stabilizing stitches on inner and outer circles. I’ve not seen this before and wonder if there is anything else you can add to the rationale? Thanks for your generosity in sharing this technique. I’m a math nerd so totally appreciate the approach. I like precise.