]

Welcome to the first post in my Sew-Less Summer Series. While most of the posts will be done by some of YOU, this first one is by little ole me. And this is the project that inspired the whole series to begin with.
The project? Fabric covered black out blinds.
Intrigued? I hope so.
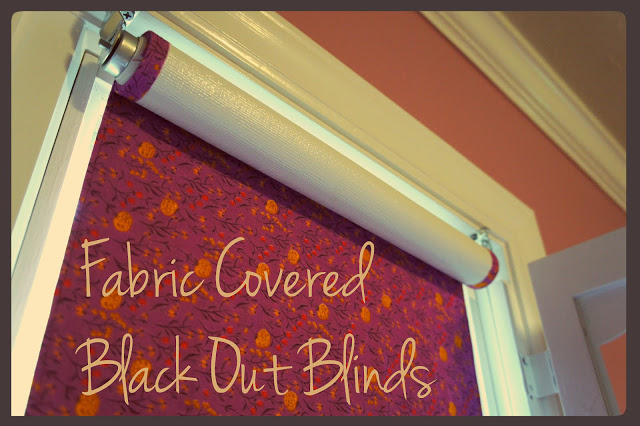

I did a bunch of research online trying to find out how to do this…and ultimately I knew that I just needed to bite the bullet and try out my own combination of techniques. So the following is my attempt cover those plain, and dare I say, ugly black out blinds with the fabric of your choice.
I chose to use Heather Ross’ Far Far Away Flower Meadow Print which is done in a double gauze fabric. I decided to use this because it is adorable first off and also because I was looking for a really thin/fine fabric to use because I didn’t want to add bulk to the blind. My results are very much related to this particular fabric and I have not tried this with a quilting weight cotton. However I do think that this would work even better with quilting weight cotton. I would NOT suggest using a home dec weight fabric for this because of the bulk it would add to the blind.
Onto the directions!
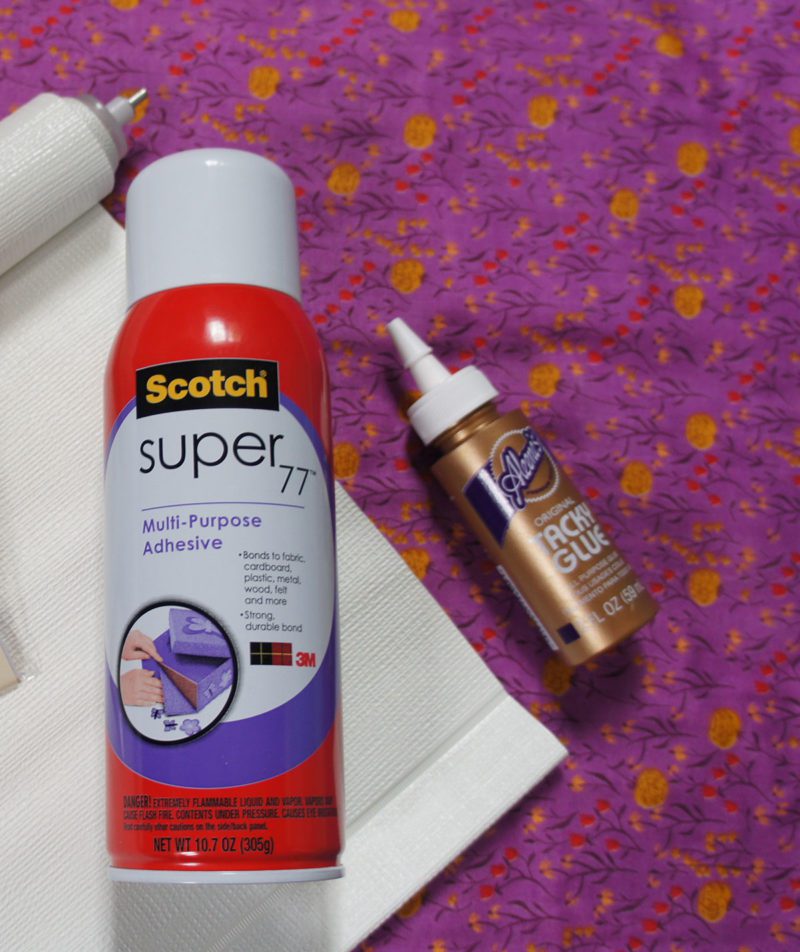
Supplies:
- Black out roller blinds precut to your window dimensions
- Fabric cut generously to fit the dimensions of the blinds plus an inch or so extra on the long sides and a few extra inches for the bottom
- Spray adhesive Glue
- Craft Clue suitable for fabric and plastic
- Fray Check
- Thread to Match fabric (yes! I did a little sewing for this “sewless” project)

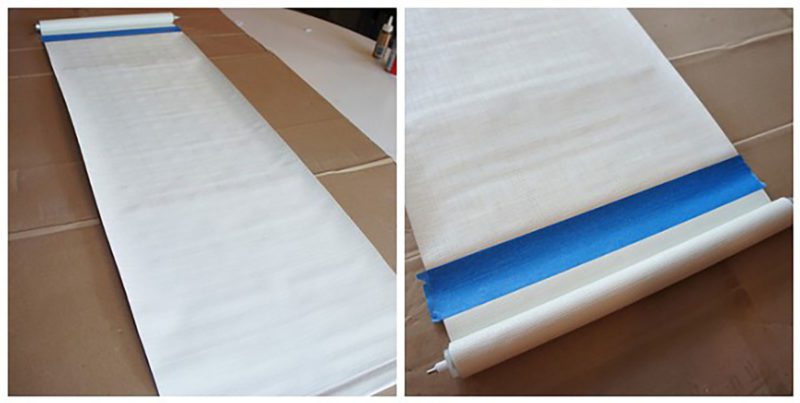
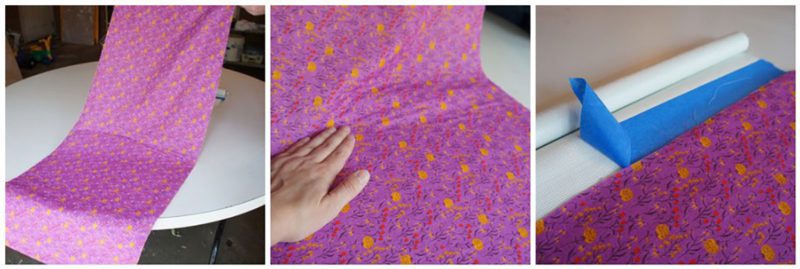
You will need a well ventilated area to work and a flat protected surface to work on. Roll out the blind and mark the length of your window with blue painters tape. (Most blinds will come longer than you need and you only need to cover what you will see)

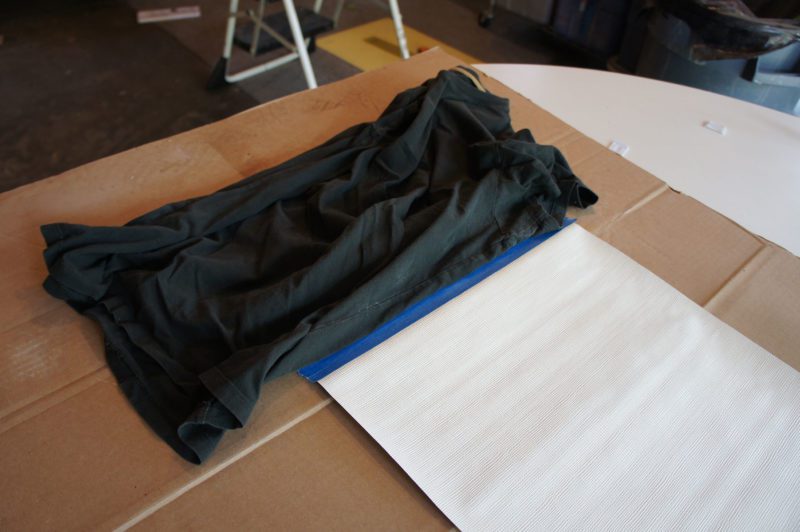
Spray the blind with the spray adhesive according to the manufacturer’s instructions. You may want to cover the upper part of the roller blind with a rag to protect it from over spray. You don’t want that part to get sticky!

Lay the fabric over the blind, centering the fabric and leaving a 3″ or so overlap at the end of the blind. Smooth the fabric in place slowly, moving from the bottom of the blind up and out to the top. Peel off the blue painter’s tape once the fabric is in place.

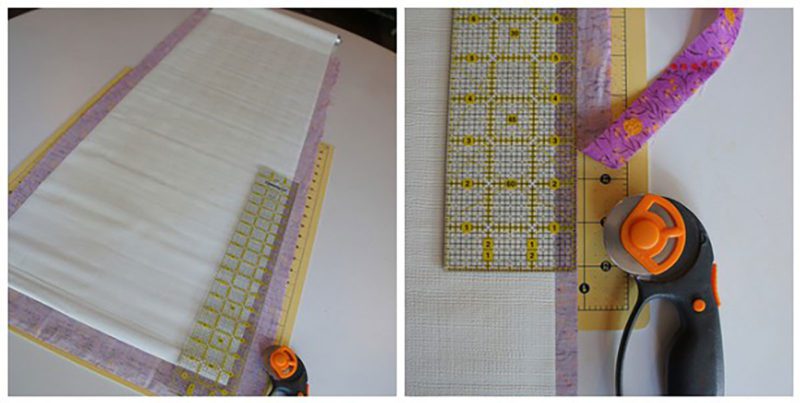
Carefully turn over the blind and trim the fabric along the side edges to 1/2″.

Use Fray check along the edge of each side to prevent the fabric from fraying with use on the blind. (We do not want to do a typical double fold hem because we don’t want extra bulk on the blind.)
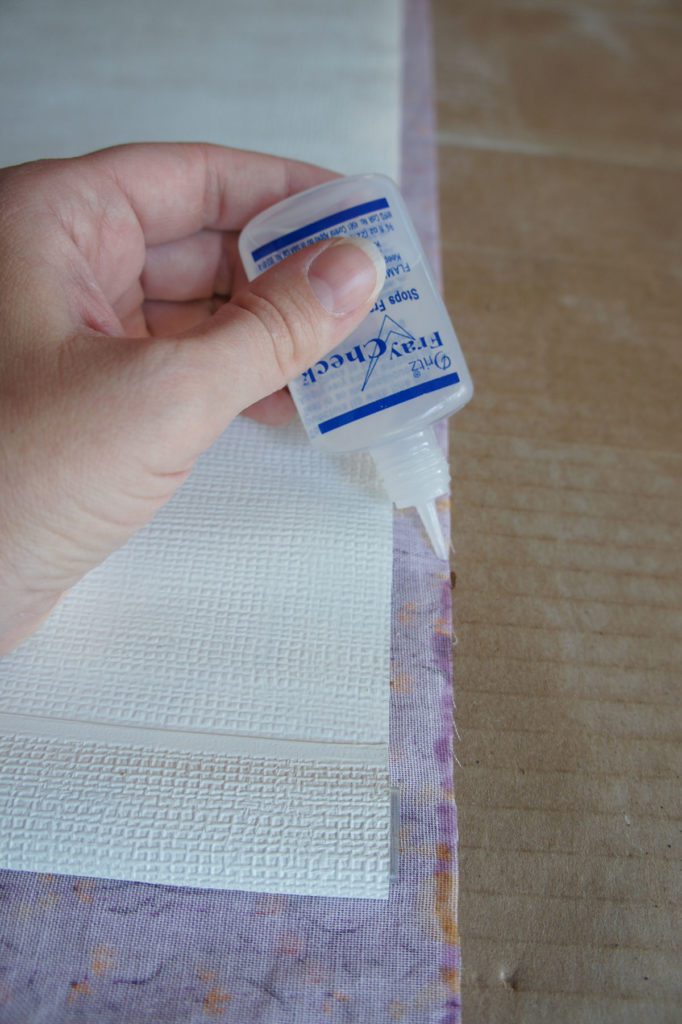

Allow the fray check to dry and then use the craft glue to glue the fabric onto the back side of the blind.
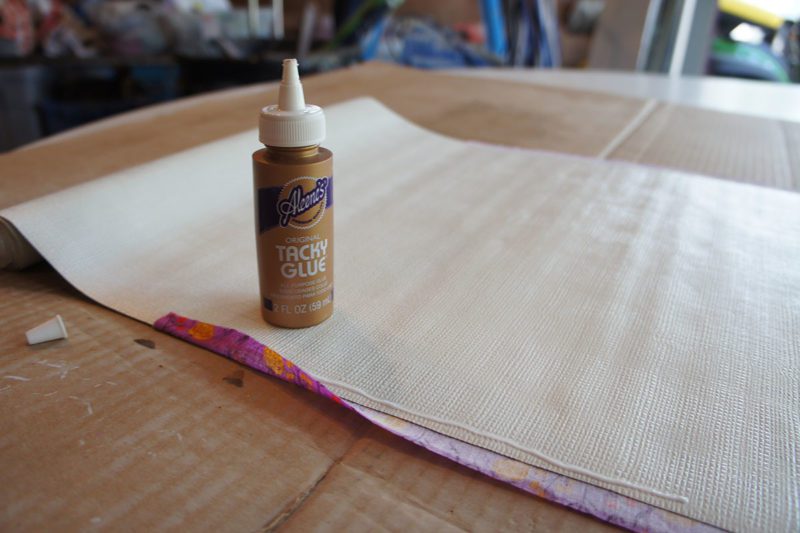

At the bottom of the blind, glue the fabric to itself on the sides.
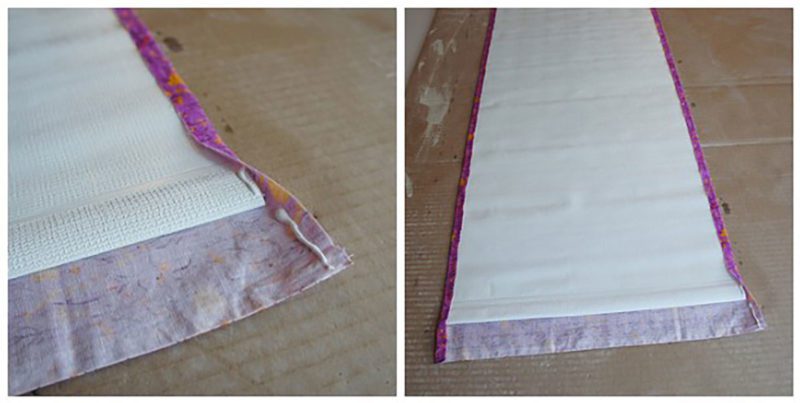

Then either use the craft glue or the spray adhesive to glue the bottom hem in place. I used the selvage edge here for a finished look but you could also use a cut edge and apply fray check just as you did with the sides. You want to make sure that the fabric comes over the bar at the bottom far enough for you to sew it down. (The bar will get in your way other wise)
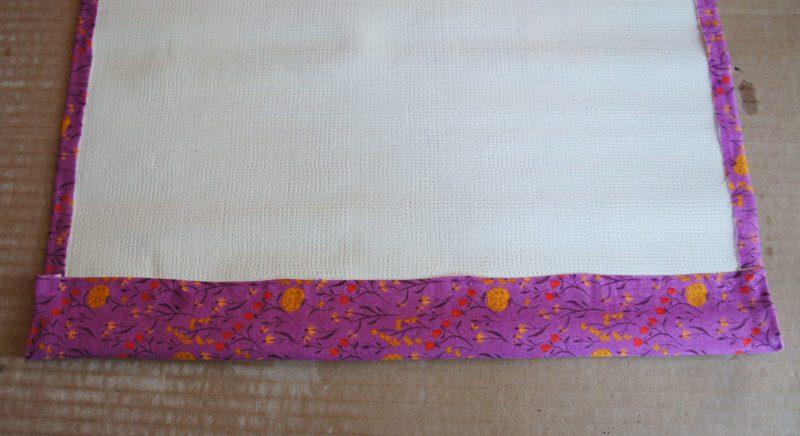

Allow the glue to dry and then take your blind to your sewing machine. Yep. You heard me. You are going to sew through the blind. Top Stitch an 1/8″ away from the edge of the blind using a large straight stitch. Also stitch along the bottom of the blind to hold the fabric in place. You may need to use a zipper foot to get close to the bar in the blind.
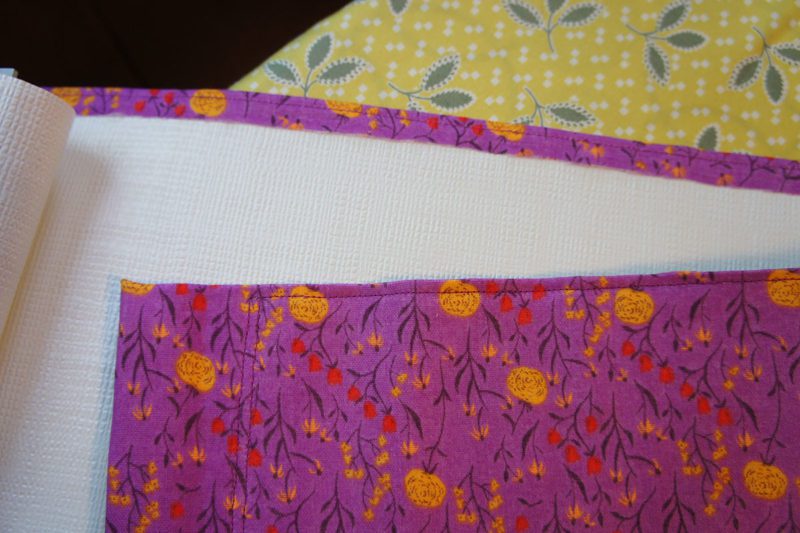

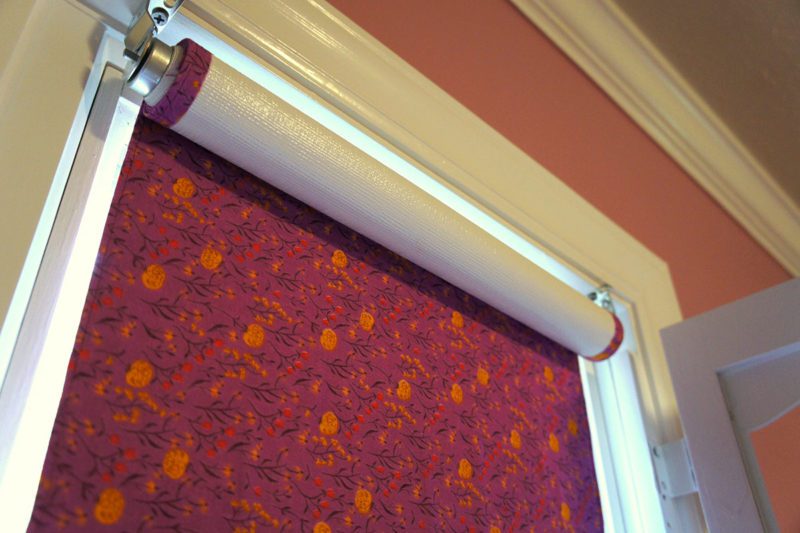
And that is it! Repeat as needed for the blinds in your room. You will have a completely custom window treatment for the fraction of the cost. Plus you get to use your favorite fabrics in new ways and cover up those less than attractive black out blinds.
Install your blinds and enjoy!


Thanks for showing us how to do it–I've thought about taking this on for years, but now I've no excuse not to give it a try! (well, except I'll have to go fabric shopping–darn!)
Love it!
This gives me yet another reason to buy more continuous yardage. LOL
Very cool :o)
This is awesome, thank you! : )
hey! I didn't know this was going up today! Yea! Do you love them?
This is fantastic! I've always thought about doing this, but just haven't. I think this may be what I need to do to darken my daughter's room!
Here via Pinterest
http://LifeintheWhiteHouse.com
This is getting creepy! I just finished my shower curtain yesterday, and we're picking up a blackout roller blind this week for the bedroom, which I hadn't considered covering in fabric but I might have to change my mind. Keep reading my mind and posting tutorials OK? 😉
I think you've just solved my problem with Baby Boy's nursery curtains! Now to narrow down the fabric choices…..
Angela, where do you get the original blackout blind? It is so the perfect thing for the Momma's bedroom window…would love to make it!
Thanks for sharing!
Toni
http://www.lifeinapinkbunnysuit.com
Your project reminds me of my gramma's house. She used those kinds of blinds and created fabric shades with scalloped edges. Oh, the fond memories! Thank you for a sweet start to my day as well as a bit of info to tuck away in the back of my brain for the future.
I've been thinking about doing this for a long time. Your tutorial makes it look quite doable! Thanks.
great tutorial 🙂
This is a fantastic idea! I've never really liked shades, but if they looked like this I might change my tune.
Cool website buddy I am gona suggest this to all my list of contacts.
replacement vertical blinds