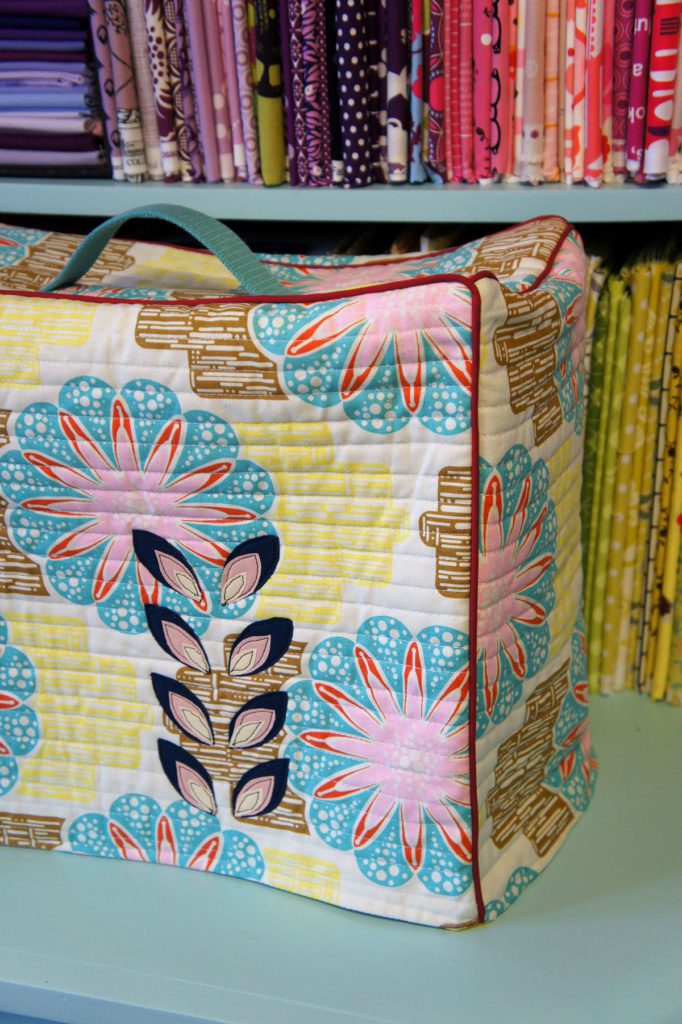

I recently shipped off my swap package to the lovely Karen, Sew Peachey as part of the Sewing Room Swap on Flickr. I shared about the wall hanging that I made for her a while back, Stacked Bowls. That was my small item for the swap. My big item had me second guessing myself and swaps right until the very end. You see Karen really wanted a Sewing Machine Cover and I was determined to give her one. A really nice one.

I made this cover to stand on its own with all sides covered to provide complete dust protection for her sewing machine. The dimensions are made to fit her particular machine, but the basics would be the same for any machine. You need four side pieces (two front and back, and a left and right) and a top piece. You are just making a nice cube to encase the machine while it sits on a table. Oh and the lovely fabric I used is from Anna Maria Horner (I seem to be on a kick lately), one of her linens from Field Study.
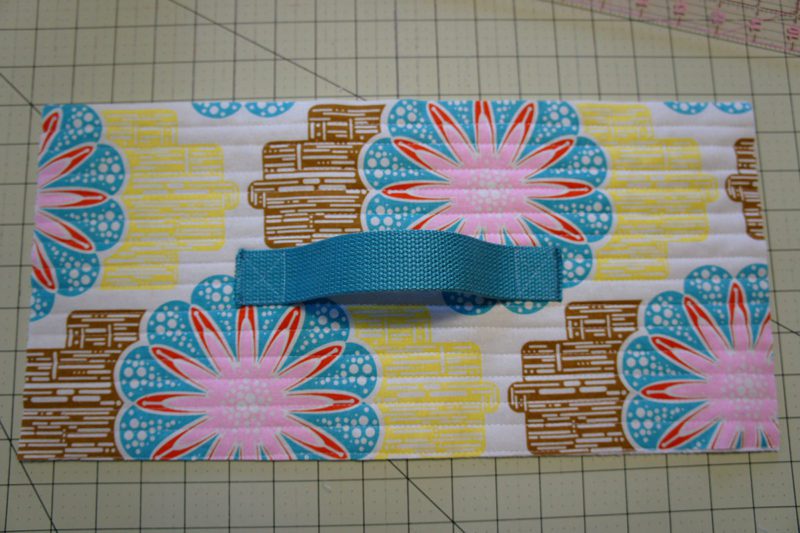

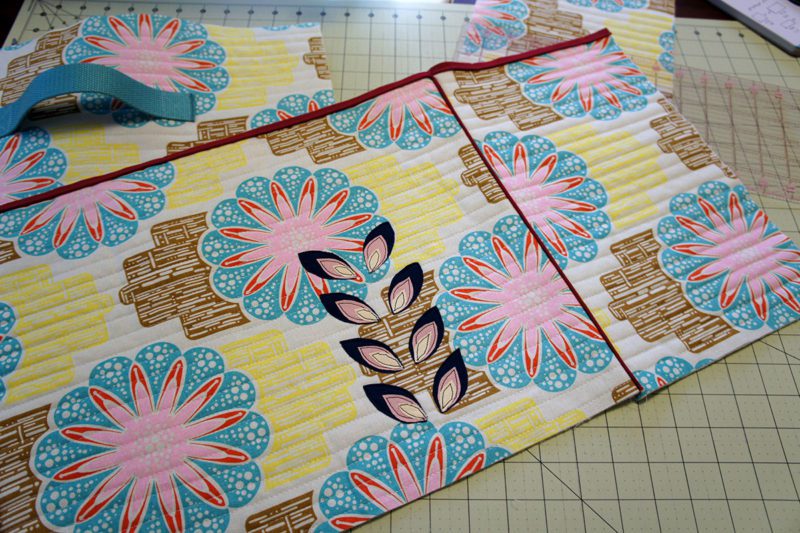
I pre – quilted each panel before assembly to a cotton batting, as well as adding in decorative details like the handle on the top of the cover. I added a little petal raw edge applique to the front as it is a favorite motif of Karen’s. I’ll tell you…I played with that a lot. It made me nervous and unsure, but that’s often when great things happen. And this time I did like the risk I took (seems a little silly to say I took a risk but that’s how it felt, so there you go). I was worried it would look busy against the already busy print I was using for the cover. But solids and navy stitching all help really ground it.
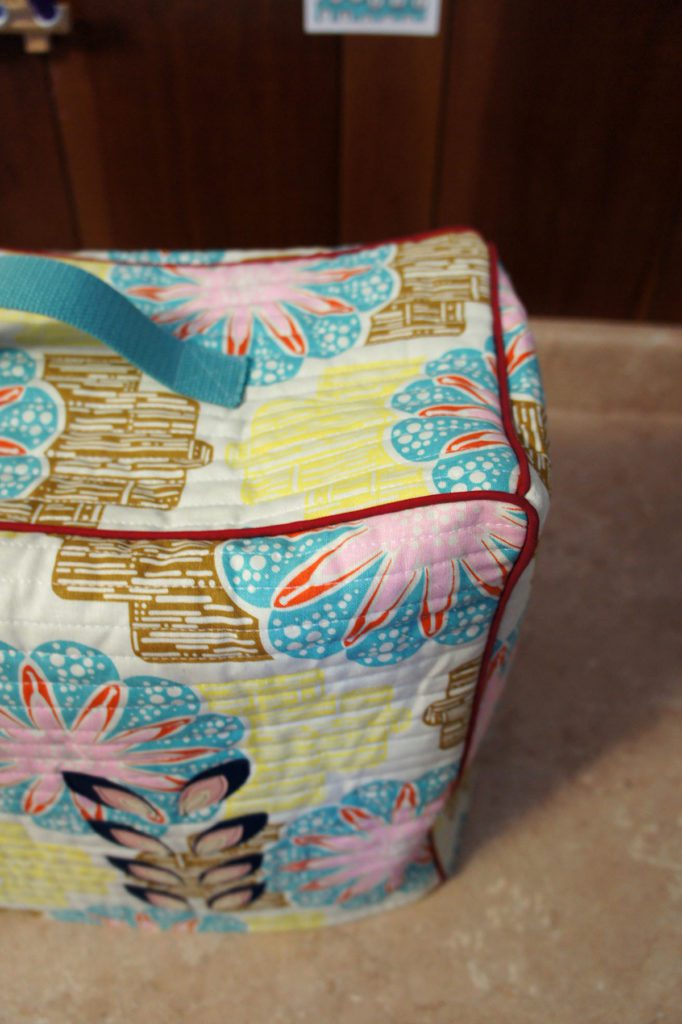

A big thing that I like to do, but also makes me nervous, is add the piping detail. I used pre-packaged red piping to add a little unexpected color to the cover as well as really provide some nice stability to the whole thing. I think that the piping helps add structure. The trick was to cut the cording from inside the piping away in the seam allowances so that I didn’t have any extra bulk. There was enough going on there as it was.
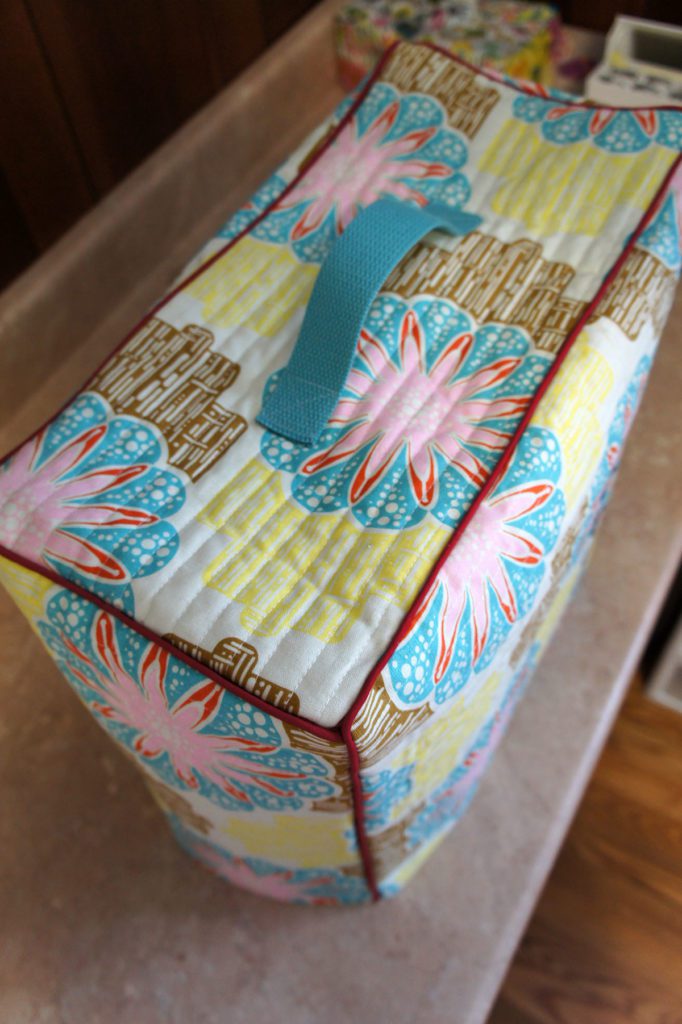

By the way, if you’ve never made a box constructed item before, you should know that you need to leave the ends open at each joint by the amount of your seam allowance. This is what allows you to turn the pieces and square it all up. Just snip a bit away at the corner of each piece to create the ease. (If this sounds baffling, just look up box cushion construction and I’m sure you can find some lovely tutorials) It’s slightly trickier with more layers like this, but you can practice on flat pieces of single layer fabric to understand the technique.
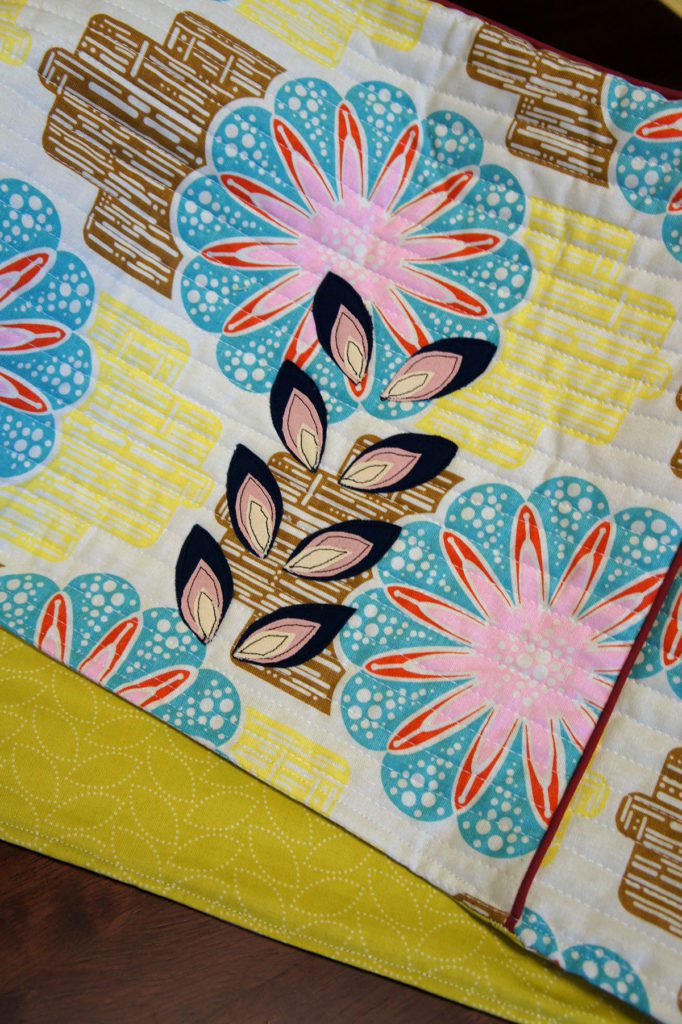

I lined this cover as well to provide a thoroughly finished item. Given how tall the cover was, I also ended up adding in some cheeky pieces of interfacing to help stiffen it all up. It was a late effort to help with this and it would have been simpler to add this BEFORE I sewed it all together, but I was overly optimistic that the piping and batting would provide the support I wanted. So a lining in the end was very necessary to help hid all of that. I tacked the lining in each of the four top corners to help it from falling down…that gravity thing will get you every time. 😉
And now it’s in its new happy home with Karen! She says she loves it and I’m choosing to believe her. That cover had me sweating it out when I thought about what kind of task it was, but if I just thought “one step at a time” then it was a very doable project. It did feel a bit like making a piece of luggage. That actually was helpful for me because now I don’t feel quite so intimidated to tackle the Weekender. (That pattern is just notorious. I’m sure I’ll do fine)
But now I really want a machine cover for myself! lol I’ll just add it to the never ending to do list I suppose.


That's a really cute sewing machine cover. I love the piping detail on it. I think you're definitely on to something- sometimes when you take risks, the best things happen!
🙂 Kelly @ My Quilt Infatuation
It looks great 🙂
It turned out beautifully. I would love one too!
Beautiful! That appliqué looks amazing and is a really nice addition!
This is really lovely. Did you sew all the sides together and then put the top on using the technique you suggested?
A great project expertly executed! Congrats on taking the risk and making look great!
What a beautiful cover! Thanks for sharing the process.
It's fabulous. Have been eyeing this during the swap as I asked for a completely closed sewing machine cover as well lol!
It`s gorgeous.Great job!
Well it kind of is luggage without a bottom lol Looks great though :o)
Excellent job, Angela! I know Karen's going to LOVE, LOVE, LOVE it…and so will you when you tackle your own. I have the completely closed cover I made for my mother about 30+ years ago now – one of my first quilting projects. She passed away 21 years ago – so I got it back. I want very much to make a newer one for my newer bigger machine (it still fits, just not long enough! I just wish I had somehow gotten her very old vintage Singer I learned how to sew on…would love to have that nowadays!
It turned out awesome! I love all the detail you added. The fabric selection is gorgeous!
The construction on this cover is fantastic, Angela. If you ever consider making a pattern, I'm raising my hand now to be a pattern tester. I really love how that handle looks too. Makes it feel more finished.
gorgeous cover! i love your fabric choice and the piping.
Wow- this is incredible! I am sure she absolutley adores it!! Amazing!
This is so pretty and I know Karen was screaming with delight when she received it. I am in a swap right now and sure hope I get a sewing machine cover. It was my #1 request.
訂倉葵芳商務中心租賃葵涌倉服務器中國便宜域名寄存防毒軟體儲存荃灣信箱域名主機代管價格