This post is part of an ongoing series of posts for A Zig and A Zag Quilt Along I’m hosting here on my blog. You can join in at any time! You will find the links to all previous steps in my sidebar.
Well, I know that you are all smart cookies and this step of completing the quilt is hardly necessary, but nonetheless, I’ll be thorough. Our last set of instructions ended with details on how to complete each individual row. Now I know it will be a big shock, but the next step is actually sewing the rows together. You can follow your own pattern, or if you are doing my version, you will be sewing these together in rainbow order. Be sure to pin! I match up each block at multiple points to be sure that the rows go together accurately.
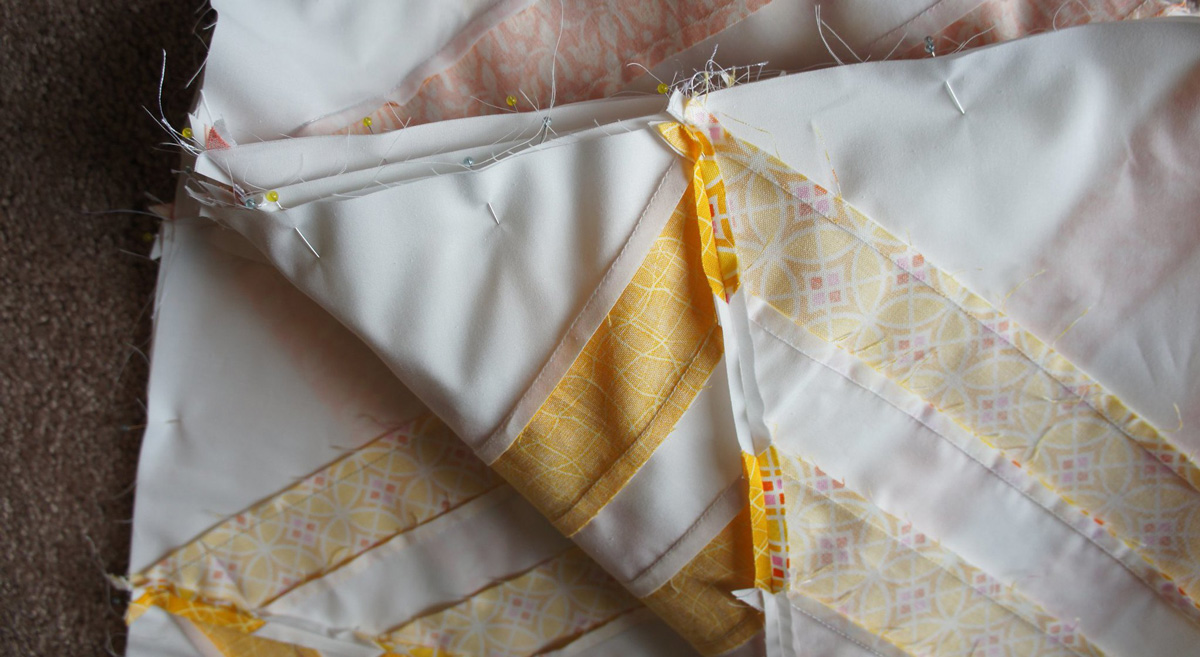

Another little tip is that I sew all my rows together in smaller sets and then sew the larger sets together. So, I sew three sets of two rows together and then start sewing those to each other. This way you avoid working with the whole weight of the quilt as you add each row.
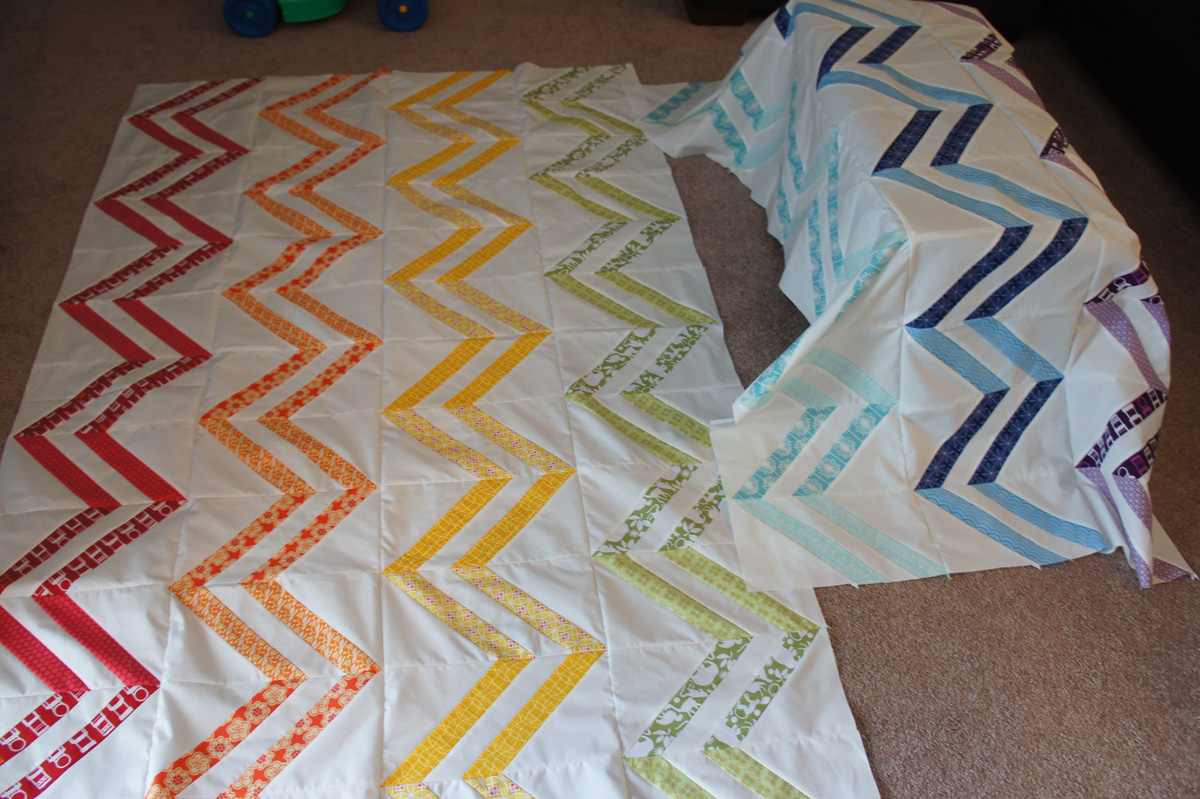

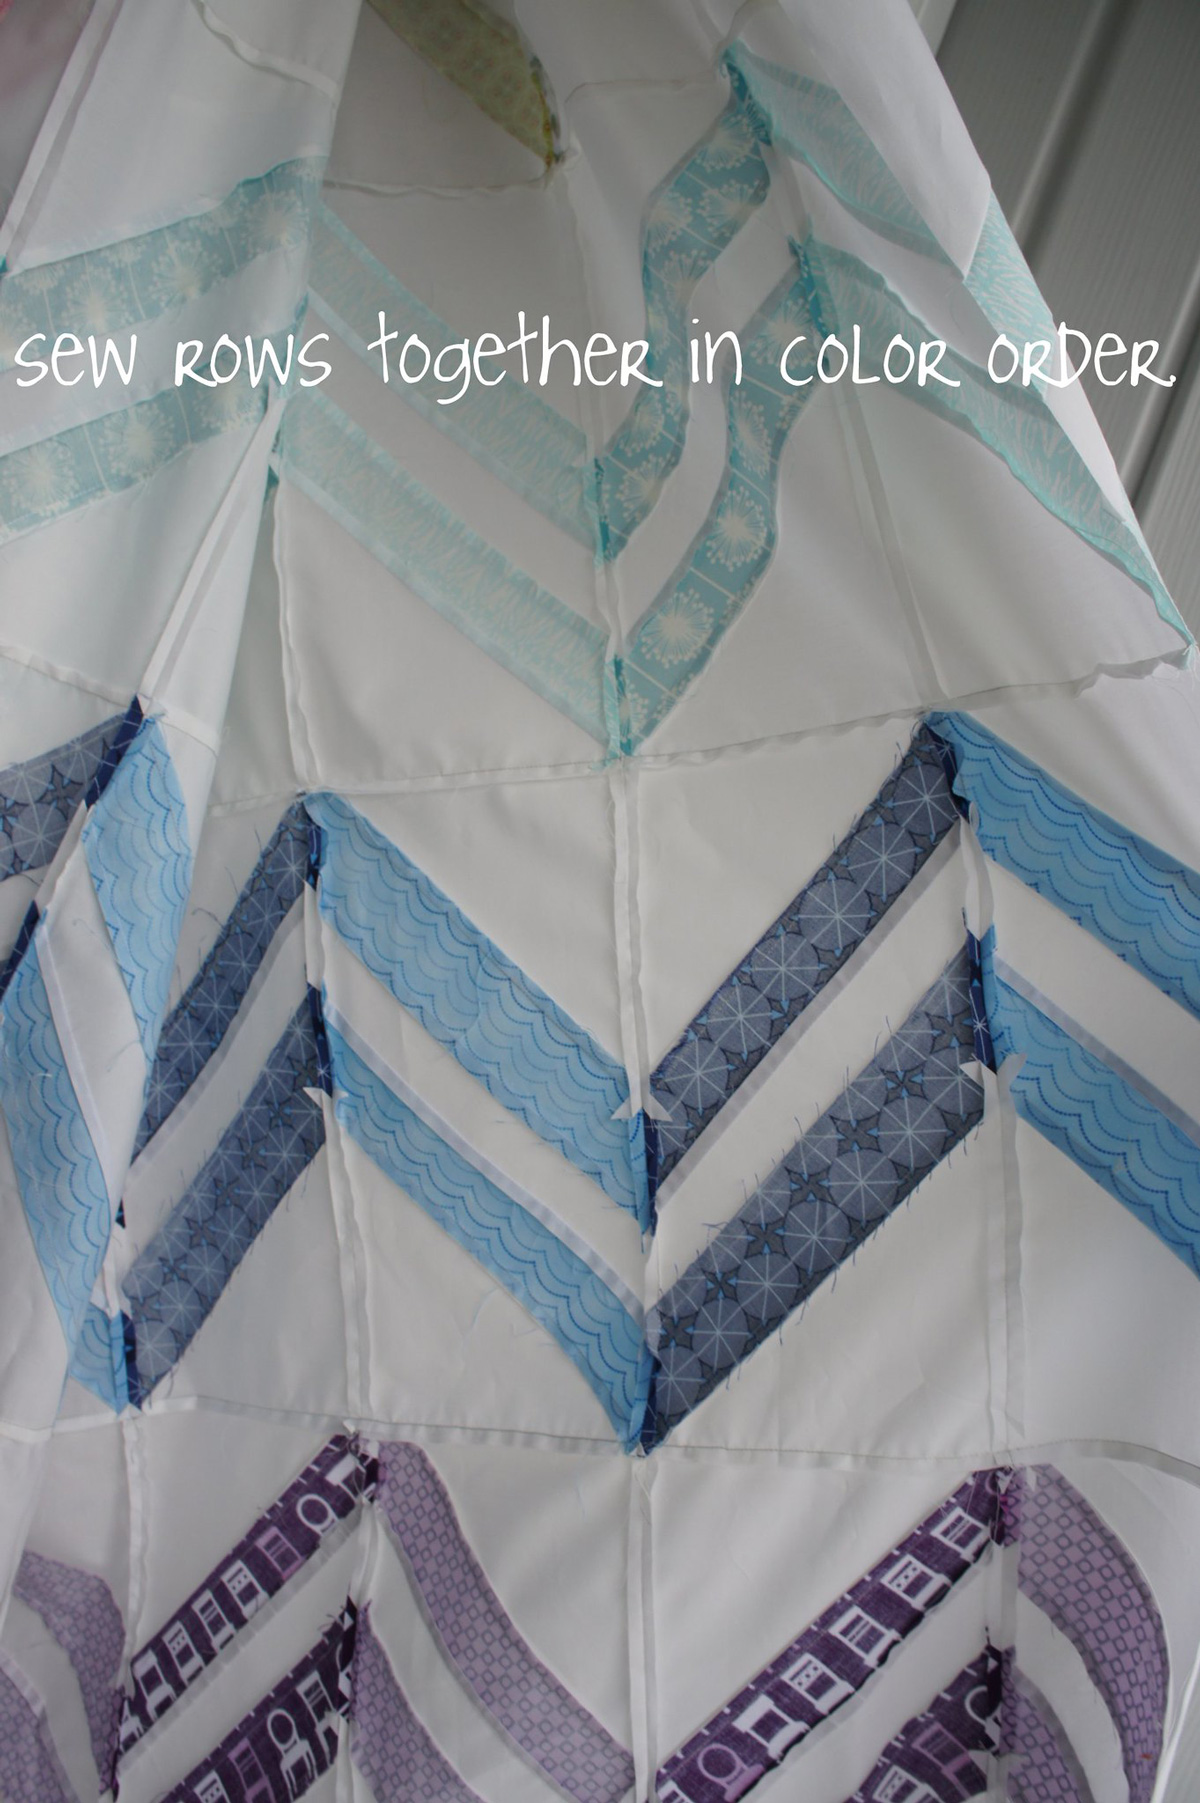

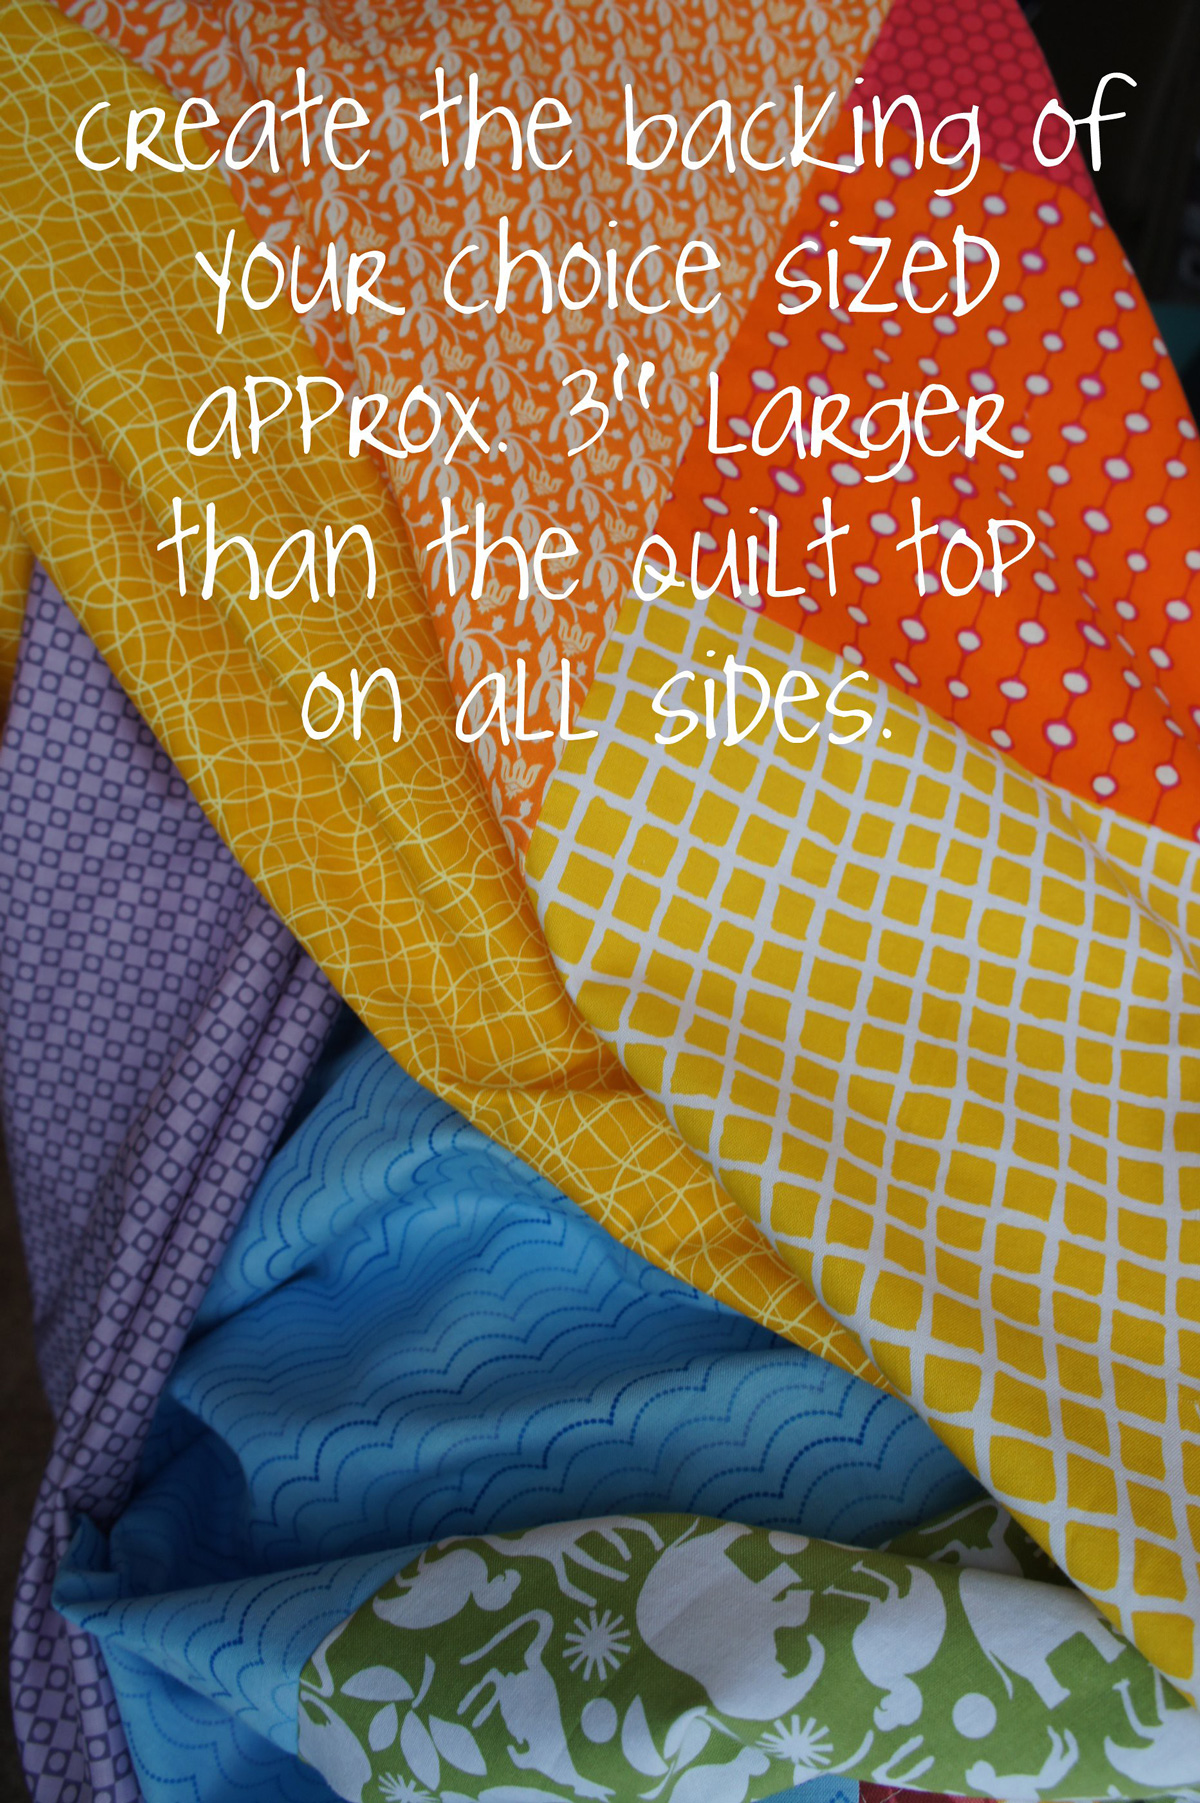
Once your quilt top is complete, you will want to make the backing for your quilt. I don’t have a great photo of my backing yet (I’ll post that with the final pics) but we all know that everyone makes their own backings anyway. 😉 I used an assortment of fabrics that I seamed together in two large columns. Basically, do whatever you want, just make sure that the quilt back is approximately 3″ larger than your top on all sides.

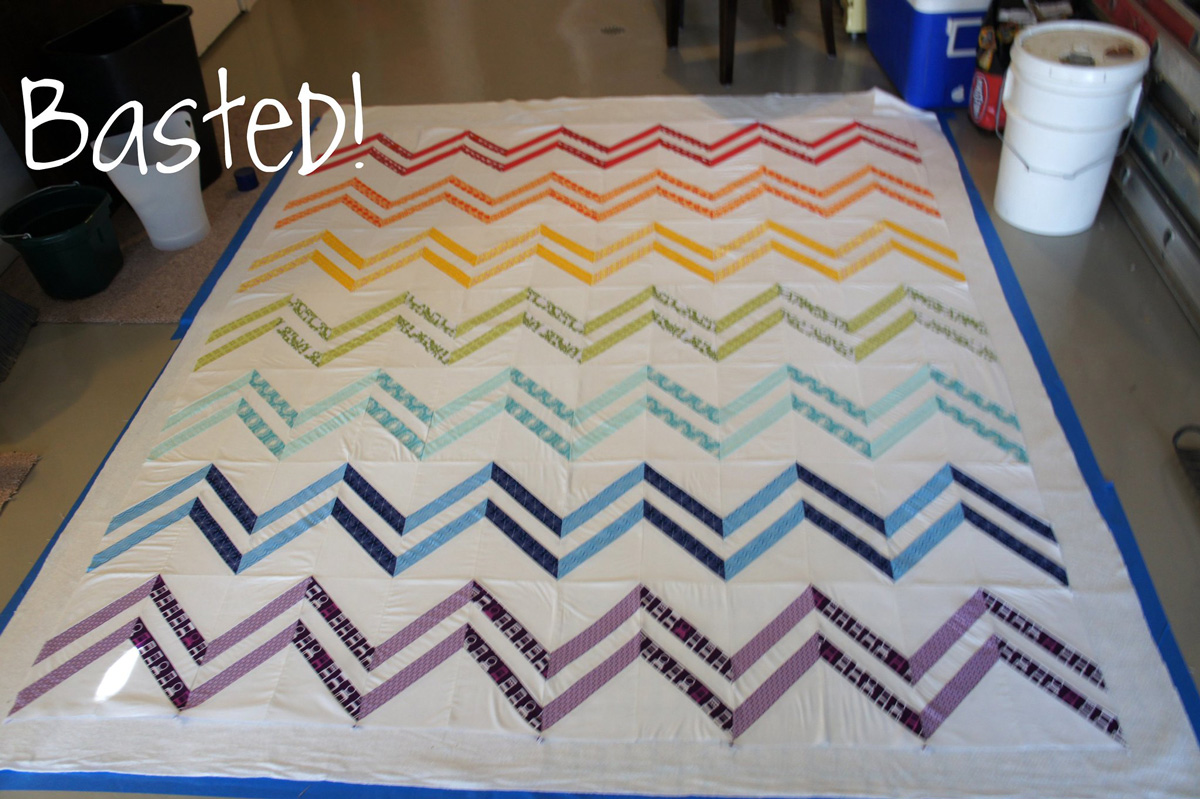
With your backing and quilt top in hand, grab some batting and head to your nearest large flat surface. I found that my garage floor works well for basting…if not a little hard on my knees. I tape down the backing wrong side up using blue painter’s tape, pulling the fabric straight and taught. I’m a completely converted spray baster and I’ll admit that I only use 505 spray. I buy the largest size can because it’s all I use anymore.
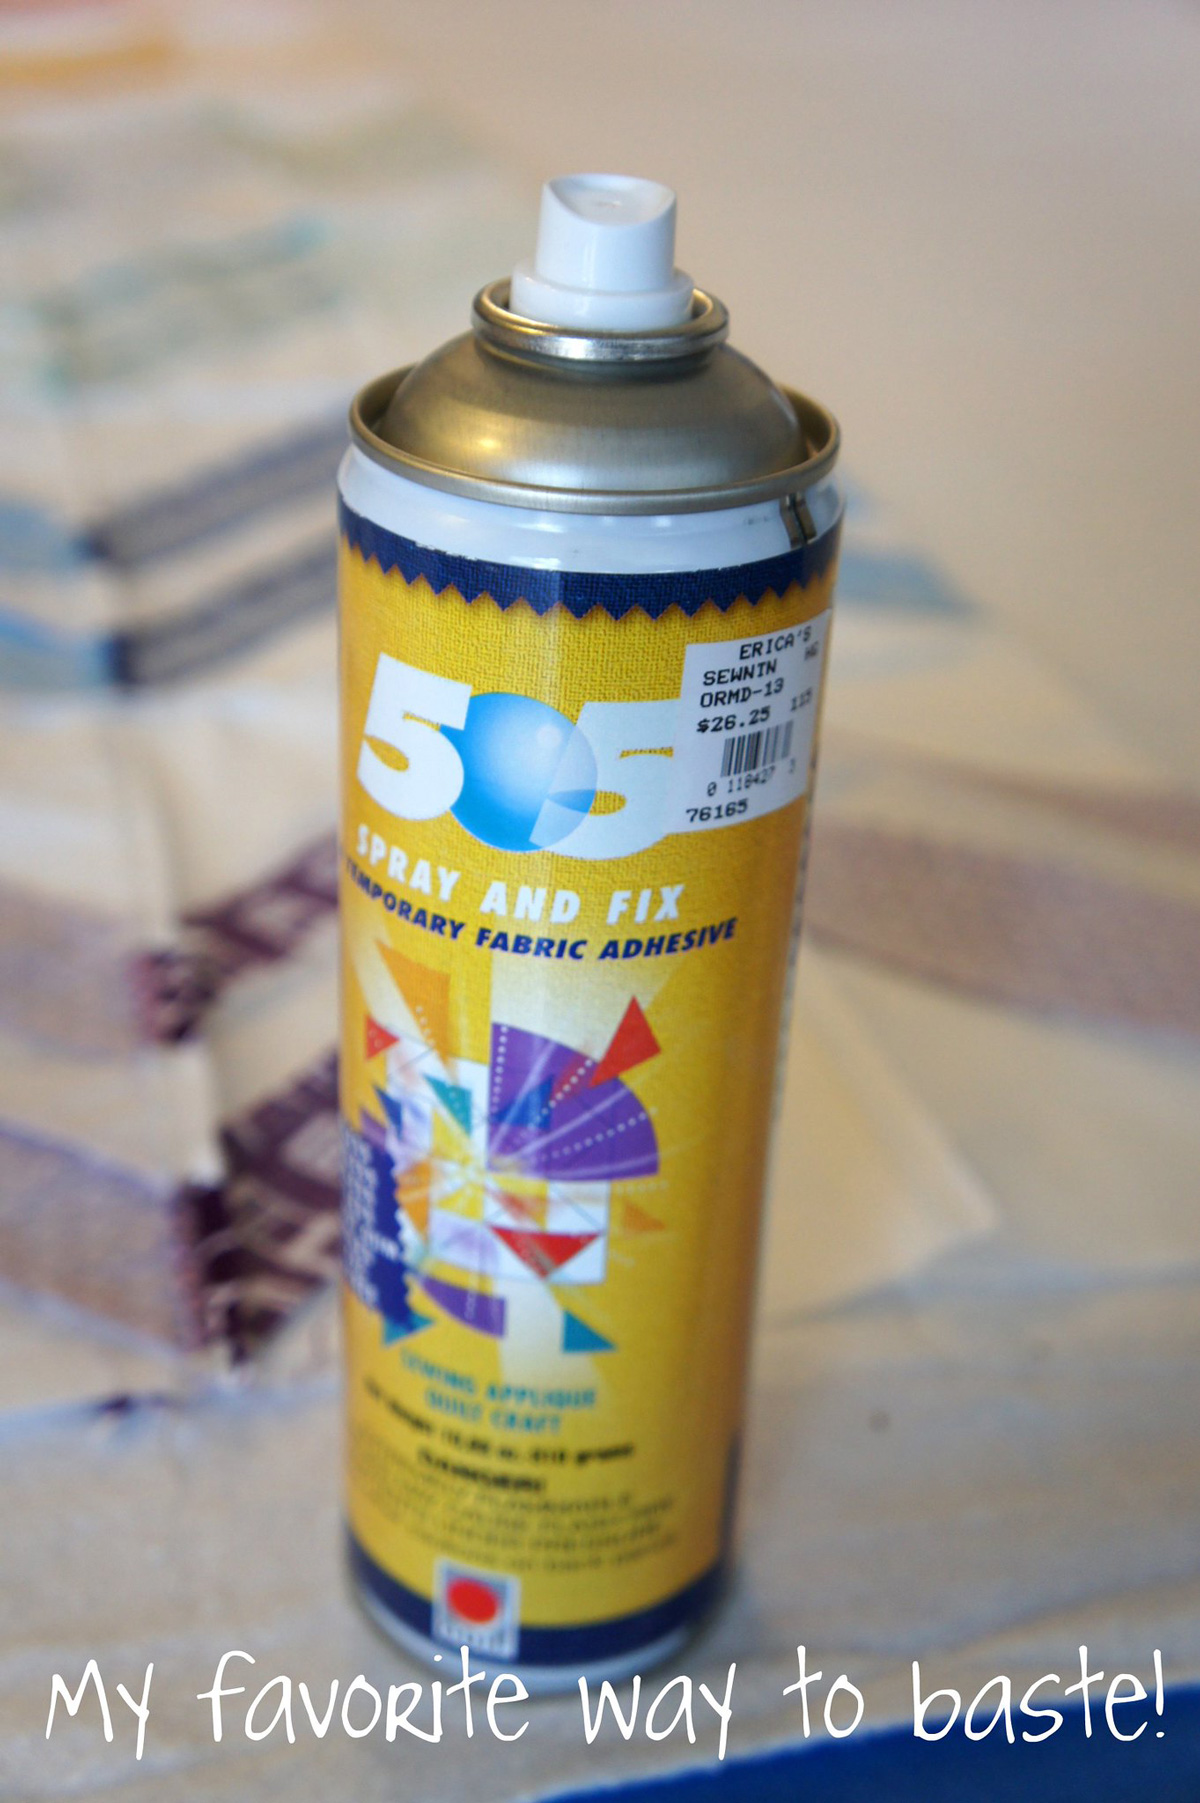

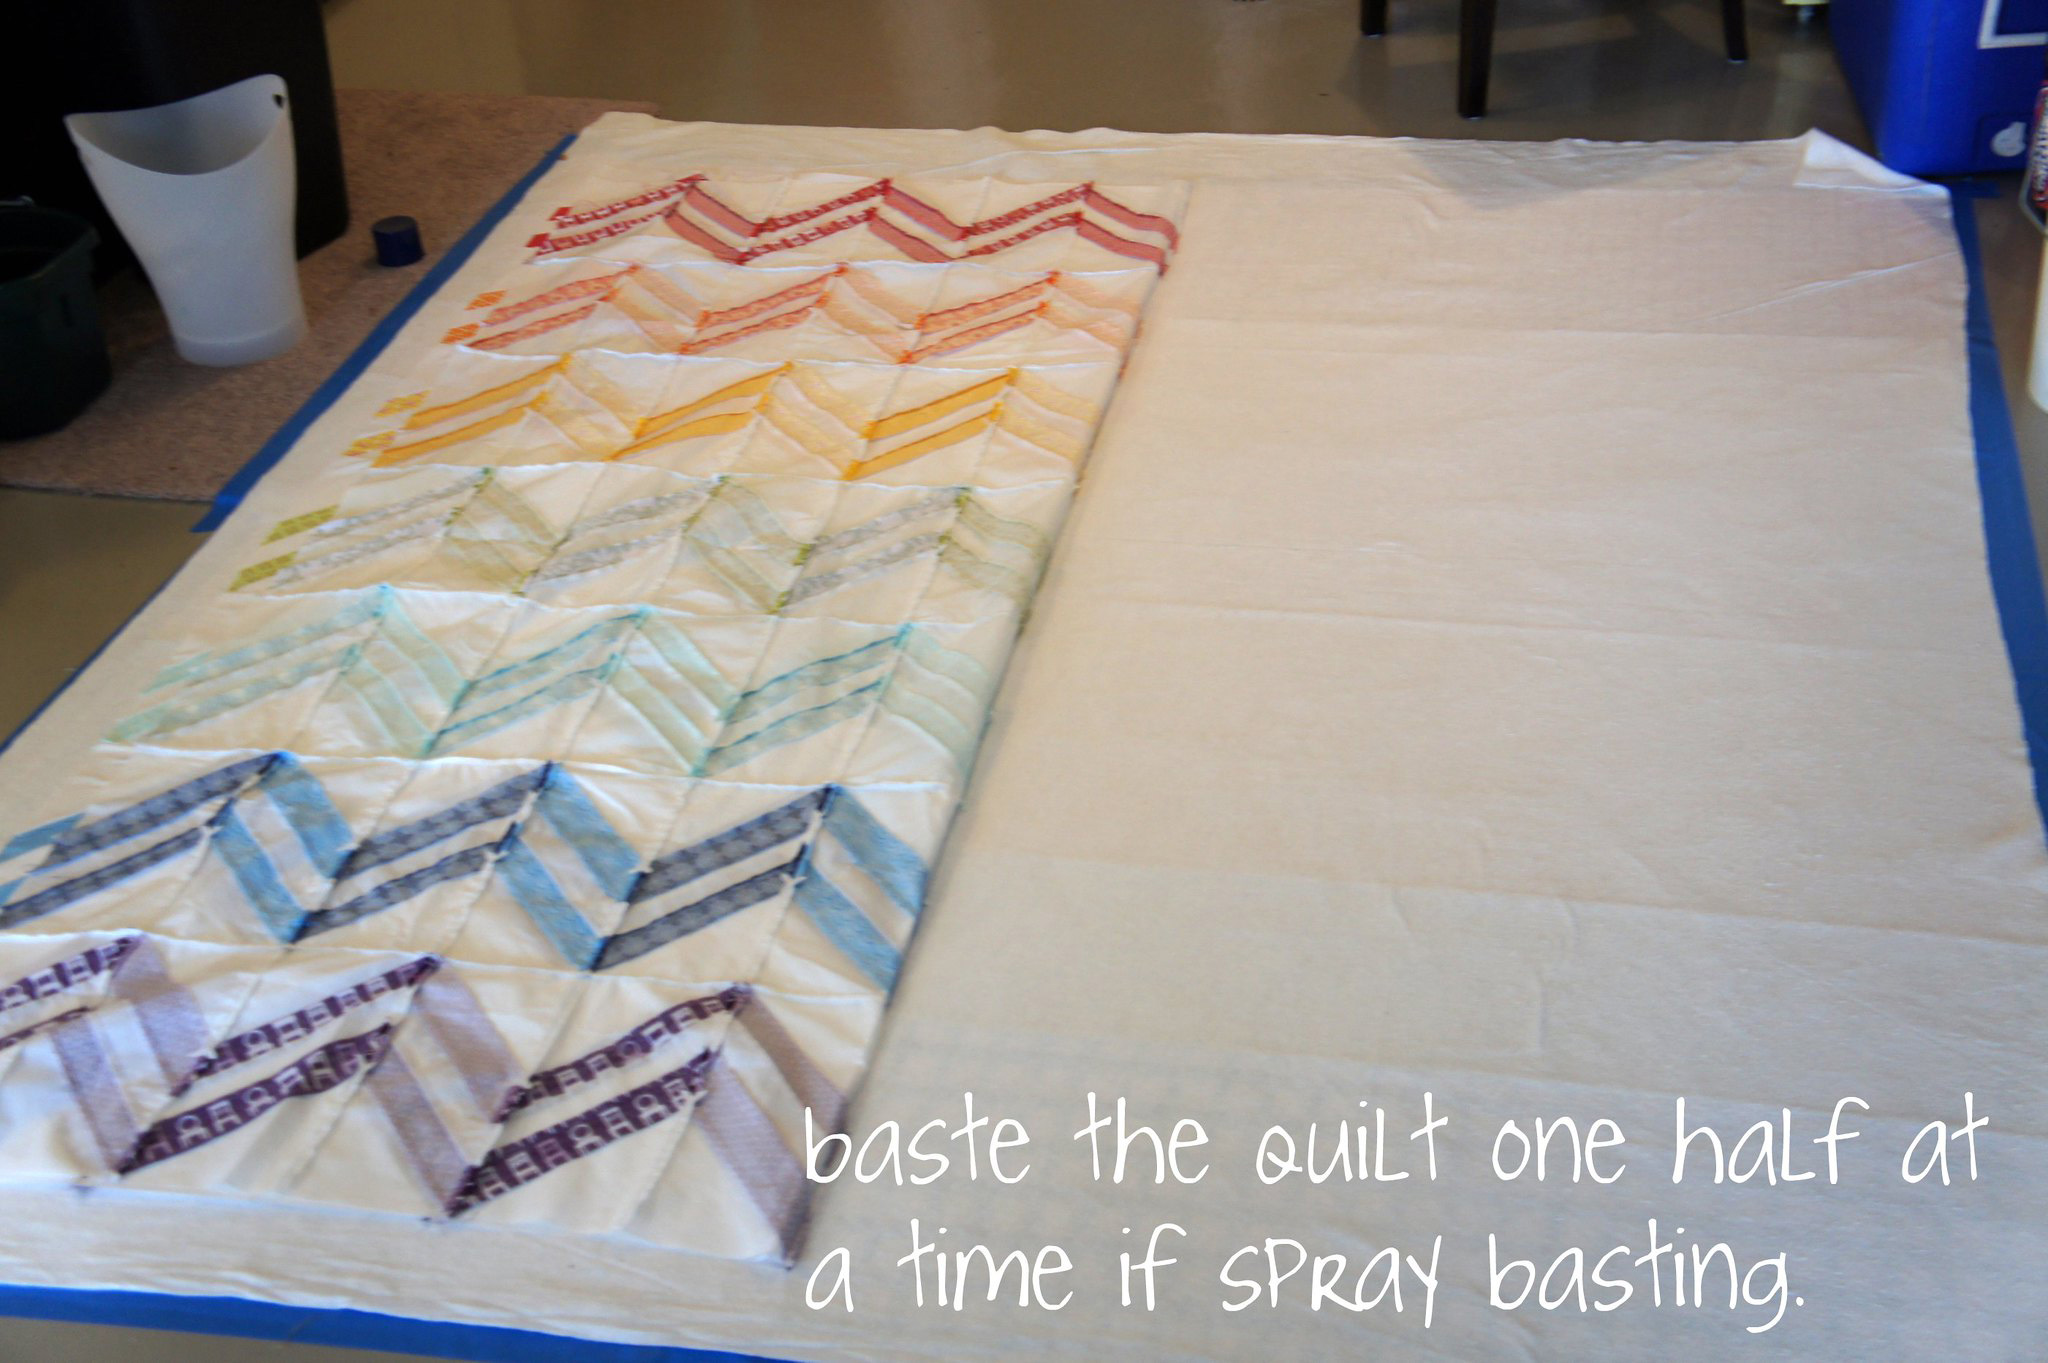
When spray basting, it is easiest to work with roughly half the quilt at once. So with both the batting and the quilt top, I spray about half of the surface below. Then I lay the material down, smooth it from the center out. And then I do the same with the other side.

It’s lovely all basted and ready to be quilted!

I have the quilt all complete and I’m in love with it! So I’ll be back super soon to share the quilting, binding and finished product with you all. Plus some tips and tricks I learned along the way while working on this particular quilt.
As always, I’d love to see any of your work on this quilt along in my group on flickr, Cut To Pieces.


Awesome.
The zigzags are awesome! I may have to go back to the beginning of this QAL! Spray basting is my fav.
Love the new blog looks sweetie! And the quilt!
I love how your quilt looks. I really love how your blog looks now.
This is AWESOME. Beautiful quilt! I love spray basting after spending hours on my knees on the floor for my quilt before that pinning.. then going thru my last one in minutes with the spray baste.. NO competition there. 🙂 I just watched a video on you tube on machine quilting where she did her spray basting on a wall with ceiling tiles on the wall. WOWZA. That looks pretty awesome too.
Love the new look to your page. Your quilt looks great! I really need to finish up my mini version of it!
Wow! The quilt is so beautiful! I've never even thought of spray basting! I'm going to have to give it a try since pinning takes forever!
Well now, look at this spiffy new space! The header is awesome. Glad to see things coming together for you with the redesign.
Your quilt looks awesome!!
It looks so great, Angela. I can't wait to see the final reveal!
I better get to working on mine! Yours looks great!
Love the new header as well. 🙂
Love that you are doing this QAL! This quilt is so beautiful Angela!!
Wow! That quilt is STUNNING! Once I get my stash bulked up enough, I may attempt one of these…
your pattern so cute and artistic. i love it.
sig: Andrew
The Economics of 2011 in Graphs
plain t-shirts