
This post is part of an ongoing series of posts for A Zig and A Zag Quilt Along I’m hosting here on my blog. You can join in at any time! You will find the links to all previous steps in my sidebar.
In what I hope is not THE most anticlimactic quilt-along ever, I give you the oh-so-exciting next steps of the ZZ quilt along. ( Ha! I just realized I should have named this quilt ZZ Top!)
Ready? It’s complicated. It involves sewing long strips of fabric together. Can we handle it?
Please….you all can do this with one hand tied behind your back! Drum roll please…
Sewing Instructions:
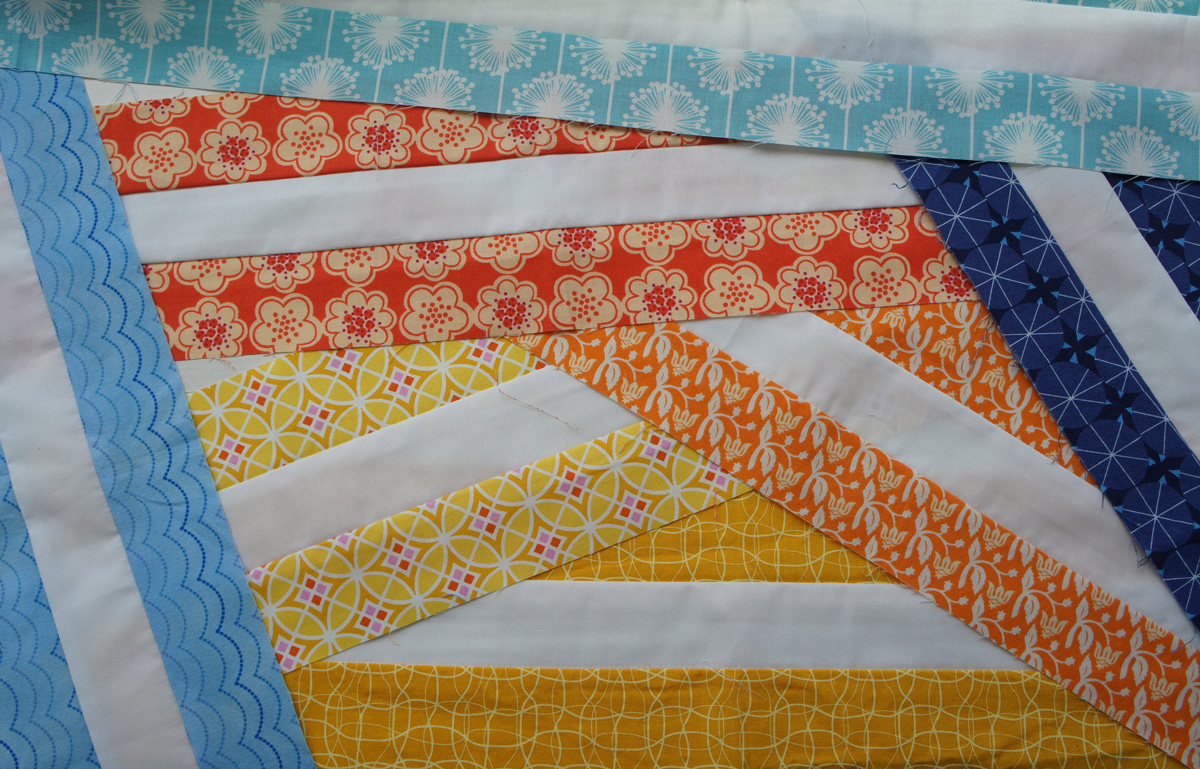
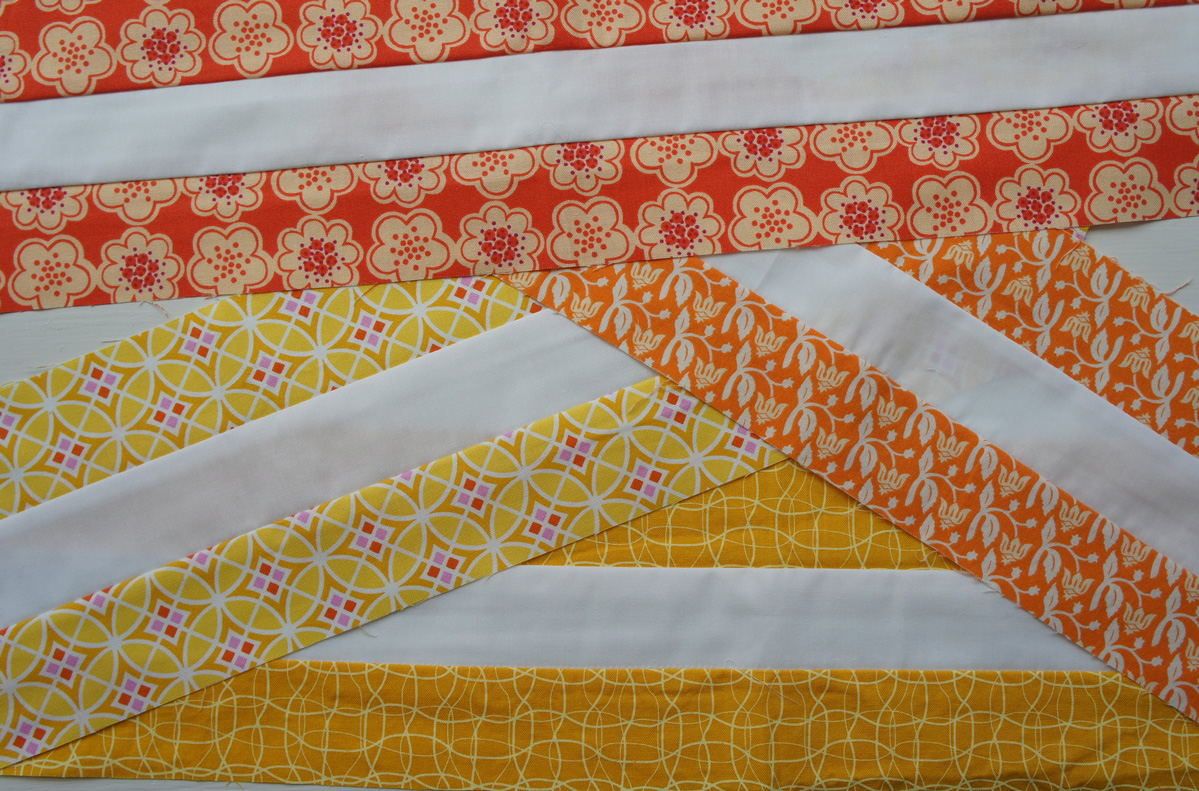
• Separate your colored strips into groups of two strips by color. You should have 4 strips per color, so you are just subdividing this into 2 groups of 2.
• Place (1) white strip with each group of (2) colored strips (of the same color!)
• Sew along the long edges of the strips, placing a colored strip on either side of the white strip. Take note of your fabrics if they are directional and you care about that. For instance, if you are using a fabric like Tufted Tweets, you may want your chairs to lay in the same direction.
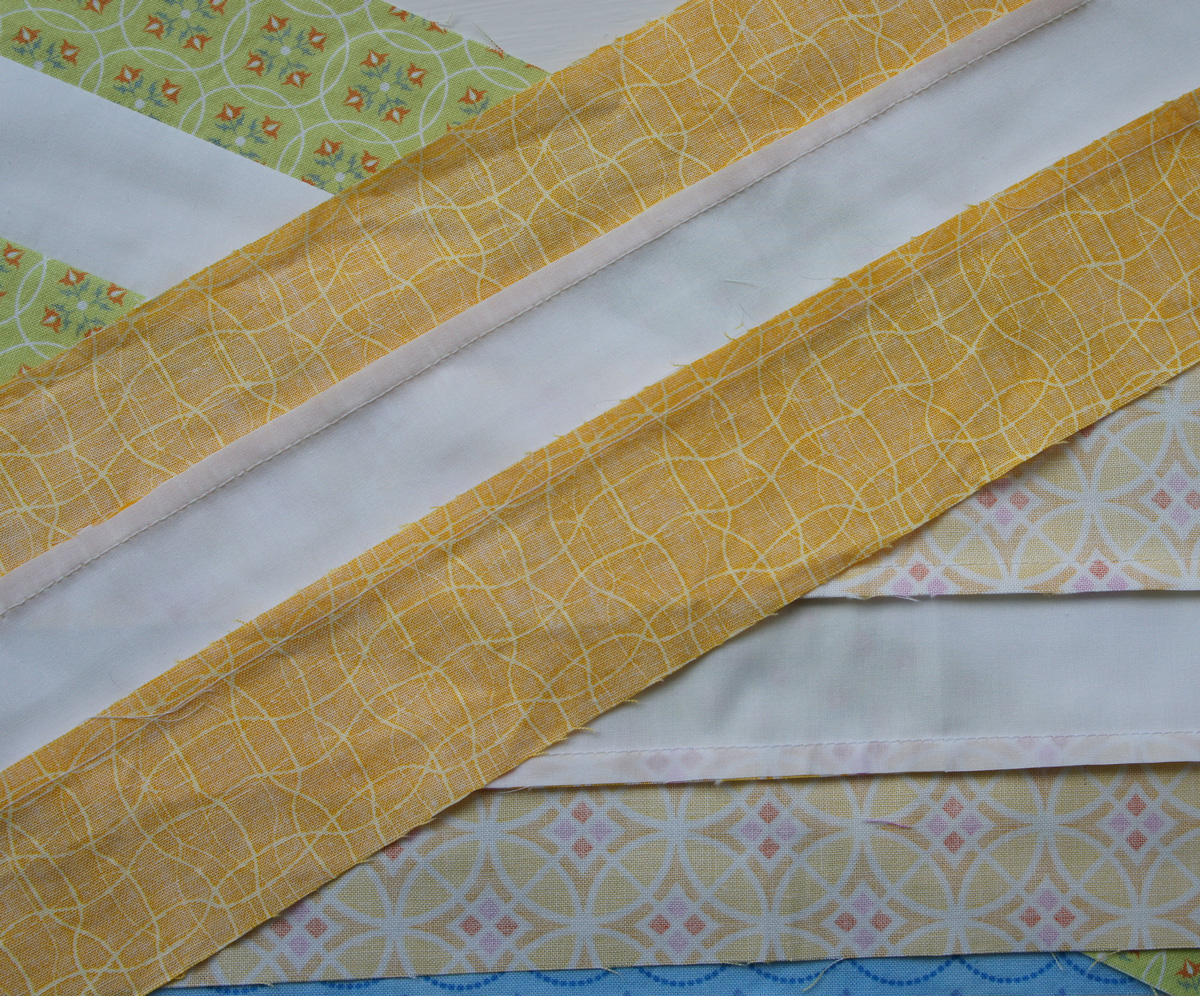
•Pressing your seams: I don’t want to tell you how to press your seams, open or to the side…I think that is very much a personal preference. However, I tend to press mine to the side unless I need to press them open for a particular pattern. Either way works with this quilt. If you do press your seams to the side, then you will want to press all of the light-colored fabric strips in one direction and all of the dark-colored fabric strips in the other. This will allow us to lock the seams together later on and eliminate bulk. (Pressing all of your seams open will also let you do this.)
So, I will press all of my light-colored strips down and all of my dark-colored strips up. This is where you may want to pay attention to the direction of your print…again think about those tufted tweets chairs….do you want them upside down or right side up?
And that is it for this week! Hold tight and we’ll start some fun angled cuts next week.
And if you are just joining us, you can feel free to make this quilt at any time. You can find the links to the posts about the quilt along in my sidebar. And let me know if anything is confusing. I always respond as long as I can find your email!
And once again, for those who would like it, here is the code for the blog button for the quilt along!

<div align="center"><a href="http://cuttopieces.blogspot.com/" title="A Zig and A Zag Quilt Along"><img src="http://i155.photobucket.com/albums/s316/pingpong4614/azigandazag.jpg" alt="A Zig and A Zag Quilt Along" style="border:none;" /></a></div>
And come over and join us on Flickr in my group Cut To Pieces and share your progress!
Is sewing with one hand tied behind my back required, because if it is, I'm going to rethink this QAL 😉 I still need to get my solids… ahhhhhh falling behind.
I'm totally calling my quilt ZZ TOP!!!
I so wish I could do this along with you. Alas, so so so so so many projects on the go. I've got a rainbow of fabrics set aside though, just in case I find some time, somewhere to start my millionth new project ;D
love this Angela … I haven't got the time at all at the moment, but I'm going to follow you all … it's going to be fabtastic … I just know it is ….
This is ON MY LIST !
That's perfect, the ZZ Quilt!
Eee! Now I just need to get my strips all cut up. I've never sewn a quilt this way so I'm excited to learn something new. 🙂
Yipee! Get sewing away 🙂 I'm at least caught up on one QAL – hehe! Forget the others at the moment- I'm all about the ZZ Top quilt- that's the best!
FINALLY getting my solid tomorrow! YAY 🙂