
I know I’ve been doing some of my own tips and tricks on the blog here, but today I’m joining in on Amy, Diary of a Quilter, series of QUICK Quilting Tips and Tricks. She’s been accumulating lots of great tricks from bloggers from all over and I’m sure you’ll enjoy them. Be sure to check out her blog for the other great tips that bloggers have shared.
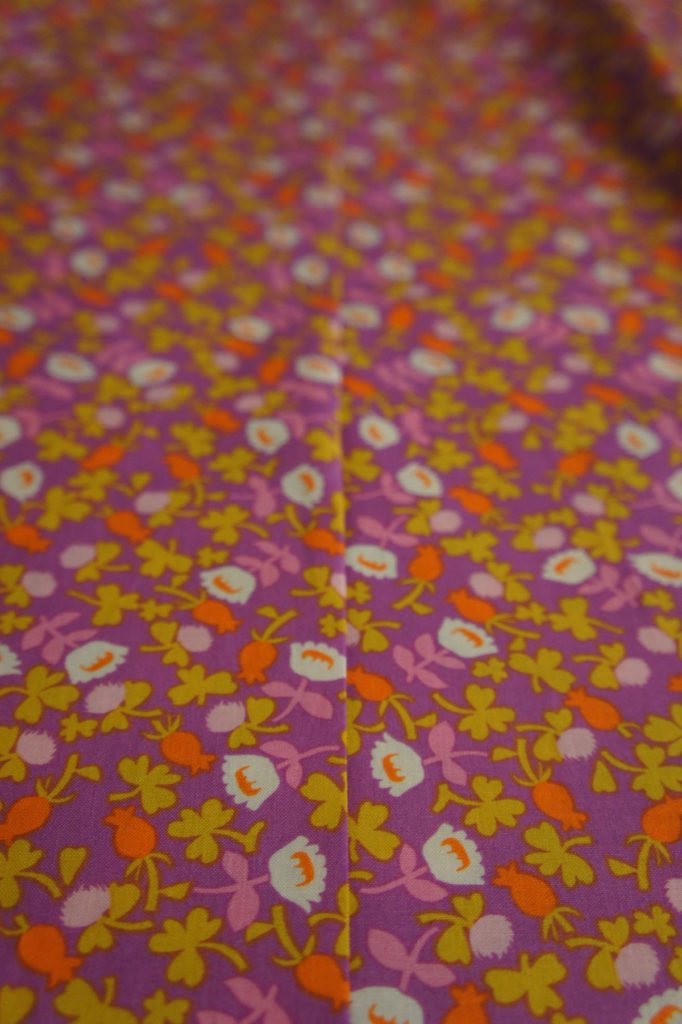
For my quick tip, I wanted to share with you my quick and dirty way that I sew together backings for quilts that are made from a single large yardage cut of fabric. It’s lovely when I have the luxury of actually owning those 4+ yards that large quilts need and can whip out a quilt back with one fabric and single seam.
I start with a long multiple yard cut of a single fabric. I’m talking about 4 – 6 yards depending on the size of the quilt. You know…that huge amount they give you in the directions and you say “whatever, I can piece together a backing and use up my stash too”. Well this time we are NOT doing that. lol We are using that great big long cut of fabric that you got at a screaming deal from someone’s sale section and thought “I’m going to use that for quilt backs!” But there is no denying that working with that much yardage at a time can be cumbersome. So I’ve developed a method that has eliminated the pain of this piecing by so much that I actually enjoy making that quilt back and am happy with it!
My trick is to keep the piece as one long cut for the entire time I sew the back together. For years I would cut the fabric in half and then sew the two pieces together, desperately trying to match up the lengths of the long pieces. I would get annoyed by the weight of working with fabric cuts that long and would even pin these pieces together. (Pinning is still a great method if you want to perfectly match a large motif on the back, but remember…this is a QUICK tip).
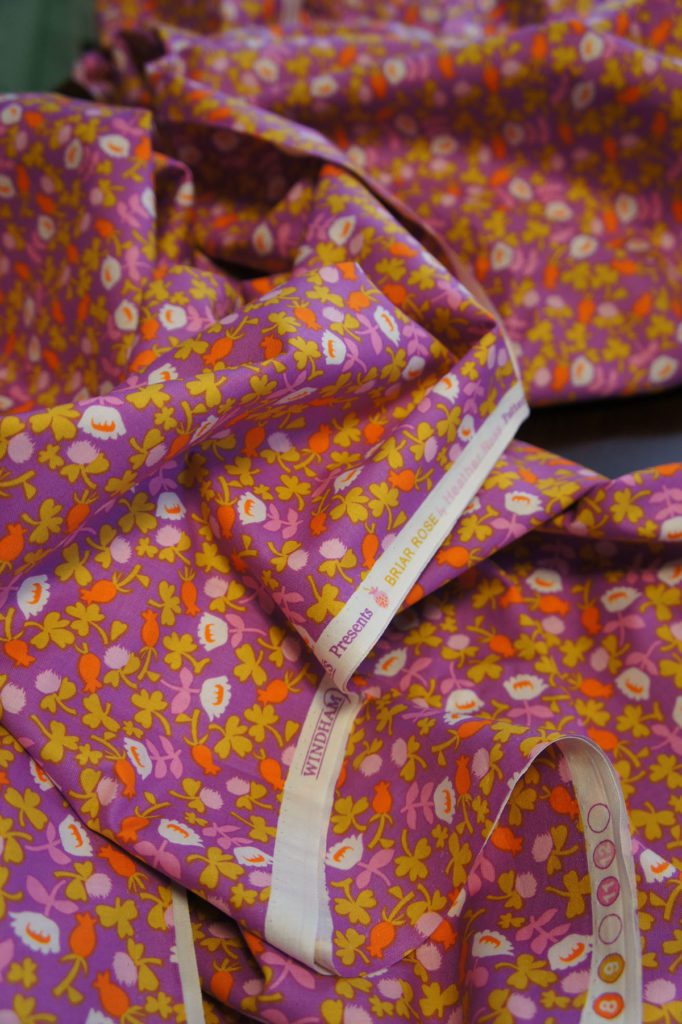
Well, no more. Now I use the one piece and I open it up entirely to the full 45″ width. From one selvage side (I always choose the cute side and I’ll tell you why later), I match up the two ends of the fabric, right sides together.
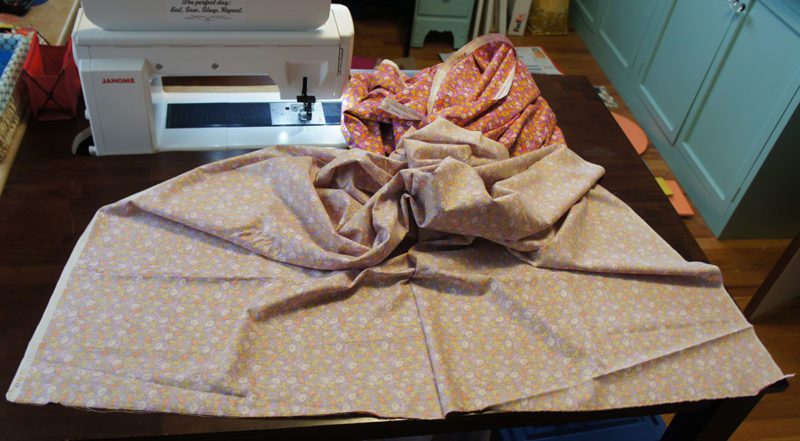
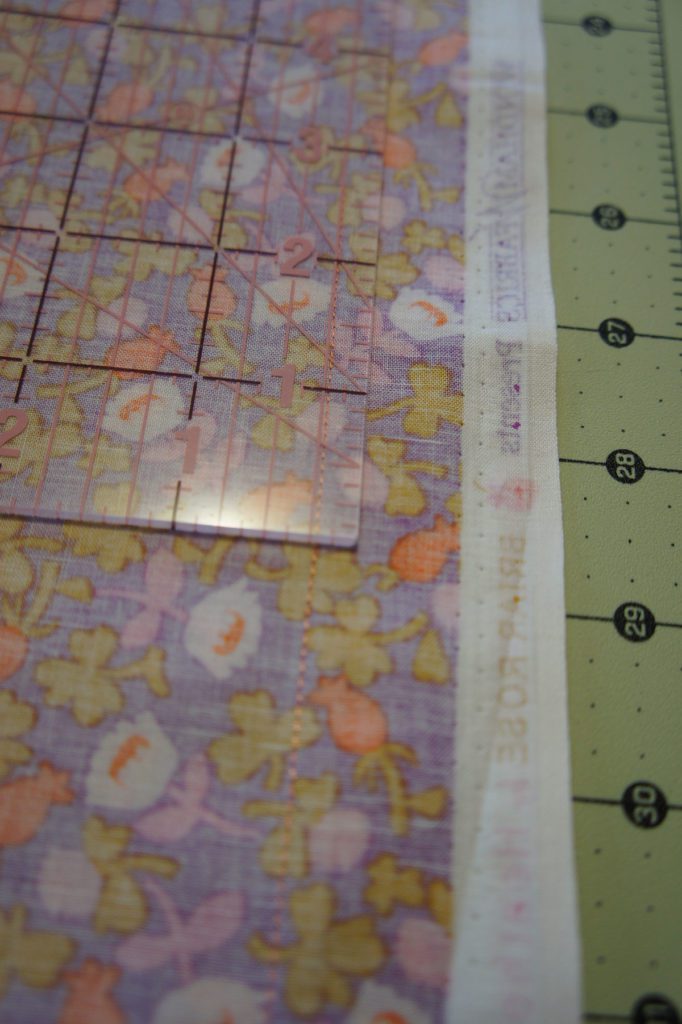
Just line up that initial end to end and take the whole big piece over to your machine. Give yourself a generous seam allowance so that you can trim it down to a 1/4″ seam allowance AND give you extra on the side of the selvage (this is for all of you selvage users out there). I never sew on the selvage itself because the weave is drastically tighter there and it needs to be cut from the rest of the fabric for a smooth backing.
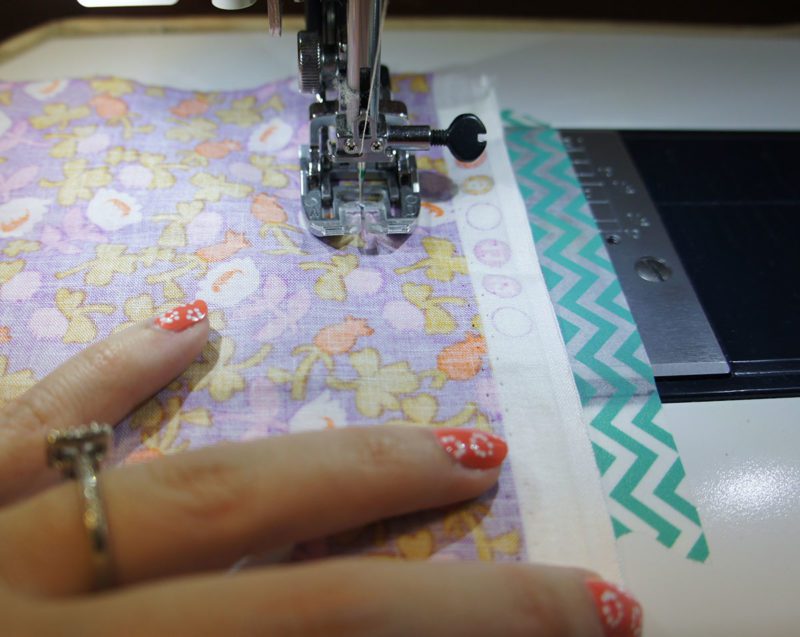
I use the selvage edge as my guide and it’s a perfect way to hold on to those yards of fabric because you can’t pull it or distort the seam even with the weight of all of those yards of fabric…it’s simply woven so tight. I move along the length of the fabric and continue sewing the two edges together aligning those selvage edges.
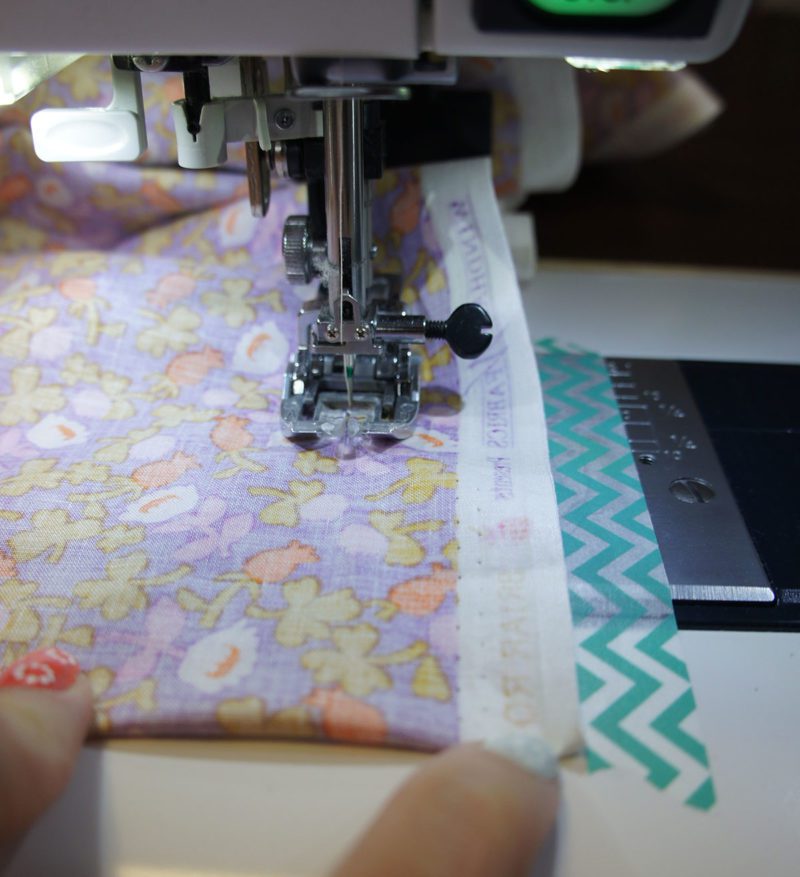
I eventually near the end and you can see that I will have sewn the fabric to itself until it meets at a fold, which is, low and behold, the exact middle of the length. And you didn’t have to measure to get there! I’m done with stitching and now it’s all about ironing and trimming.
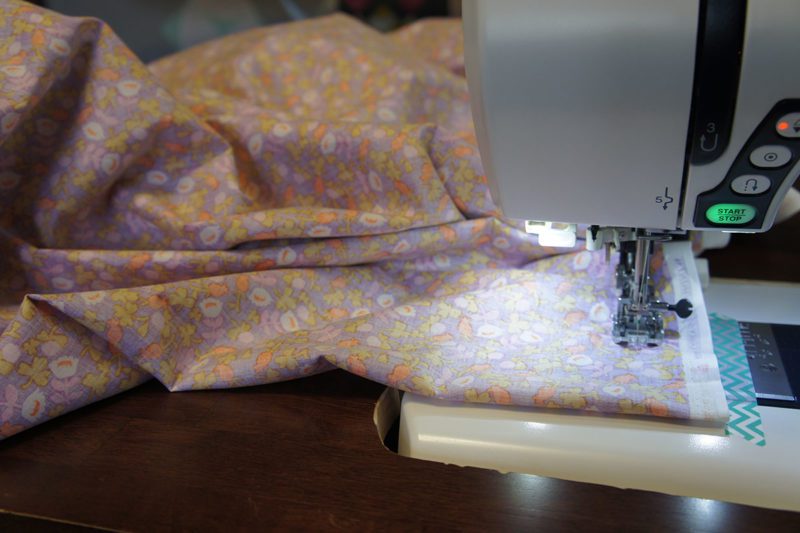
I take the backing to the ironing board and give the long seam a quick press to set the seam and then lift up the middle fold. I make sure that this is a nice fold across the whole length and give it a quick press as well to create a crease to trim away later.
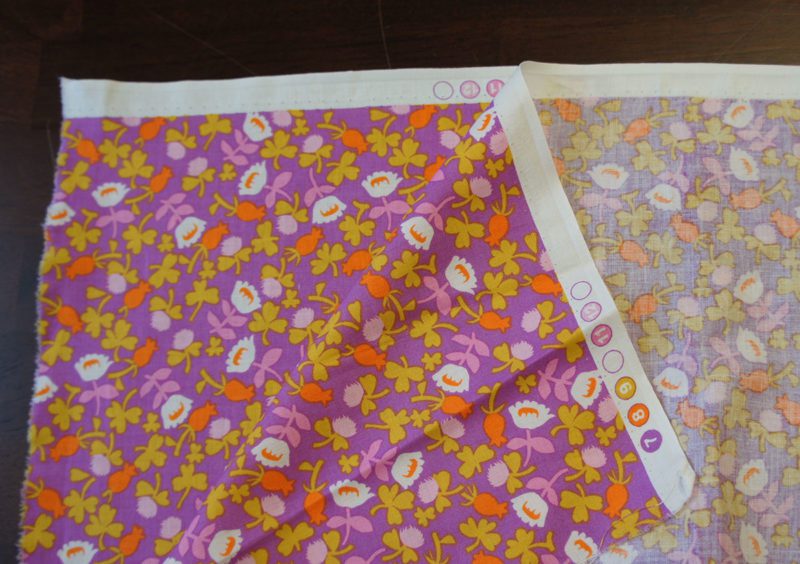
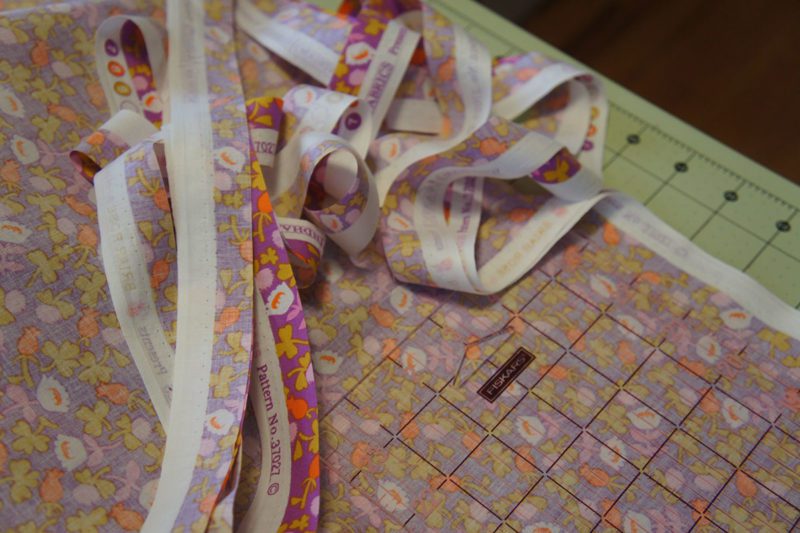
I take my long piece to my cutting mat and get out my longest ruler. I line the ruler up with a quarter inch left next to my seam and trim along the entire long seam.
You will see that as you do this you are trimming away the selvage edge with plenty of fabric next to it! So all you selvage project lovers out there will be gaining that in the same step as piecing your back. Two great things for the work of one!
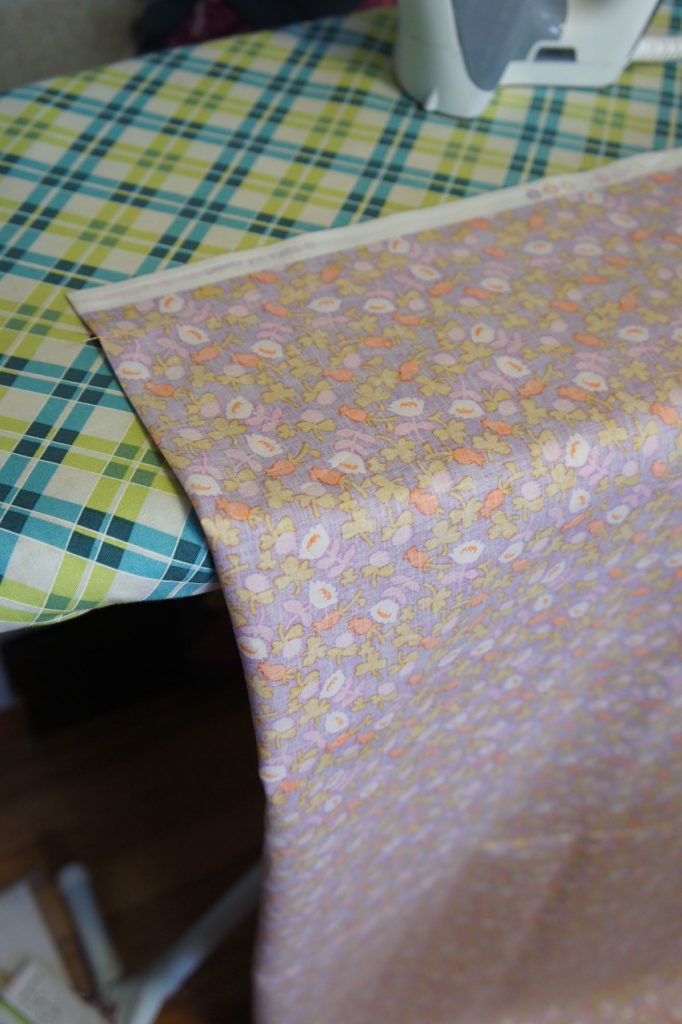
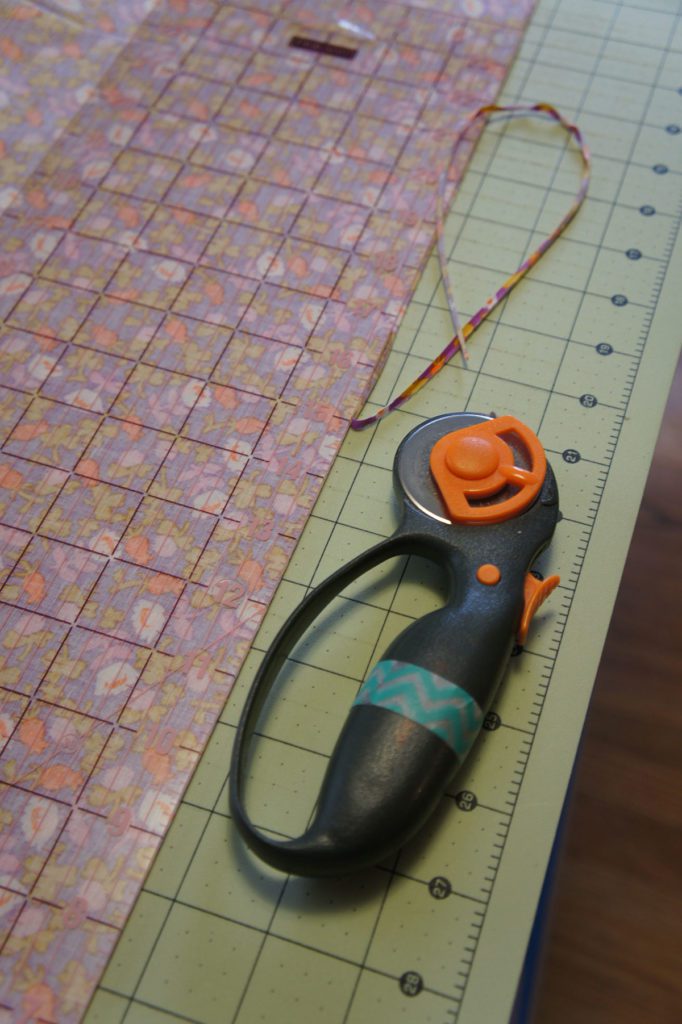
And then I take the folded short edge and line it up along my mat. I use my ruler to trim away just the slightest amount to separate the two pieces (I cut fat quarters this way too if that helps anyone visualize it better). When you have trimmed away the whole edge, you can now completely open up the fabric and you have one beautiful quilt back.
The last step is just to press the seam open or to the side per your preference and you are all set to go! As you can see, this works beautifully for small scale prints and solids especially. But I’ve done it with large motifs with great success as well.
And let me tell you that writing up this tutorial took far longer than actually making the quilt back. Heck, reading the tutorial might have taken you longer than actually making one…I do like to go on and on. 😉

You don’t mention squaring up your fabric. When and how does this happen?
OMGoodness. I feel so stupid. Thanks so much! Brilliant!
I’ve done quilt backing that way. It is much easier especially with a queen size quilt top. Thank you for sharing.
I have always done it this way…saves so much time…I can even make the repeats match by shifting it to match.
This method means you have two contrasting grains sewed together. This means any give or stretch or bowing in the weave will be different on each side of the quilt and may cause issues with buckling esp for longarm. I was always taught to cut in half and reverse the pieces, cute selvedge to ugly selvedge to prevent this. And of course a one way fabric will be half upside down by this method. Fast and easy isn’t always the best or correct fine sewing way.
This is exactly what happened to me when I had the brainstorm to sew and cut like this. Was longarmming away and when I peeked under to check the backing for wrinkles or pleats, just about fainted (not really) when I saw this huge ballon hanging down on one side. No amount of tugging and reclamping that side would get rid of it. All I could do was pray and keep going and yes I did end up with a few pleats near the end of that side but luckily the fabric was busy and they are hard to see.
This probably works for hand quilting or domestic machine quilting when all layers are pre-basted or pinned, or, maybe spray basted.
Great technique first introduced by John Flynn, master quilter.
I do this, but never thought about sharing it.What is crazy I sometime forget to do this. Thank you good video.
Can you use a sheet for the back it seem like my mama used sheets and I know she used blanks for some backs
Thanks for sharing, I am a newby and love quilting. I did this on my first quilt but did not realize until I read this the reason it worked so well, I thought I had my seams all wrong but since it turned out fine I just kept doing it this way
I have done been doing this for a long time for large quilts! Saves a lot of headaches. Thanks for sharing!
I am on my 14th quilt, so I’m still learning. I did this today and it came out looking great. I’m not sure I will always do it this way. But for now as I am still a beginner I might make a few more this way. I have to get all the pro’s and con’s.
I take it just one step further. After sewing one side and before cutting, I sew the other salvages, then I cut the bottom. This gives you a tube. Cut salvages like you said, Then match both salvages together and fold up the middle fold and press one of these folds. Now you can use that pressed line to cut fabric This makes it so you don’t have one awkward seam in the middle, rather a nice panel in the middle and two small panels about 22” on either side of the middle panel.
Exactly, I’ve also done it this way for years, except I sew the other salvages together then cut one piece up the middle so that there are two seams…seams that run down the edges of the bed/quilt, instead of one seam down the middle. In making bedding for bedrooms throughout the years, this is how you make a bedspread. I believe it looks much more professional as well.
I have been sewing for over 40 years and these instructions totally confused me. What?
Sheets! Use a sheet!!! One big piece of fabric!
Makes it 84′”. Measure fabric across the fold to see what width will be, i.e. 42″ 44″ 36″., then double when you sew salvages together.
Sorry to be a downer, but the verb ‘salvage’ means to rescue a wrecked or disabled ship.
Selvage is the edge of fabric – with an ‘e’.
Val
I was going to mention this as well. I always have to chuckle when I see everyone using the word, “salvage” when they’re talking about their quilts!
A number of the “girls” in my quilting group (most of us are over 60!) say “salvage” as well. I’m a tad OCD and it makes be buggy but I bite my tongue and say nothing because they’re my friends and I don’t want to offend them. My tongue is often sore! ; – }
Not a downer, Val. I’ve been reading all these and wanting to correct them. Thanks!
Can you tell me about the washi tape on your machine?
Also, thanks for the tip. I”m piecing out my first quilt as we speak and the backing has been the last thing I needed to think about…but I feel more confident, so thanks! 🙂
I can’t wait to try this!
This is a fabulous idea, but if you’re like me, you’ll visit QuiltedTwins.com and buy some beautiful 108″ backing fabric for only $8.59 a yard. Really! And they have oodles of gorgeous quilting fabric for 3.99 and 4.99 a yard. I’ve been buying from them for quite some time now for myself and my quilting group. The quality of their goods is excellent and they ship very quickly. Even with shipping you can come out ahead because their shipping fee is always a flat $5.00. In addition to quilts, we make about 20-25 colorful pillowcases a month for children in a local hospital. As you can imagine, this uses a lot of fabric. My last purchase for 12 yards averaged out at approximately $4.49 per yard, including the shipping! We’re a church quilting group and our funds are limited so these prices are very helpful.
I want to thank you so much for putting you tip out there for us to read. I tried to picture what you did and I have it in my head where it would work out. You make it sound so easy. Thank you.
That is just brilliant! Great for charity quilts.
Hi, I am confused! I understand about sewing along the salvages, right sides together, but where do the folds come in? Thanks!
Great idea. I always love shortcuts that actually work and look nice. Thanks for sharing.
I have a question I have a blanket but I’m not sure that it is done I purchased it at a garage sale years ago how doDwAnna I finish it ?
Is this a videotape available for this method? Not quite sure I have the visual in my head right. Lol
Please add a warning to your post — this will NOT work if your fabric is a one-way fabric (directional print)! One side will end up opposite direction to other and will be very noticeable! Will only work for 2-way fabrics, and even then one side may appear a darker shade than the other due to weave of fabric. Please warn folks of this!
Most will avoid using sheets as their weave is tighter than regular cotton fabric.
Thank you so much for posting this. My sister and I make at least 200 quilts a year, this has saved us so much time. We can’t thank you enough for this info. Sue & Pat
Bless you my child !!! I am 80 and wish that I had come across this years ago. I will certainly use this tip on my next quilt back. You might think that anyone who has been sewing this long would have discovered this at least 50 years ago, LOL. Thank you for sharing.
Thank you! I was just about to cut two cumbersome pieces of ombre fabric to make the backing for a 58″ x 72″ quilt. This is going to be a way more manageable method of piecing the back!!!!
Hands down this is the best tip I have ever learned! It is super easy!
You are a life saver❤️ Thx so much for making my next backing so easy.
I have just found this article and did not read all the comments. It is very informative. The only thing I would like to have seen is a picture of the two pieces sewn together. Thanks.
I apologize, I still can’t figure how how to do that and have a big enough piece of fabric. If the wof is 45 inches and I have 1 1/2 yards how big should the final piece be?
My thoughts, too.
I do this all the time. I love to match my backing to one of the fabrics in the quilt or a certain color. I find fabric on sale and match to a color on quilt. It is my go to for quilt backs. every once in a while when quilt backs are on sale will I buy it.
Hi Bonnie I have used your 81/2x11paper explanation, is there not still the opposite selvage edge to be trimmed. My brain doesn’t do spatial.
Thank you 🙄