
So I finally decided to join in on the bristle brush tree bandwagon! I bought some last year with the intention of attempting to hand dye them but I chickened out. This year I was determined to try it myself and gathered loads of information via pinterest. But as always, somehow I can’t just straight follow a tutorial. My hybrid method follows the materials I have available, my patience, and well…just how things turn out.
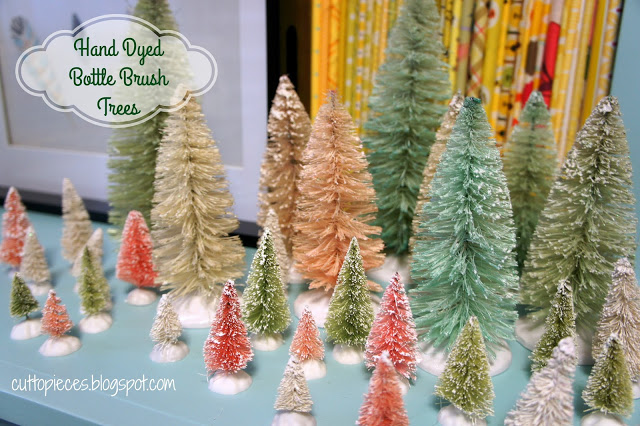
These pretty trees have taken over the Christmas decorations and are my new WINTER decorations! I’ve got to have something nice to look at while all the cold weather is around.
Tutorial for Hand Dyed Bottled Brush Tree
Materials:
- Bleach
- Bottle Brush Trees (widely available near Christmas)
- Containers for holding bleach
- Metal Tongs
- Glass for Dyes with Trees
- Wilton Food Dyes
- Glitter Spray (optional)
Step 1:
Gather Bottle Brush Trees, Container, and Bleach
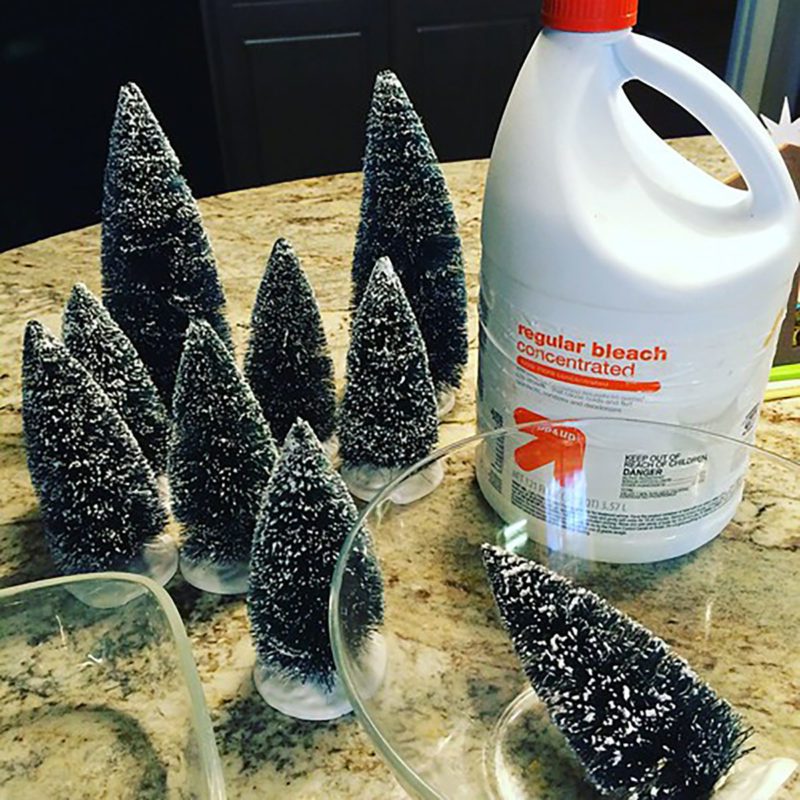
Step 2:
Place Bottle Brush Tree in Bleach. I didn’t bother diluting it, but to be safe I just used my metal tongues to handle the trees and worked in a well ventilated area.
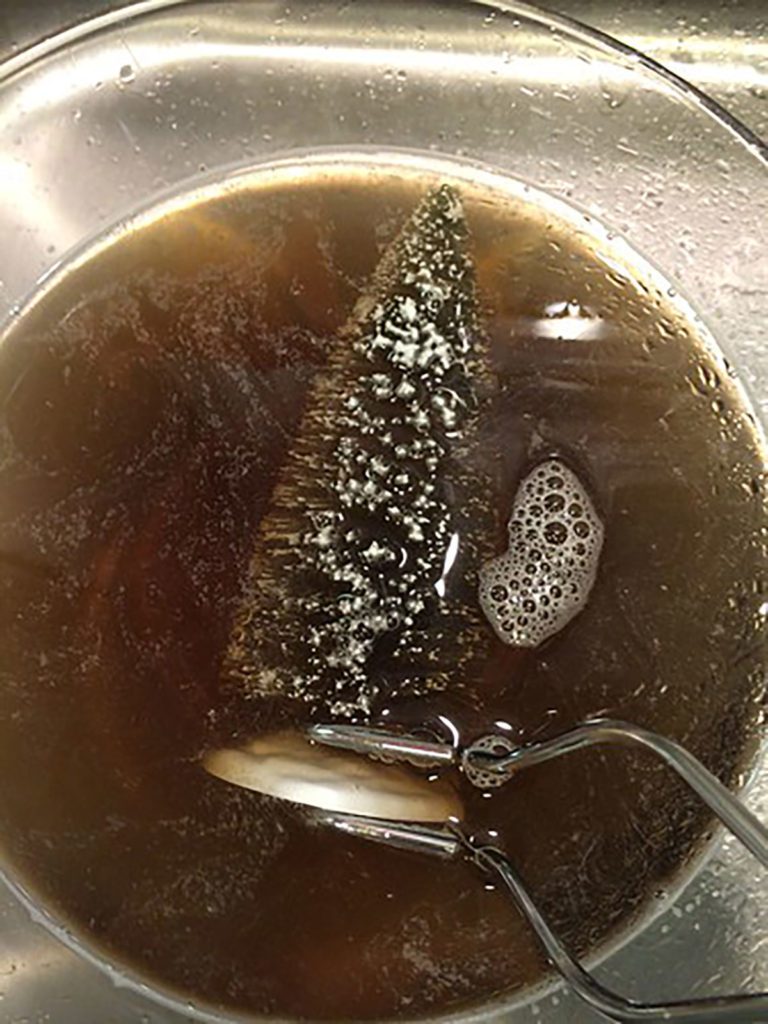
It doesn’t take long for the bleach to start working. But you’ll notice that delightful brown color that came off. I had to replace my bleach about half way through my bundle of trees.
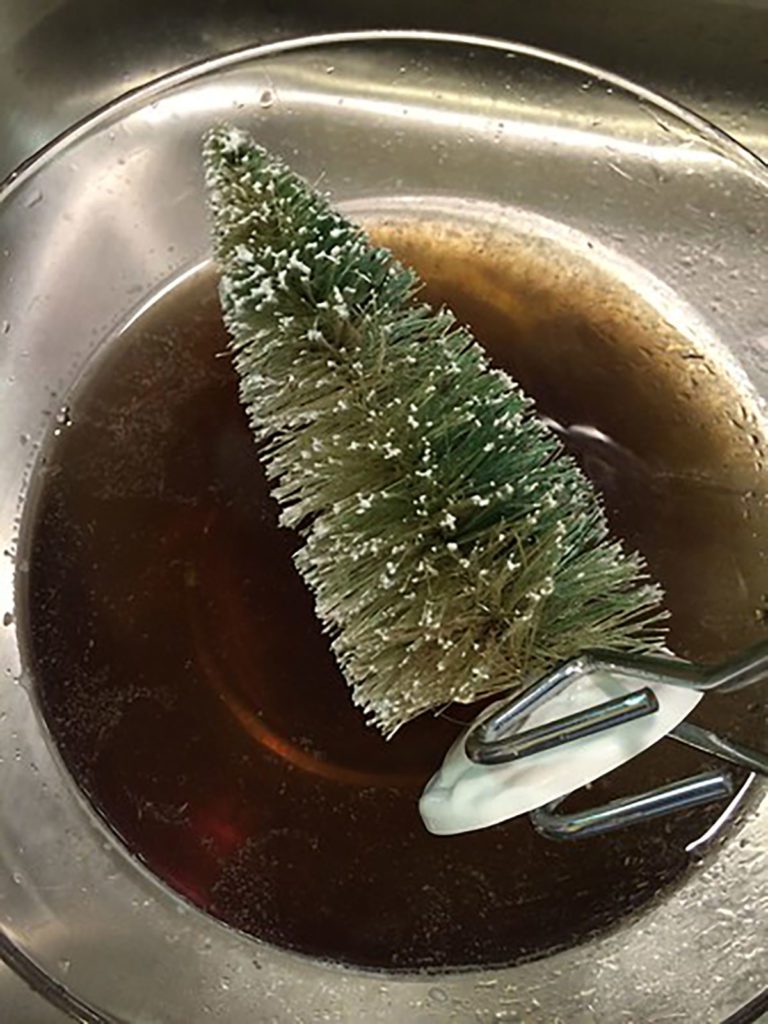
Here’s a tree that has been in the bleach for a minute or so compared to a fresh tree added to the bleach.
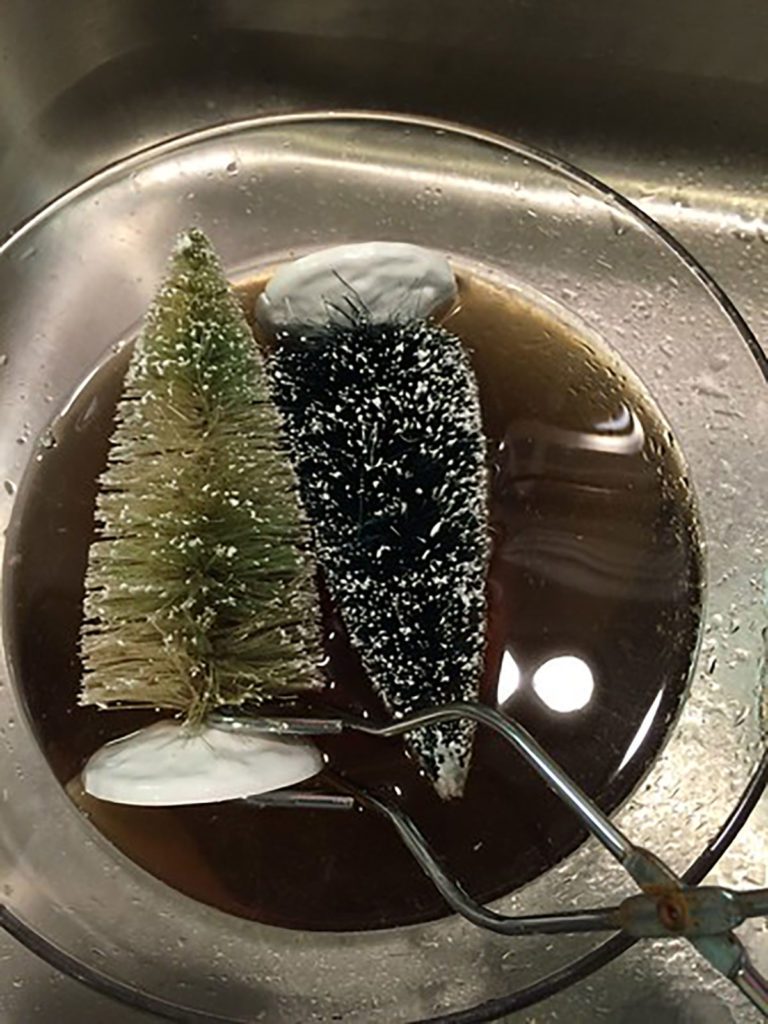
You can see how pretty the white tree is compared to the original dark green. I was surprised at how the “flocking” on the trees stayed on so well. If you look closely at the tree, you can see the white tips of “snow” on it.
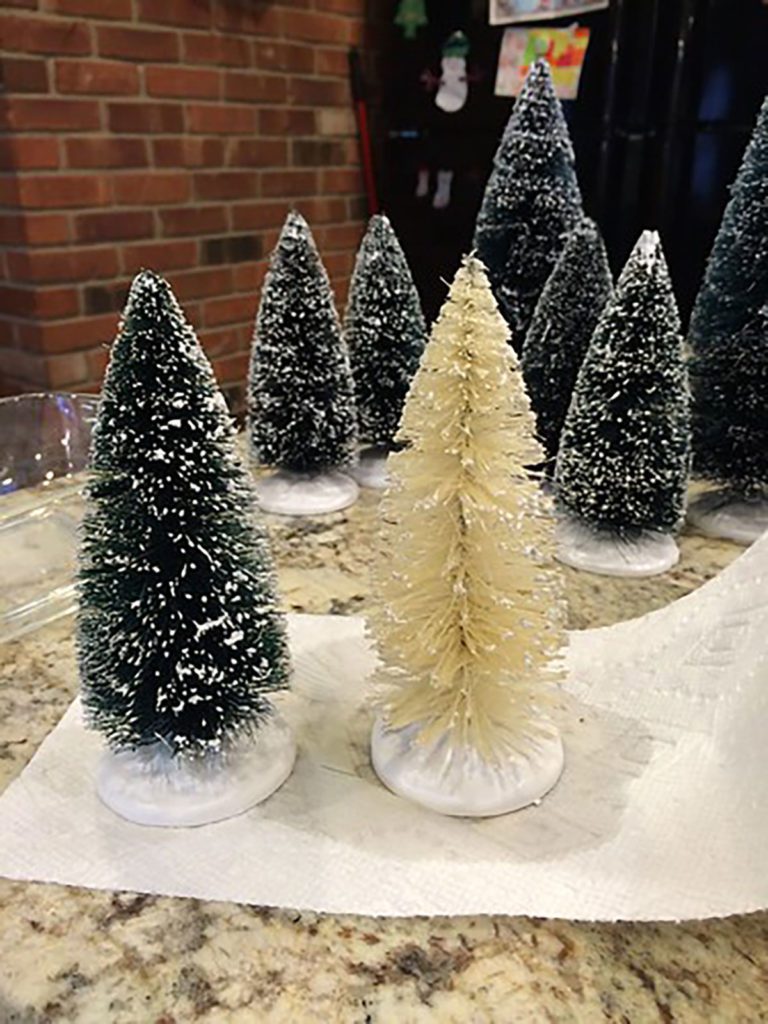
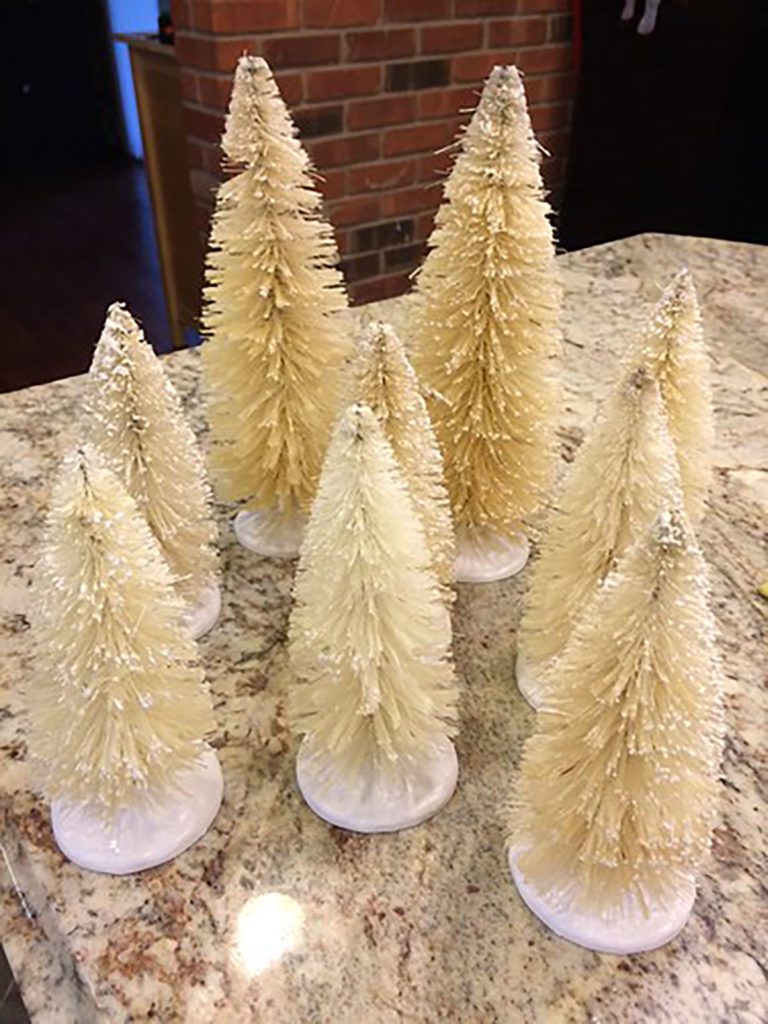
Here are my trees all dye free. I briefly rinsed them under a gentle stream of water to remove any bleach and set them to dry. They are a lovely off white color. I decided to keep some of my trees just like this!
Step 3: Adding New Dye to the Trees.
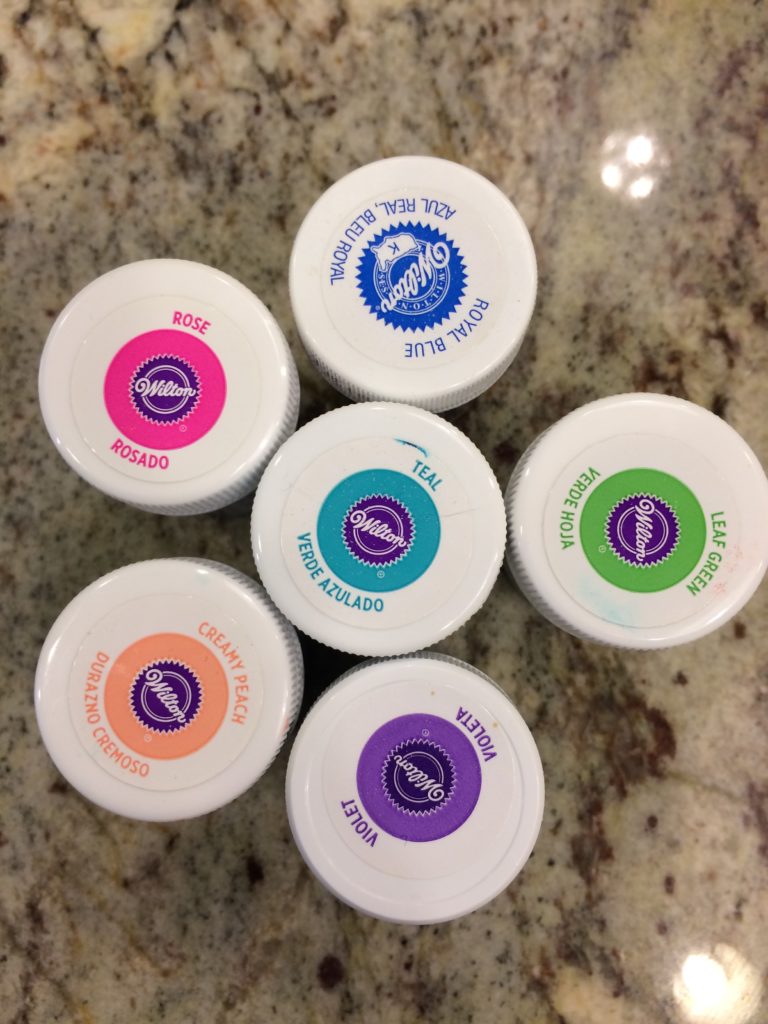
I chose to go with Wilton Food dyes. I had read that someone used them and had success. And to be honest I didn’t feel like paying for more dye. I will say that for more intense colors than the soft red and green/aqua, I think I would purchase non food dyes. The purple dye and peach dye did essentially nothing…at least at the amounts that I used.
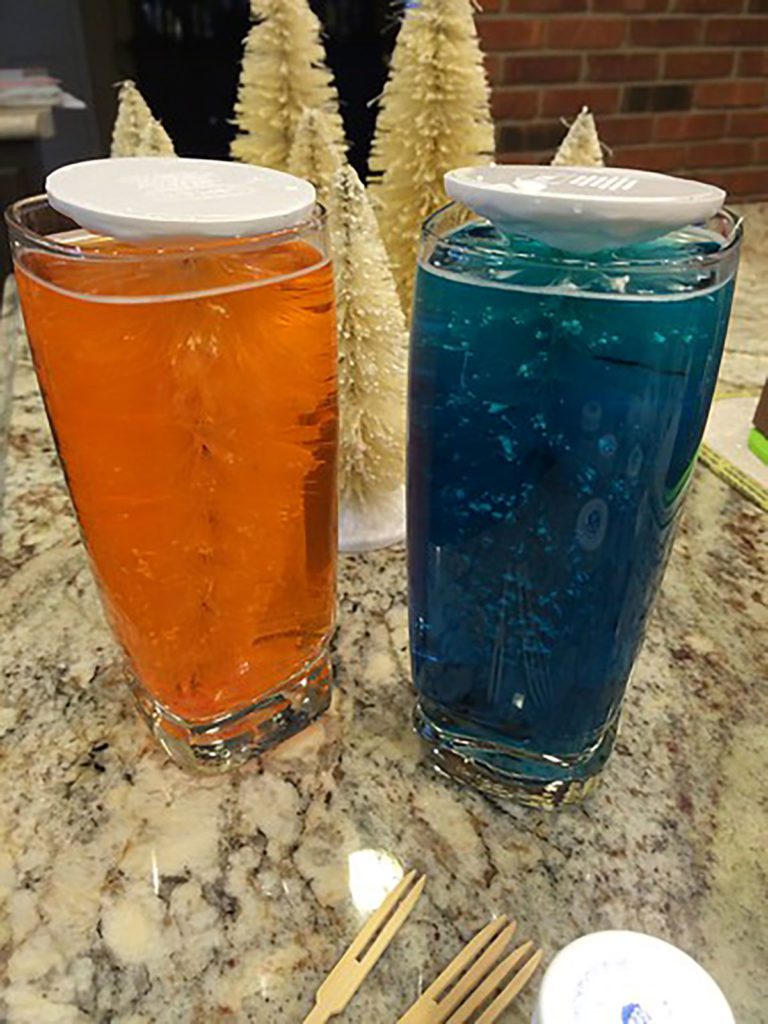
I used a glass partially filled with water and put a dollop of dye in. I stirred it until dissolved.
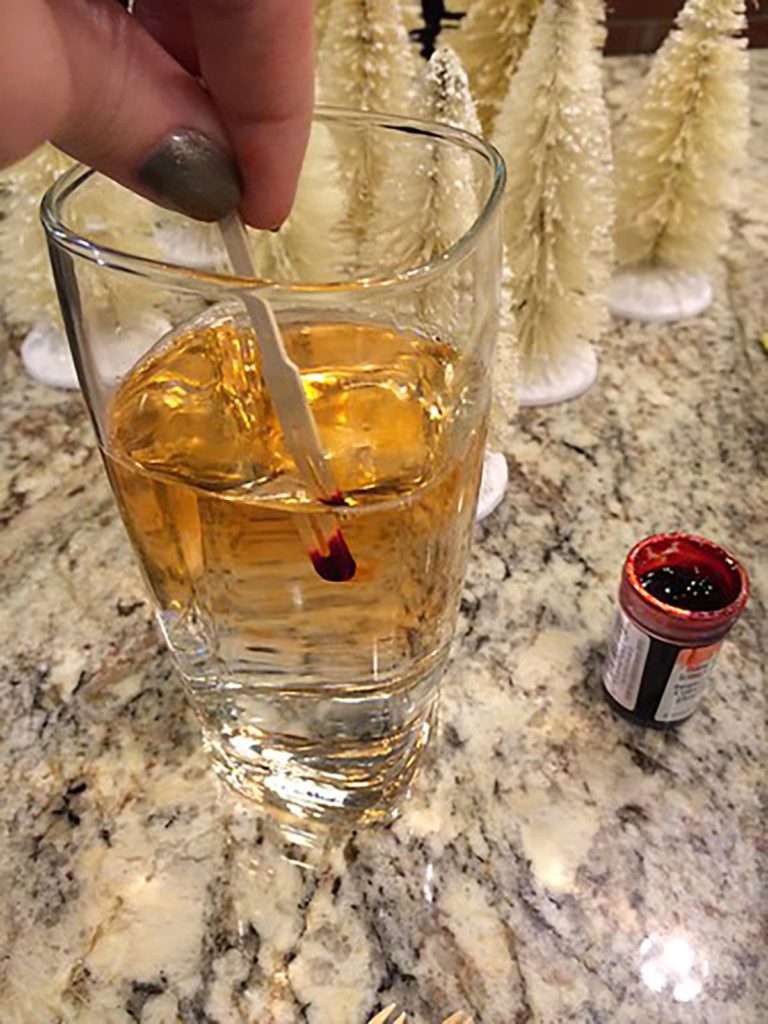
I placed my trees upside down in the glasses and filled them over the sink until the water completely covered the trees. I let the trees soak for varying amounts of time to achieve different colors. I even double dipped some to get new colors. Then I rinsed them and let them dry.
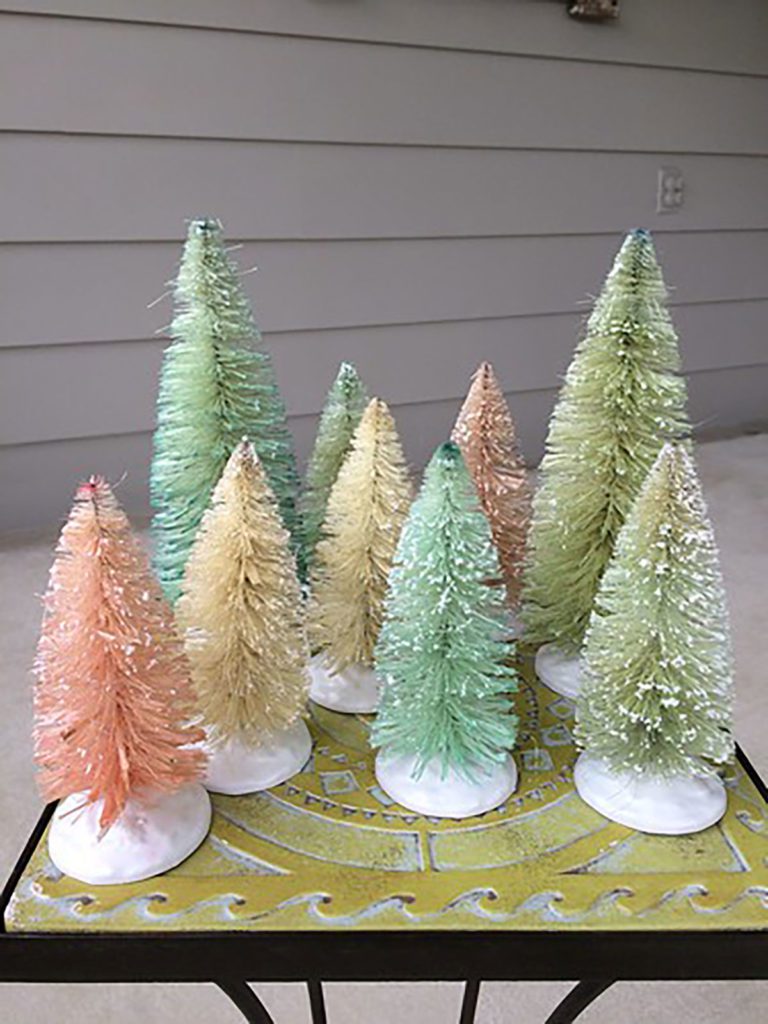
At first I wanted more intense color, so I was disappointed in my results. But I LOVE them. I don’t know what my problem was. lol They make me so happy. Although I did decide to add one more step…just for fun.
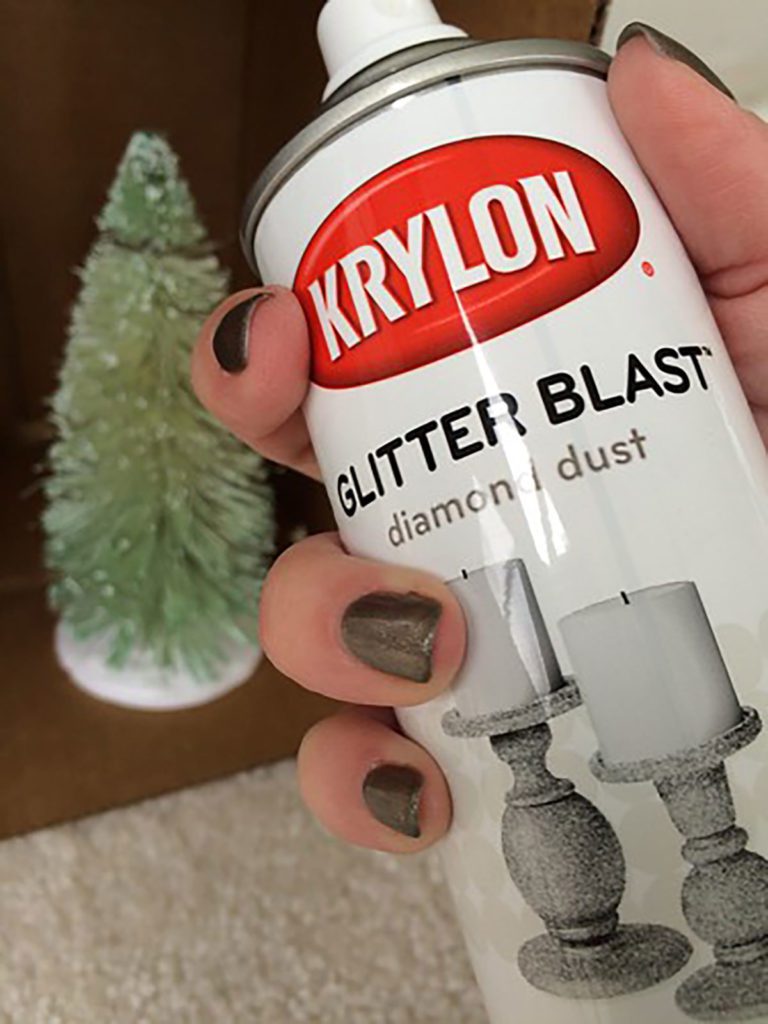
Step 4: (optional)
Use a spray glitter to add a little extra something special to the trees. This particular glitter created an all over shimmer to my trees. If I had more patience then I might try hand painting each with glue and adding a thick chunky glitter. Like I said earlier…this is all depends on my patience and products I had on hand.
I added some bags of tiny trees to my little collection. They just happened to be in similar colors as my larger ones and added some nice depth of color to my collection.
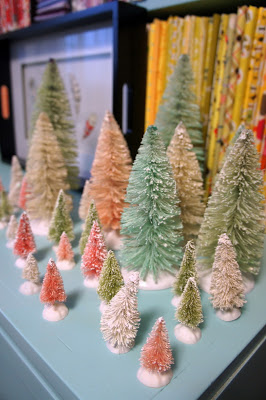
I love how my collection turned out and next year I might attempt to do some more trees with more intense dyes to create a rainbow of trees. But we will see…patience. 😉 I sometimes have it and sometimes don’t.
Very interesting. Thanks for the tutorial!
What a great idea. Love this!
Now I wish I hadn't tossed out a bunch of ugly trees a few years ago 🙁 Was your beautiful countertop in danger during this process?
Don't you hate when you purge and then find a use for those things?! And no, I was careful with my countertop. I used the bleach in the sink!