

Today is another installment in the Sew-Less Summer series. Today I am happy to welcome Jamie from Terrabyte Farm. And boy does she have an uber adorable project for you all! And be sure to check out her blog because she’s got some amazing ones there too. (I love the tote bag tutorial in particular where she colors the fabric in with her kids. Genius!)
Hi! I am Jamie from Terrabyte Farm.


This August my daughter turns five and our big project for the summer has been transitioning her to her very own room. Naturally, being a huge fan of Heather Ross, I featured many of her prints in the different projects I made to mark this very special occasion.
I have seen numerous varieties of embroidered clocks on the internet over the past year. I have been wanting to make one for some time. This was a pretty fast project and I am really pleased with how it came out. There are so many ways this can turn out depending on the kind of fabric and styling you use. This is the basic tutorial, but if you are a more visual person, then check-out the full 26-picture version here.
What you will need:
- A wooden embroidery hoop (the one I used is 27″ x 18″)
- Fabric (I used a 1 yard piece, if your frame is smaller, you will need less)
- A piece of foam board slightly bigger than your frame
- An exacto knife
- A clock or clock mechanism
- A clock template
- A small embroidery hoop, a needle, and embroidery floss or perl cotton
- Spray adhesive and craft glue
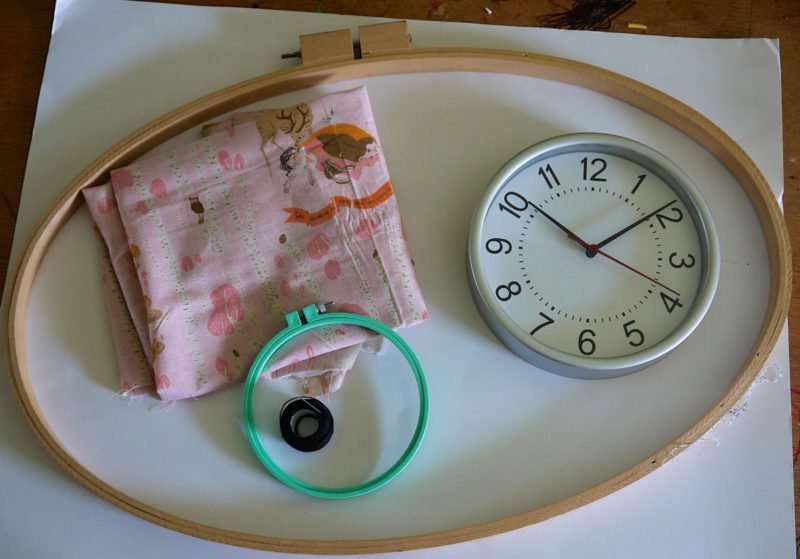

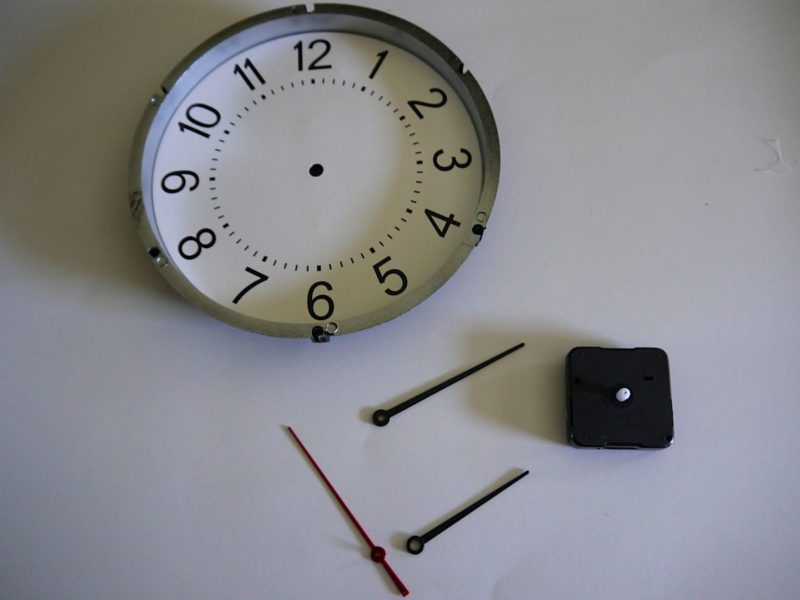
1. For the other versions of the clocks that I saw online, people bought a clock mechanism kit that consisted of clock hands and a battery. These usually cost $10-$12. I thought it might be worth taking apart a cheap clock. I got this one at Wal-Mart for $4. Remove the screws from the back and take the clock face off. Carefully remove each of the clock hands. You should end up with the three hands and the battery pack (and the rest of the clock which could be used by your kids with the addition of some paper hands to practice telling time).

2. You will need to make a template so that you can embroider the numbers of the clock face onto your fabric. I used the original clock face as a guide, but traced the numbers from one of my children’s workbooks. You could do this, make a photocopy of a clock face, or design your own using word processing or graphic design software. I wanted very simple numbers, as this will be for my daughter, but you could pick any font style you wanted. You could also embroider a phrase onto the piece. I thought about doing something like, “It’s always story time.” But I was impatient and her birthday was approaching quickly.
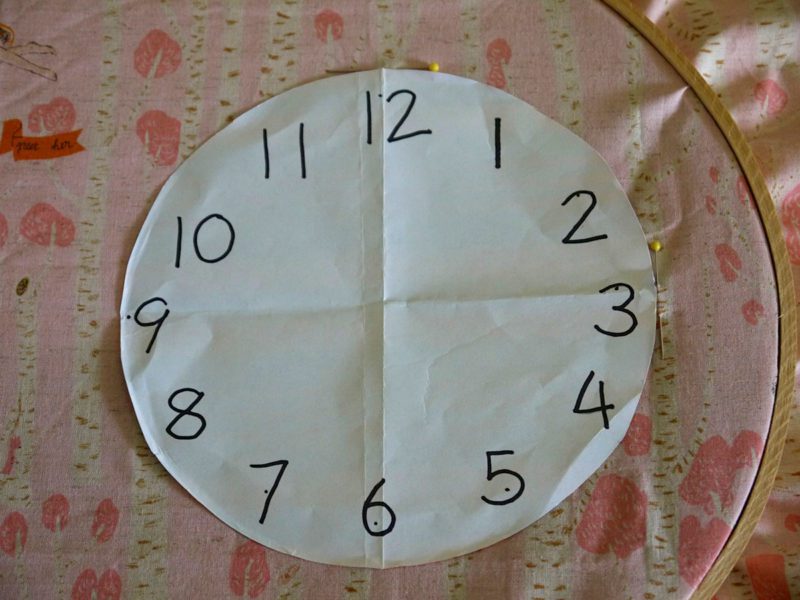

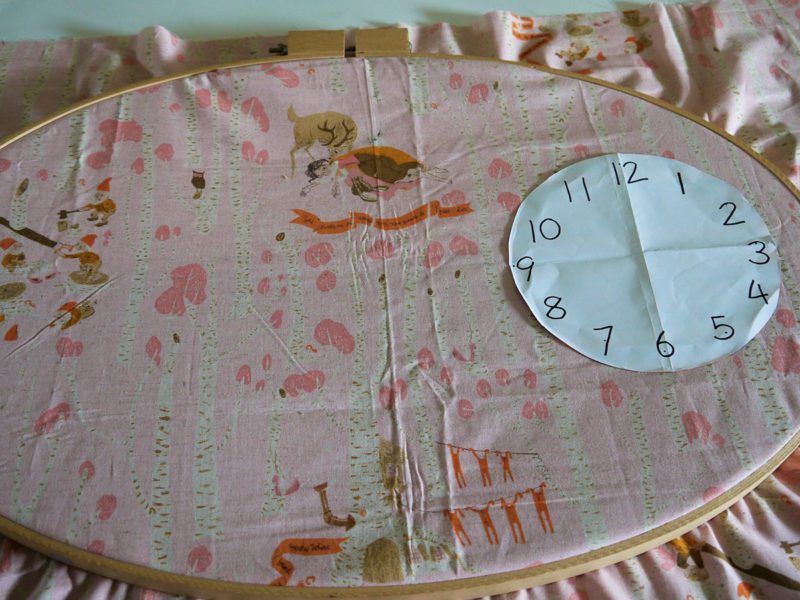
3. Do a test placement of your fabric and the clock face in the hoop frame. Adjust as needed until you have it just right. I marked the top and side of the clock frame with pins so that when I took it to the window to trace the numbers on for embroidering, I would know just where to put them. You could also mark your fabric with some pins, if like this one, it has images that you want placed specifically.

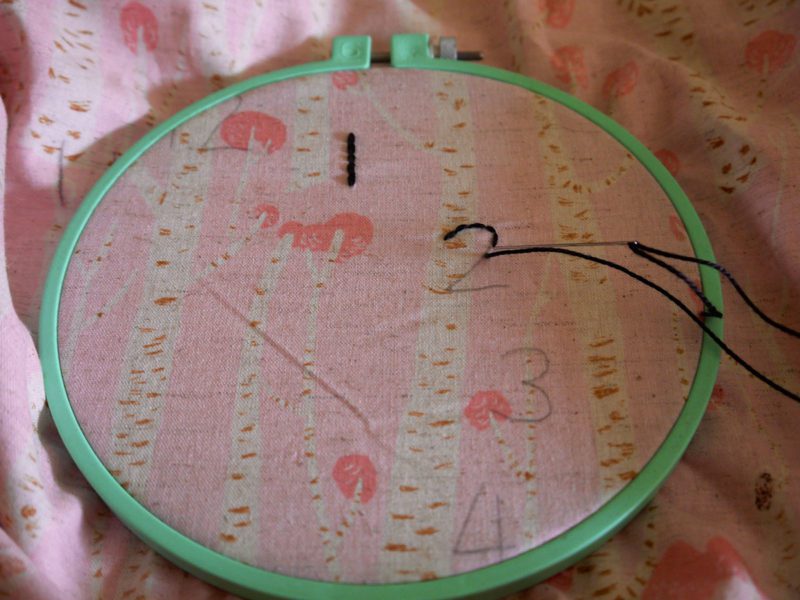
4. Take your fabric out of the frame, trace on your numbers (I did this by taping the template and fabric to a window so the light shone through), and begin embroidering. I used black perl cotton. I did a backstitch on either side of my traced numbers. Make sure to tie and trim your knots very closely so that they don’t show through from the front. Once you have embroidered all of your numbers, carefully press your fabric, using a pressing cloth over your stitching.

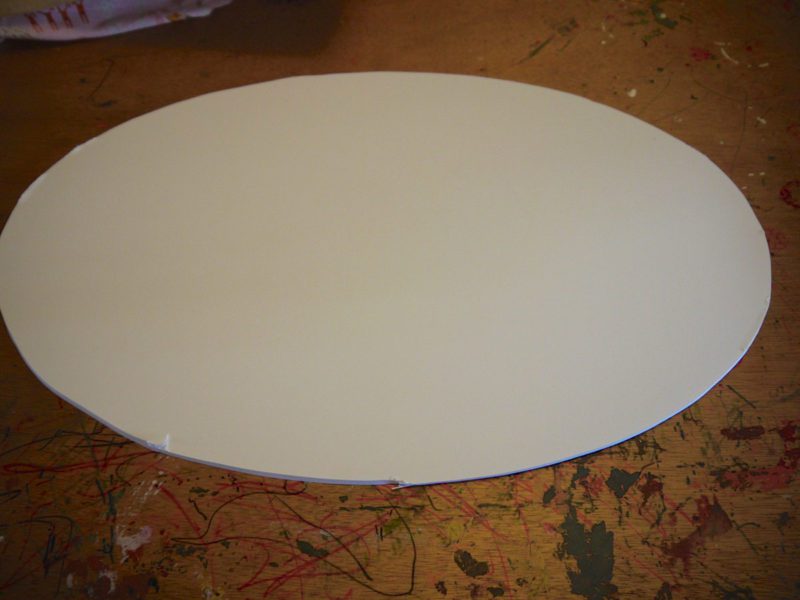
5. Place the inner hoop of your frame on the foam board and trace around the interior. Use an exacto knife to cut out the foam board. This board will keep your fabric in place and allow your finished piece to be more sturdy and give you a place to securely insert the battery pack.

6. Take your fabric and place it back into your hoop frame, making sure to line it up perfectly if you have previously marked it. Take a pencil or disappearing ink pen and carefully draw a line all the way around the exterior of your frame about 3/4″ away from the edge. Cut along your line so that you have enough fabric to turn under and glue in place.
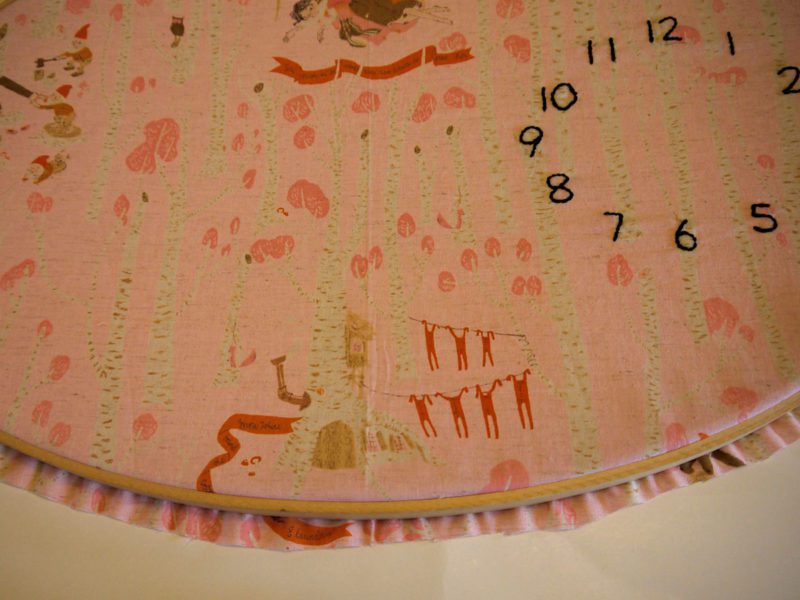

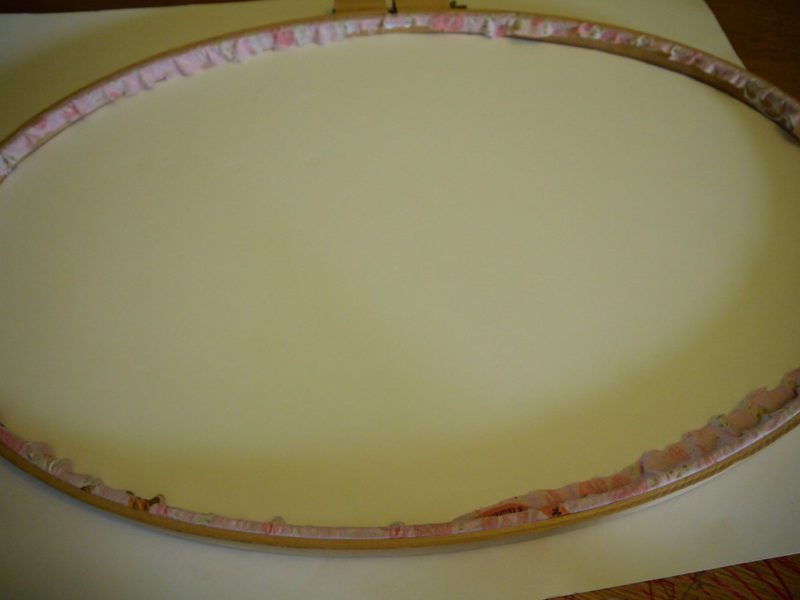
7. Carefully place the foam board in. As it happened, I had planned to use spray adhesive to hold the foam board in place, but the foam board piece fit so snuggly inside the frame, I decided not to. If you do use spray adhesive, test it out first to make sure it doesn’t change the look of your fabric.Using your favorite craft glue, secure your fabric all the way around the frame. I did this twice. First, I glued the fabric onto the flat part of the frame, then I put another layer of glue along the inside and glued it in place so that the edge would be fully secure.

8. The final step will be to put in the clock hands and battery. Place a pin at the numbers 12, 3, 6, and 9. Take a string from 12 to 6 to 3 to 9 to 12 again, making a cross in the center. Place a pin right at the intersection, poking all the way through the fabric and foam board. This will mark where you will make your hole for the clock mechanism.
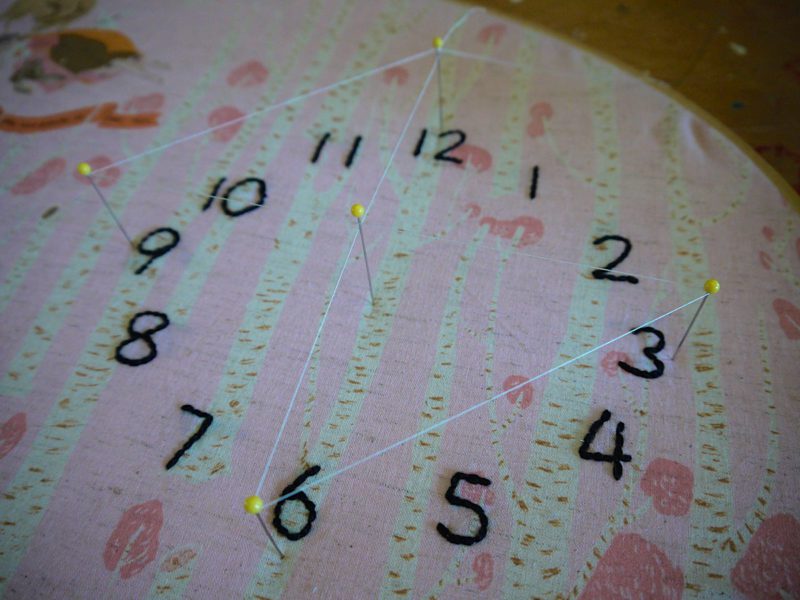

9. I used a hammer and nail to make my hole, being *very* careful not to rip or damage my fabric. I did this by nailing from the foam board side. I had to kind of rotate my nail around a bit to make the opening big enough. Just go slowly and work very carefully. You have to make sure and push the nub of the clock mechanism all the way through both the foam board and the fabric, as each of the hands attaches at a different level on the plastic bit that sticks out. If you don’t get this done properly, the hour hand is not likely to turn properly. Once I finished making the hole, I used fray check on the fabric to keep it from ripping.
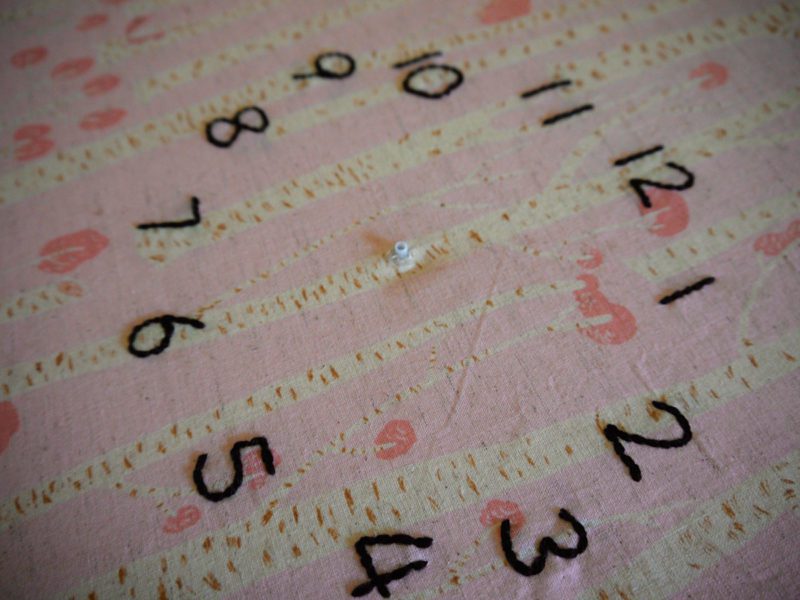

10. Push the battery pack and nub through the hole and then put the hands back on your clock mechanism. Put a battery in your clock and enjoy! You can also write an inscription on the back of the foam board.
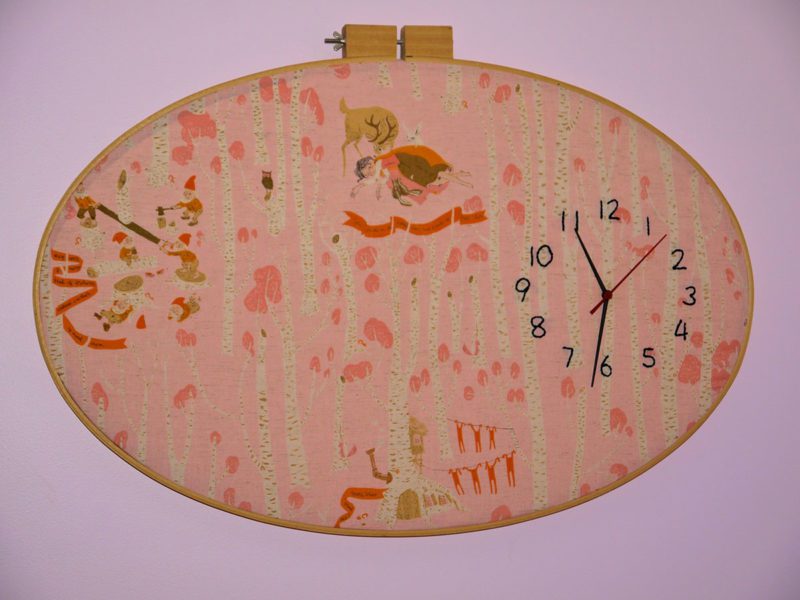

Here is the finished clock hung on the wall. I think this particular print was great for this project. The repeats in the design were spaced widely enough to make something like this perfect. I hope you enjoyed this tutorial and are having a Sew-Less Summer of your own!!
Thank you so much Jamie for sharing this wonderful tutorial with us. I can DEFINITELY see making this for my sewing room or my daughter’s room. Just perfect!


What a great idea! Awesome job!
Wow, I have been planning to try this for so long…I even have the supplies! Maybe this was the push I needed!
Fab idea, especially the deconstruction of the clock :o)
thanks for the great tutorial!
I love that she made the clock off-center here. It's so fun!
Hi Angela! Great job and thank you for a tutorial! Your clock became so beautiful! x Teje