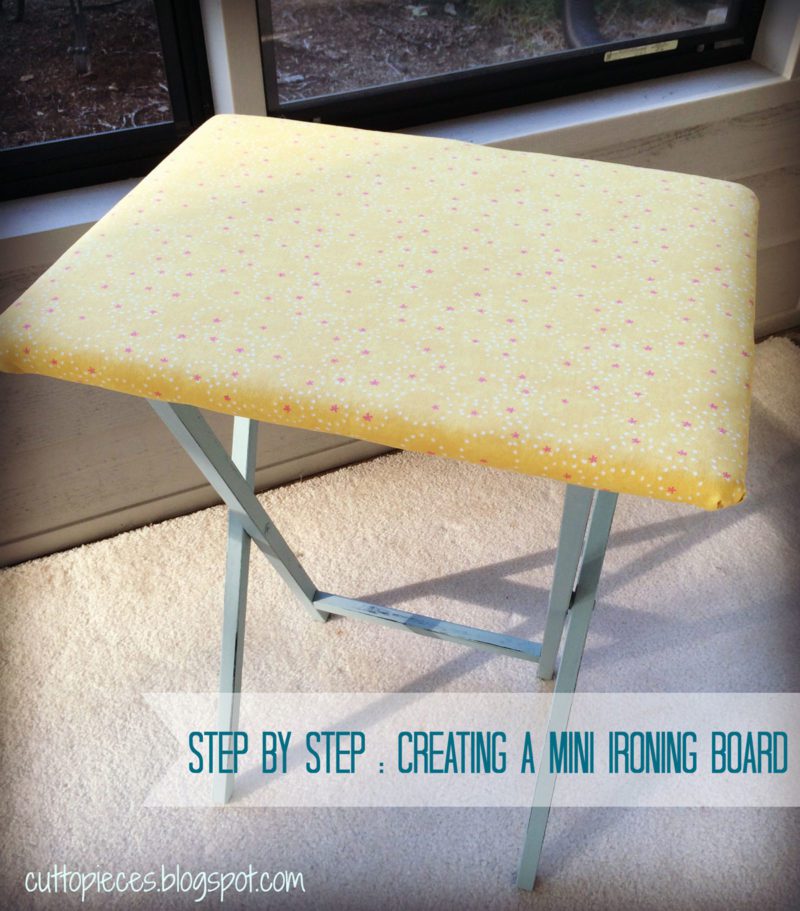

If you followed along with my LAST POST, then you know that I was in the process of creating a mini ironing board for myself. And then I got myself distracted with exciting chalk paint and decided to paint the legs of the table first. This is not a necessary step obviously for creating the mini ironing board surface but it does help make it even more custom. So check out that post if you are interested in more customization.
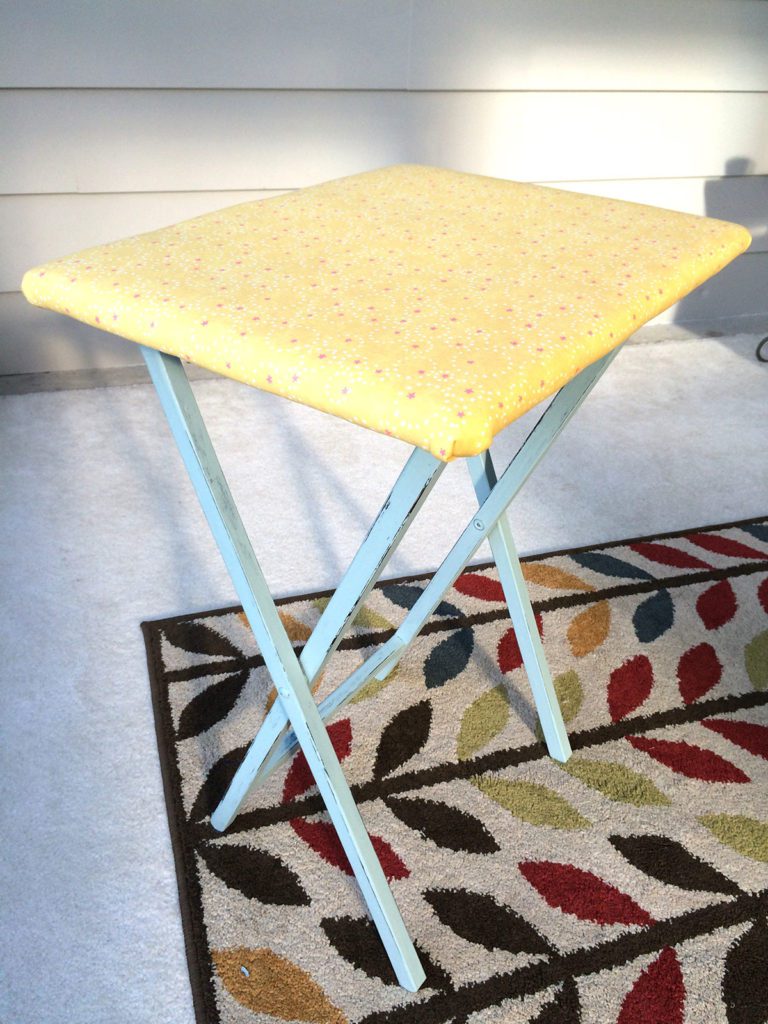
It is actually pretty easy to make a custom ironing board surface. If you have ever reupholstered something like your dining room chair seat cushions, you have got this in the bag!
The materials:
- TV Tray Table
- Assortment of Batting scraps – including a heat resistant batting:sized to fit the top of the table
- Fabric for Cover cut at least 2″ larger than the surface of the table top – I used a home dec weight for more durability
- Staple Gun and Staples
The technique:
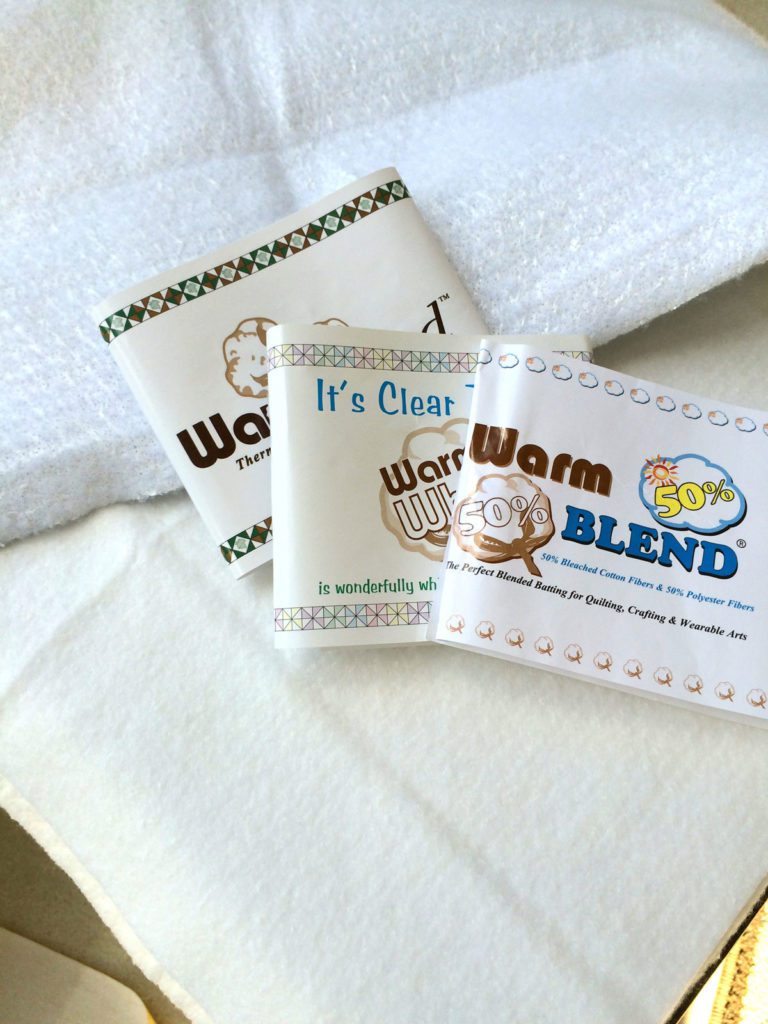
Gather your supplies and start with a clean working surface. I worked from the floor, so be sure that you have that tidy. For my batting, I found that some batting samples I had received over the years worked perfectly for this project! Yay for finally using those pieces! I used a total modge podge of types as you can tell but was sure to include a heat resistant batting (the slightly metallic looking one in the back of this picture)

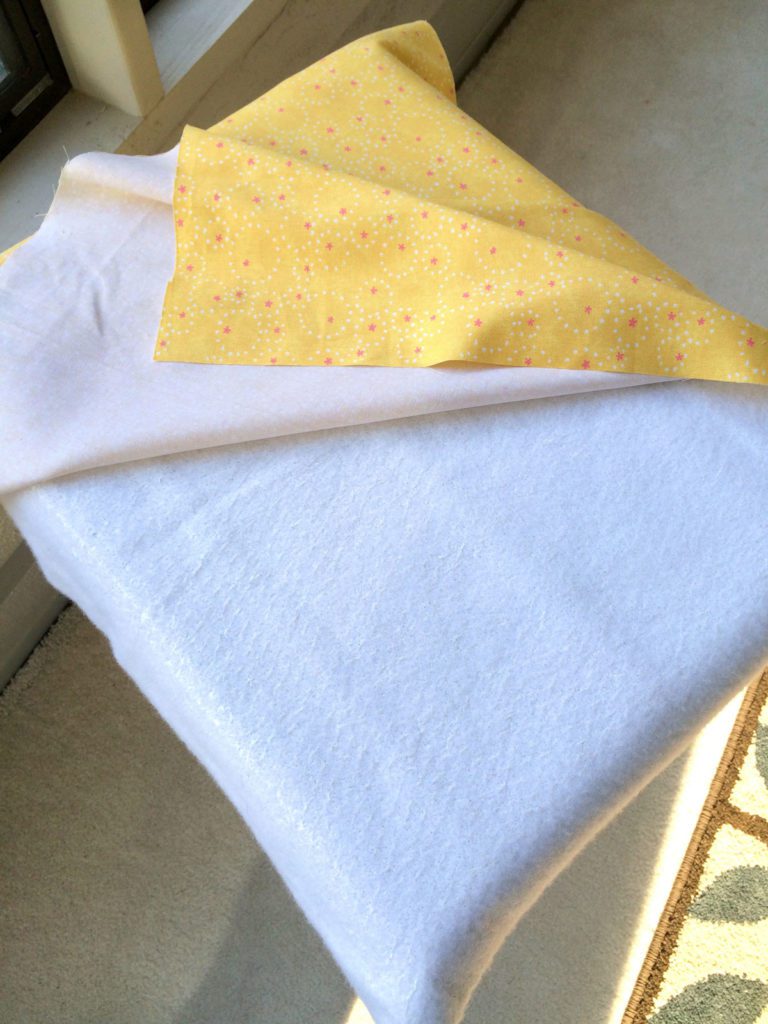
Arrange your layers of batting on your table top. You don’t need the batting to be wrapped around table. That just adds bulk, so I trimmed them to the top size. Some people even recommend slightly grading the pieces as you layer them so that you achieve a gentle transition from one piece to another. *Shrug* Whatever works for you.
The final piece of batting that I laid on the pile was the heat resistant batting (found anywhere you find batting) with the metallic side DOWN. And then the fabric will be centered over the top of the batting pieces. I did end up using a bit of spray glue to attach the bottom piece of batting to the table because I flipped it all upside down in the next step but that it not entirely necessary. The rest will naturally grip together.

Turn your piece upside down. You can see that my batting and fabric are much larger than I will need in the end, so I took this opportunity to trim away any excess of both. I needed to keep enough fabric to fold the fabric edge for a finished look, but that doesn’t take too much. It’s just eyeballing here. Don’t worry…you can’t mess up!
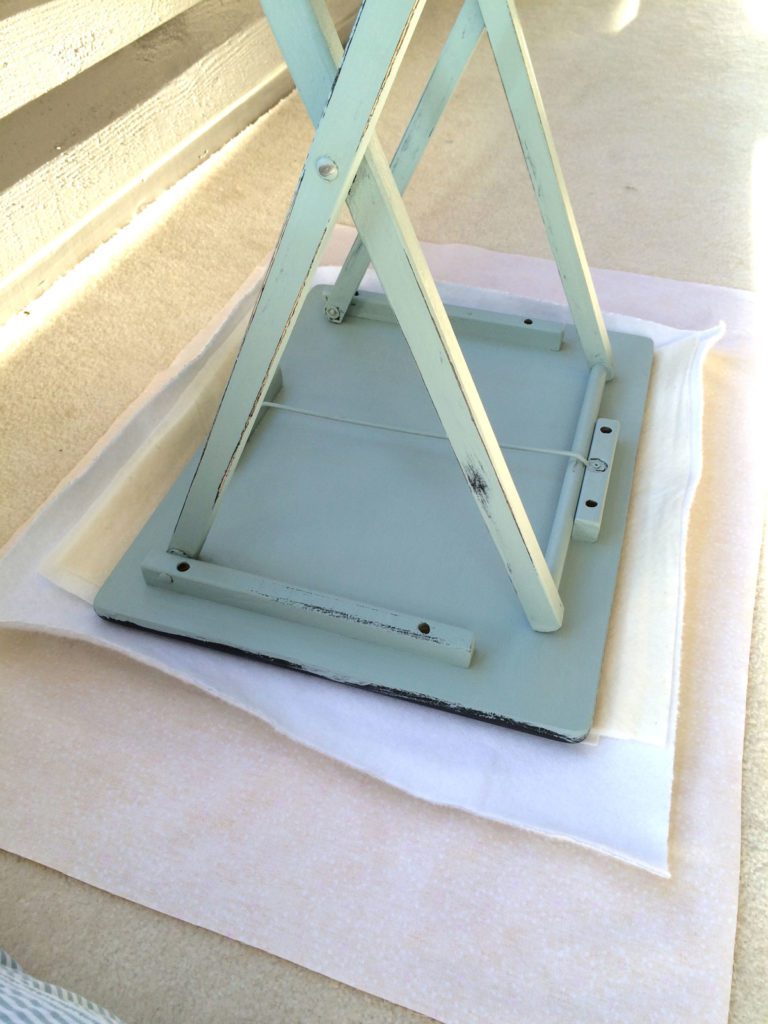

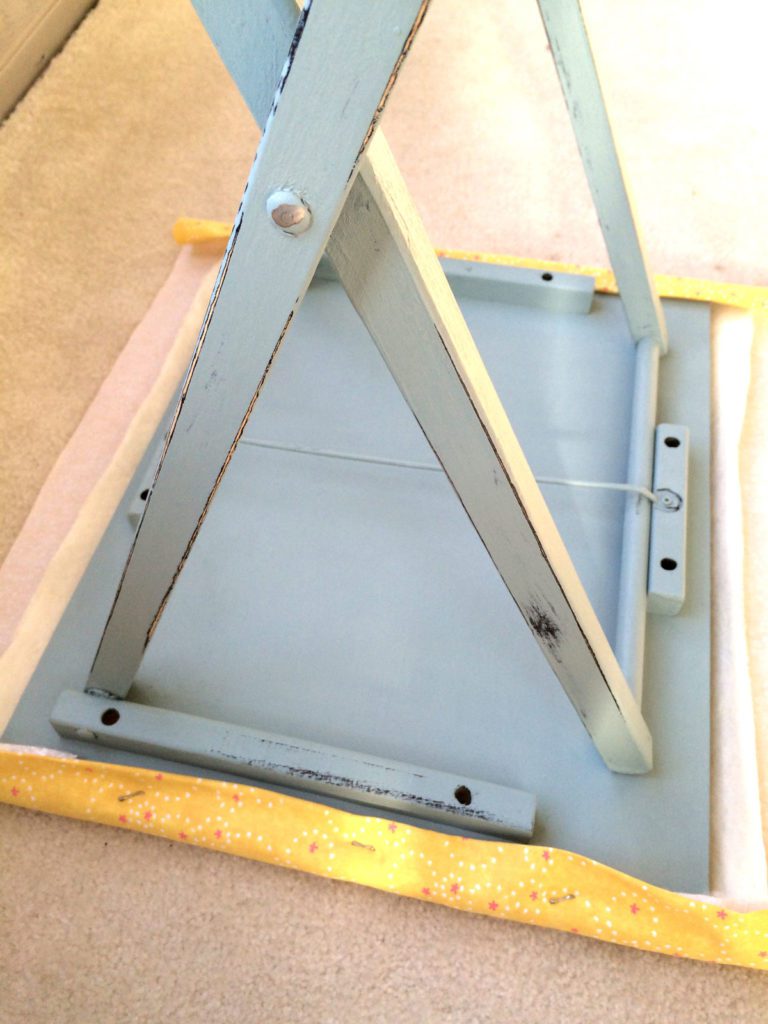
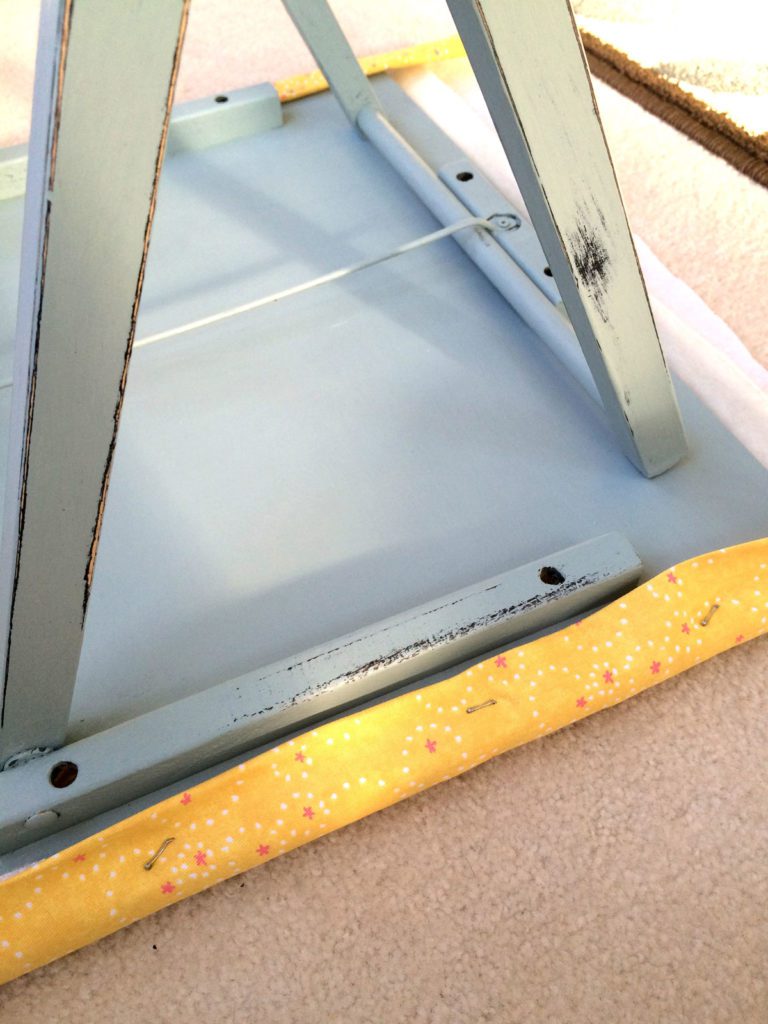
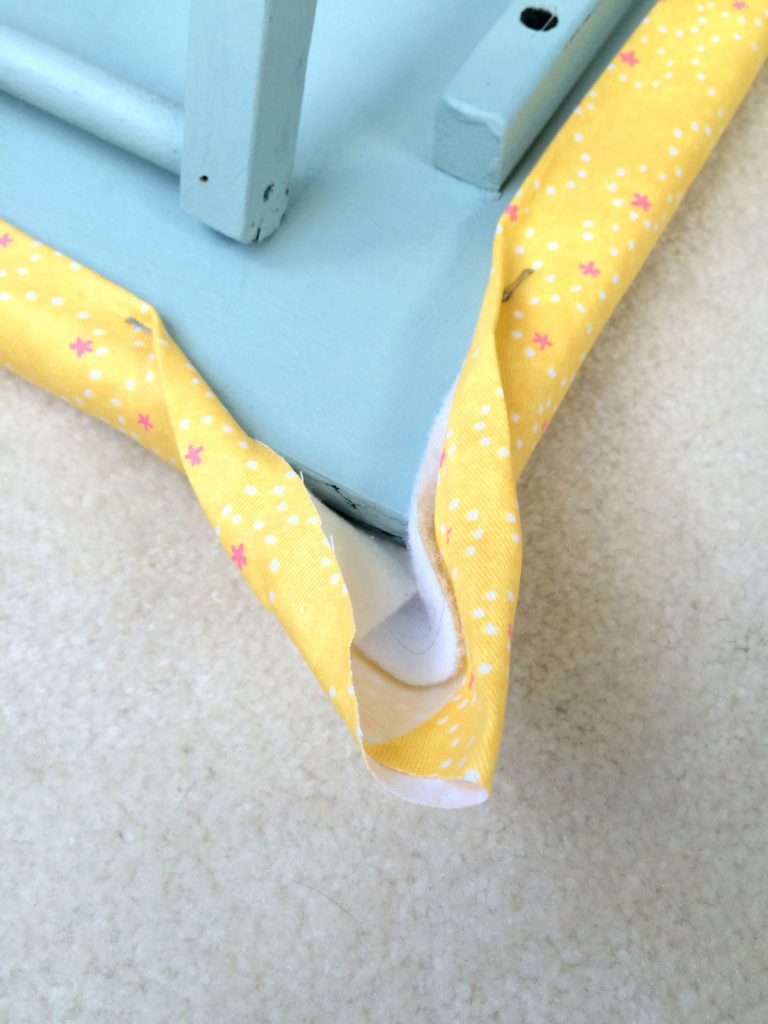
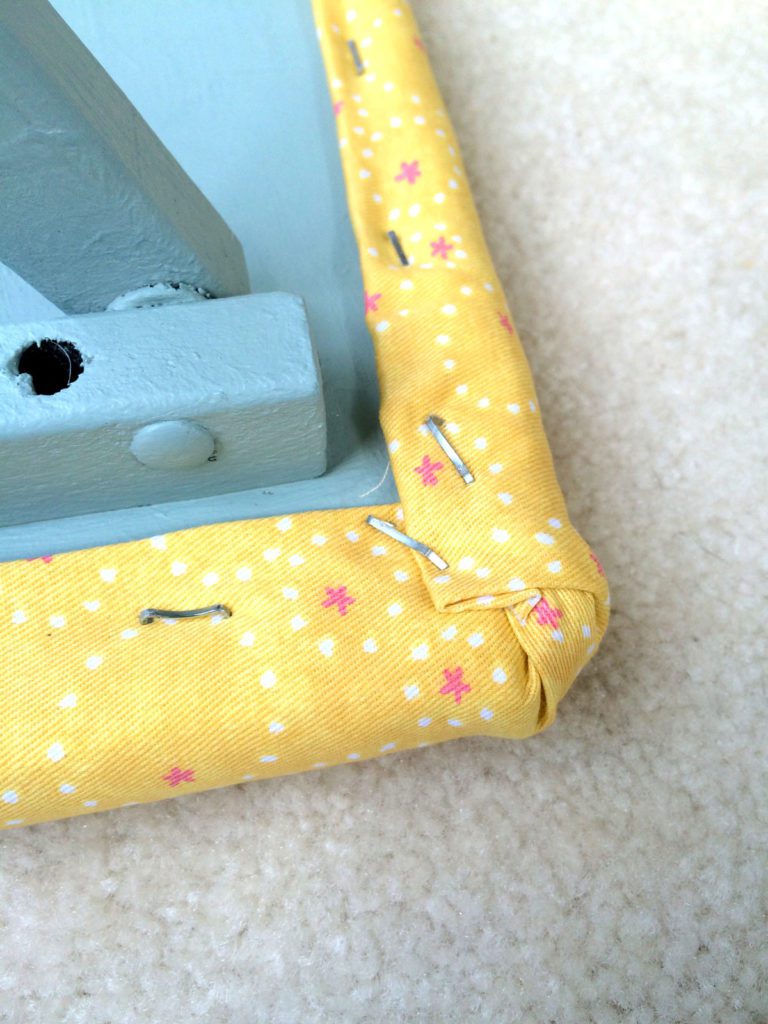
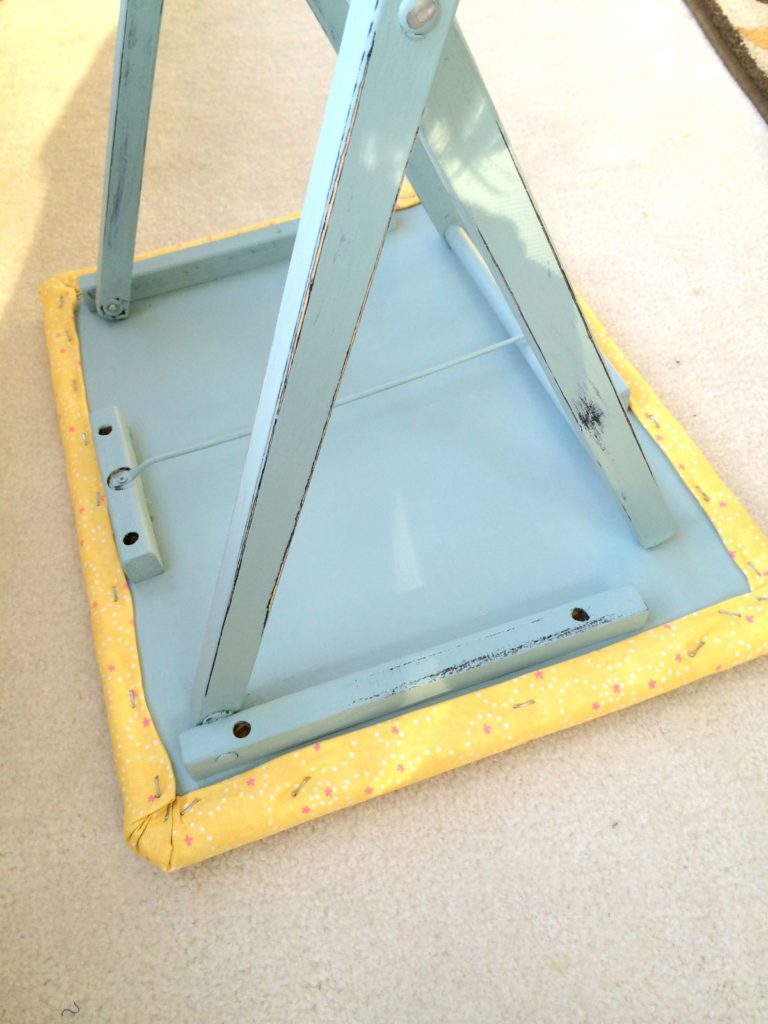
I begin to staple the fabric in place. I always work on opposite sides to keep the tension even. Start in the middle of one side and staple the fabric in place (Folding the edge under to keep it need and tidy and pretty from the bottom). Stop your staples from reaching the corners!! We will deal with those last!

Thank you for the lesson . I made one last year no painted legs did not even think about that, darn. I covered my tray top with aluminum foil then the heat reflective batting than heavy canvas. I like a firm surface to smash my blocks down flat. I am back and forth on steam and I use a spray bottle so I wanted to be sure I didn't get the wood wet that's why I used the foil. As to the firm surface that canvas shrunk up and it's very tight and firm.
Now that I know about that extra step of painting the legs …..I'll have to redo my tray when my top surface wears out to get those legs pretty like yours hm and paint the bottom of the tray ?
No I don't think I'll make another this one was not hard but it's a one and done kind of project
Why would you put the reflective part down? don't you want to heat coming back to the top where your fabric is?