

*This post is part of a series on my blog for a sew along using a single pattern to create many pretty princess dresses. Join in at any time!*
I know some of you are itching to get going on this Alice dress. I apologize for any delays here. Rest assured, the dress is made and NUMEROUS pictures have been taken.
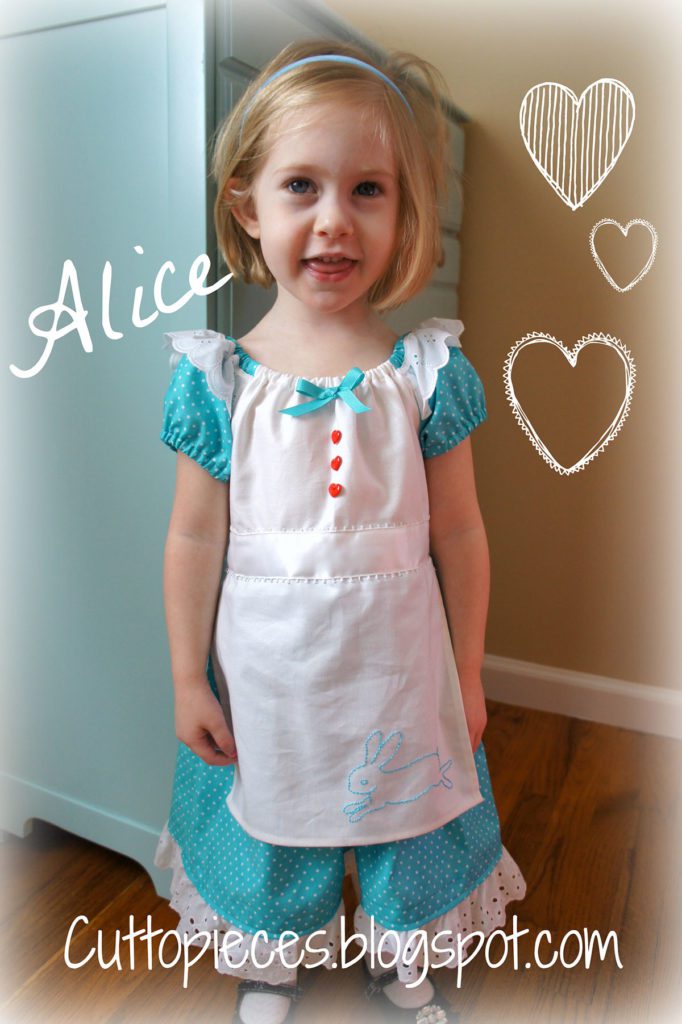
Here’s a little teaser to get you excited about the dress. My sweet girl LOVES her Alice dress. She gets dressed up in it every day and insists on wearing her white tights, black shoes and black head band just to be like Alice. It makes this mommy very happy.

So you want to get started?
We’ll be using the pattern pieces for the full skirt, the capped sleeve, the bodice front and back, and the pieces for measuring length of elastic on the sleeves and collar and ties around the waist.
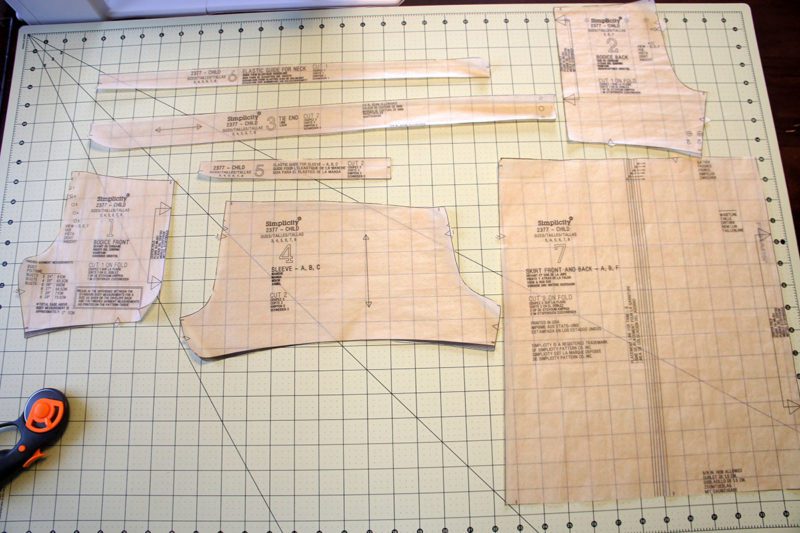

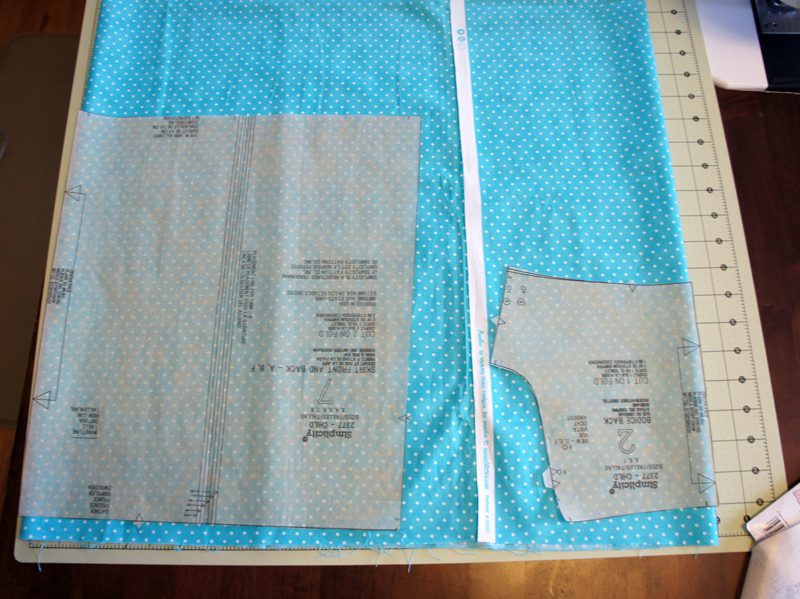
Follow the pattern instructions for your size dress and fabric width for laying out the pattern pieces. I’m fairly certain this is view A but technically I’m working with another pattern number so I’m not entirely certain.

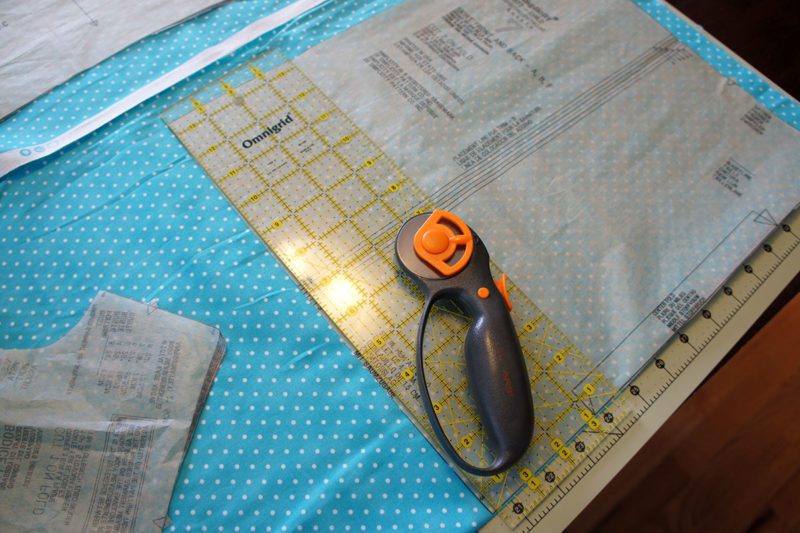
You can cut out pattern pieces by pinning the piece to the fabric and cutting with scissors around each piece. But I’m lazy these days and use weighted objects to hold the patterns in place and my rotary cutter as much as possible.

You will be cutting the skirt front and back, the two sleeves, and the bodice back from the blue fabric. You will cut the bodice front from the white fabric (and eventually the apron skirt as well).
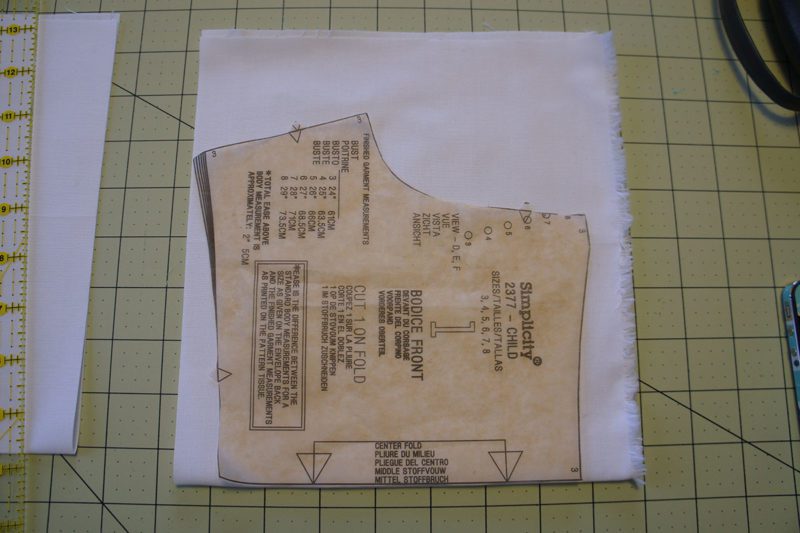

We’ll start with some basic construction on the bodice and sleeves. Follow the pattern instructions for piecing these together but just in case you’ve never tried to follow a pattern, I took step by step pictures along the way as I made the dress.
Sew bodice front to back at each side seam.
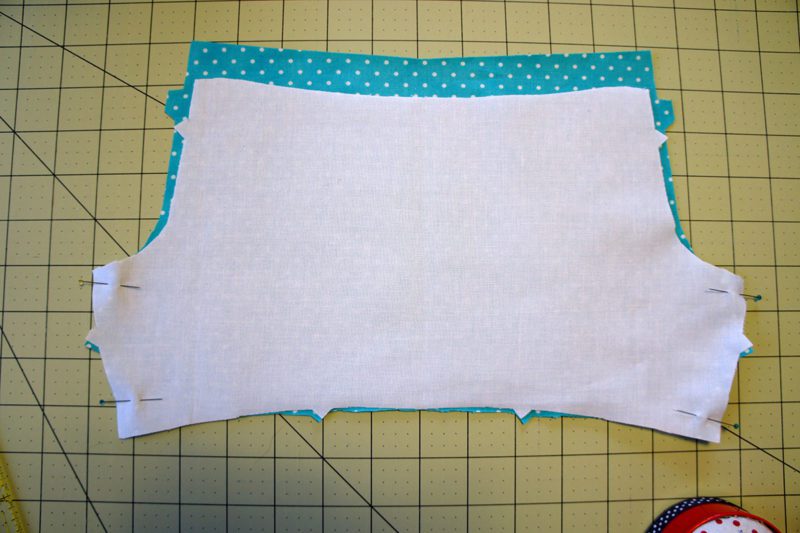

Finish the seams as desired. I’m delighted to be using my new serger, but there are plenty of finishing techniques out there. Sew4Home.com has done a lovely series on finishing options. I recommend you read through them (just great knowledge to have in general) and pick the finish you prefer.
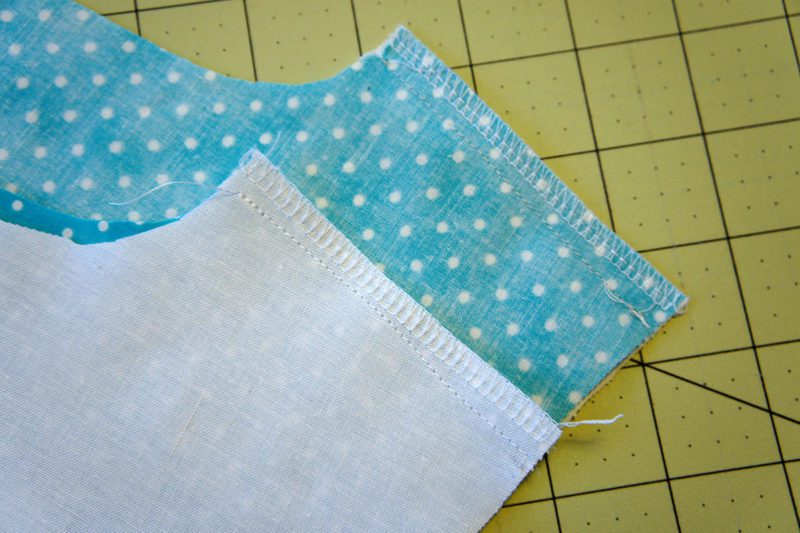

Next switch to the sleeves. Sew each sleeve together at the side seam and finish seam edge.
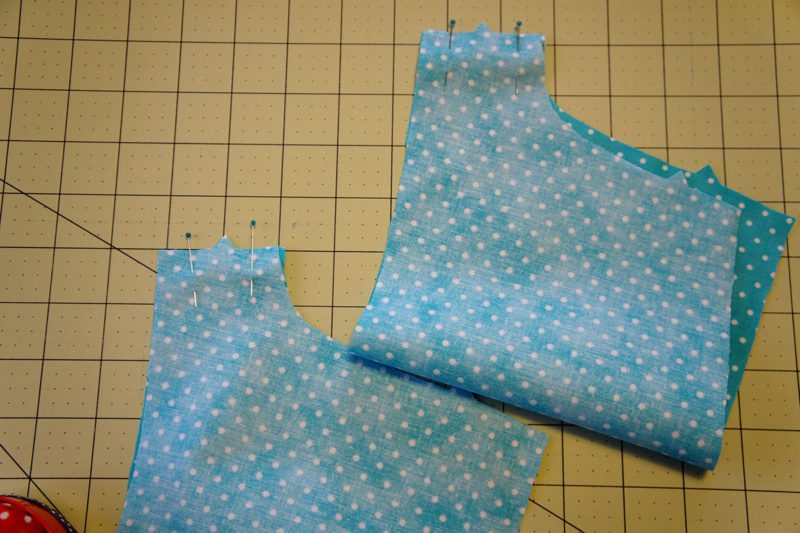

Make a casing at the cuff of the sleeve using the measurements provided in the pattern. You do a double turn of the fabric to create a folded edge finish to the cuff.
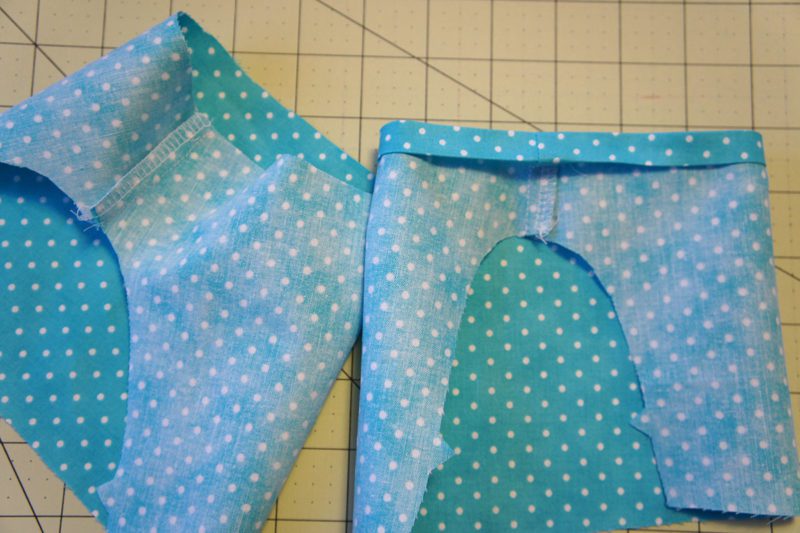

Edge Stitch around each cuff, leaving a small opening for inserting the elastic. Cut two pieces of elastic to the measurement provided by your sleeve elastic pattern piece.
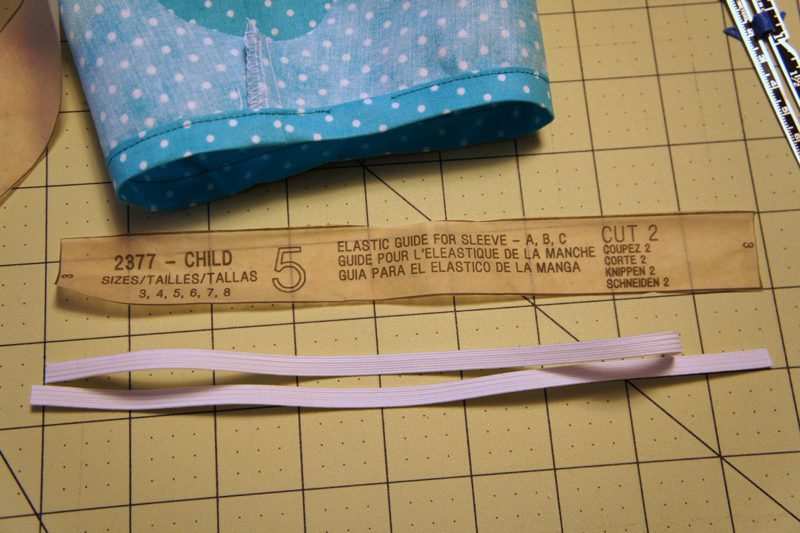

Insert each piece of elastic into the sleeve casing and secure the ends. I’m not too picky on how this stitch looks…you want that elastic to stay put. I personally overlap my ends a 1/2″ or so and stitch a couple of times around the perimeter of the overlap. Another popular method is a zig zap stitch over the overlap.
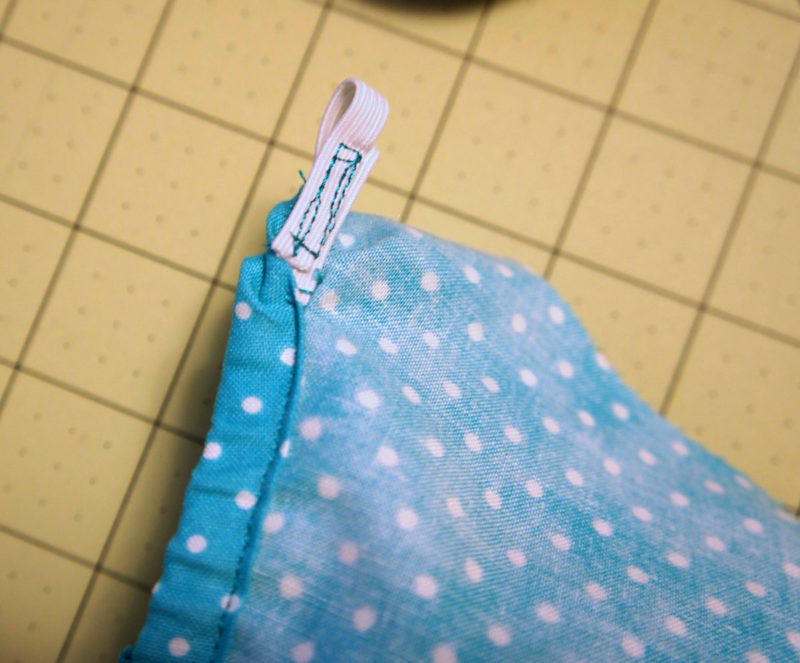

Then machine stitch the opening of each cuff closed. You will a sweet gathered cuff sleeve ready to attach to your bodice!
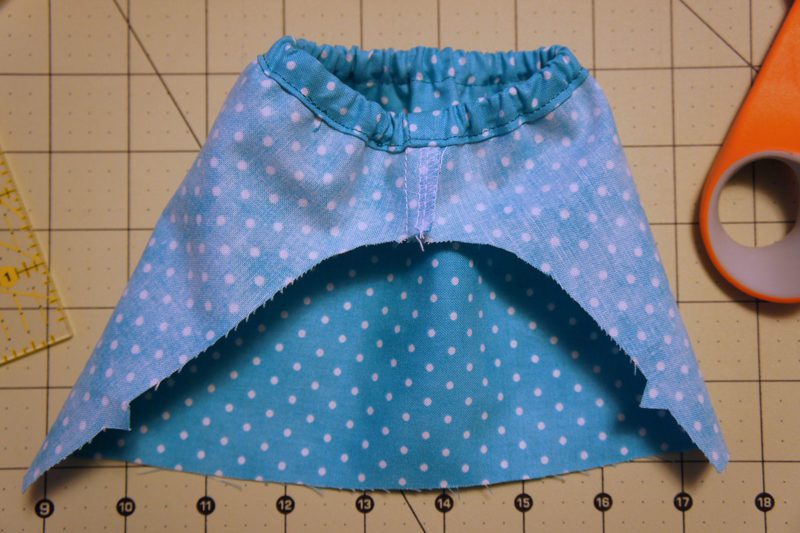

Align your notches and attach each sleeve to either side of the bodice, right sides together. This can feel a bit awkward because you are working in a small curve. Just pin it and take it slowly. You’ll do fine! Finish the edges.
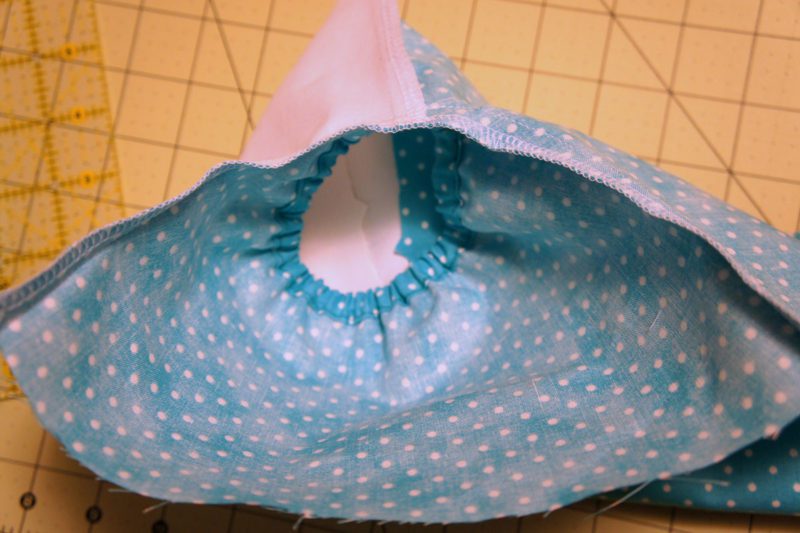

You will now have a piece that looks like this:
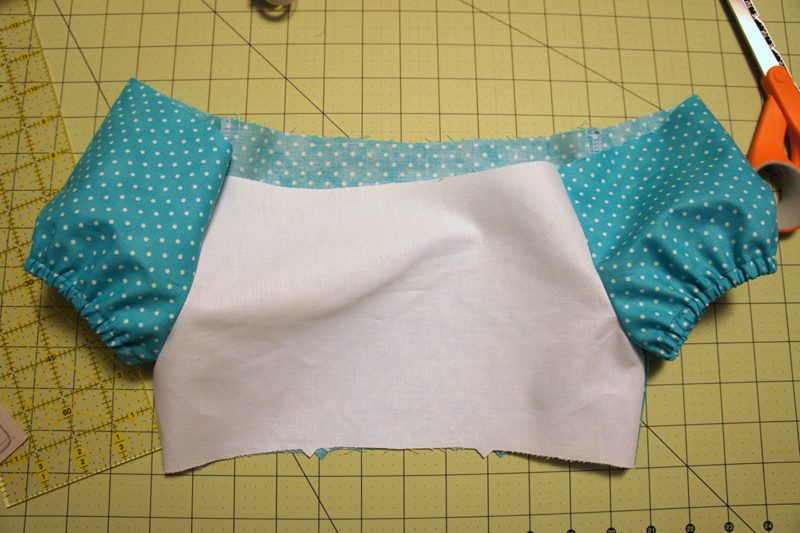

Follow the pattern instructions and create the casing around the neckline, insert and secure the elastic and sew the casing shut. All of this uses the same techniques and steps as the the sleeve casings. Of course I forgot to take a picture of the finished collar before I started decorating it. So use your imagination. Trust me…it looks adorable.
That’s it for now! We’ll get on to the skirt, apron and super cute girly details in the next post on Alice.
Be sure to add your pictures and progress to the Pretty Princess Flickr Group so we can all ooh and ahh over the cuteness happening. I get ridiculously excited when I see anyone making something along with me. So make me happy people. Let us see what you are up to!
Oh and I already ordered some fabric for the next dress! I couldn’t help myself. 😉


Awww….she's so cute! Love that you are starting with Alice, btw.
such a great little dress on a sweet girlie! Good work! (and thank you for the tutorial.) 🙂
Oh my! Soooo adorable. I have this pattern and absolutely love it. I have only made two dresses ever and it was well over a yr ago that I did. I am more of a quilter (straight lines are so much easier) but maybe I can push myself to try again with this. Thanks for the inspiration.