*This post is part of a series on my blog for a sew along using a single pattern to create many pretty princess dresses. Join in at any time!*
We’re working on the Alice dress right now. I have posted the instructions for the dress previously in THIS post and THIS post. So feel free to look those over if you have any questions. Now we’re on to those finishing details and the apron of the dress.
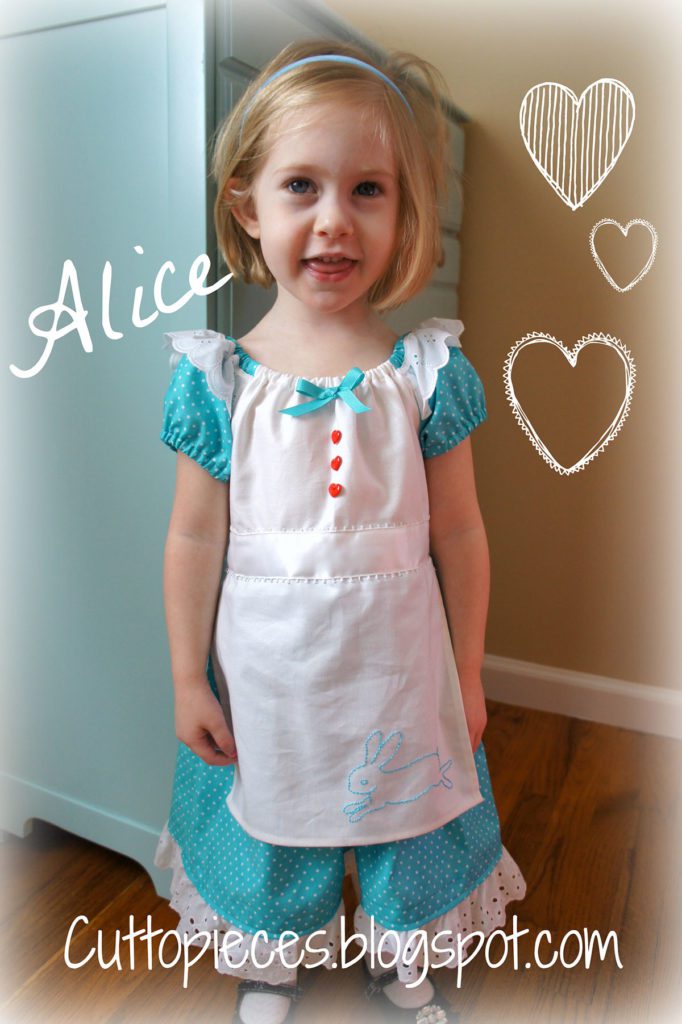

Let’s get this Alice Dress finished shall we?
Disclaimer off the bat. I made her dress with an ungathered apron/pinafore. But frankly I think that was too much work and I think it would be darling to make it gathered like the skirt. So ignore my little flat apron and make a gathered one instead.
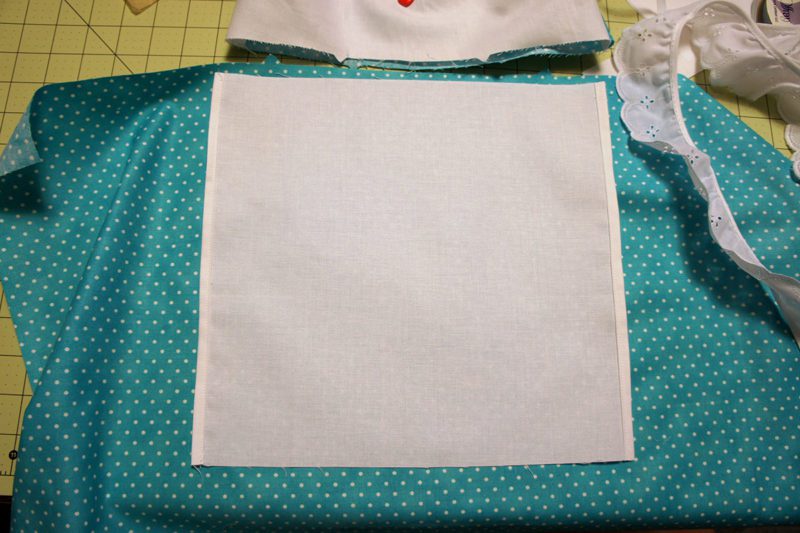

So your white fabric for the skirt will be about as long as mine but wider so that you can gather it easily. I would make it a couple inches shorter on each side than the actual skirt. And maybe about 4″ shorter than the length. But really…you can’t mess this up. Just get a piece of fabric on there. You will want to hem the sides and the bottom of the apron. Don’t worry about the top…that gets gathered into the waist line and covered with ribbon.
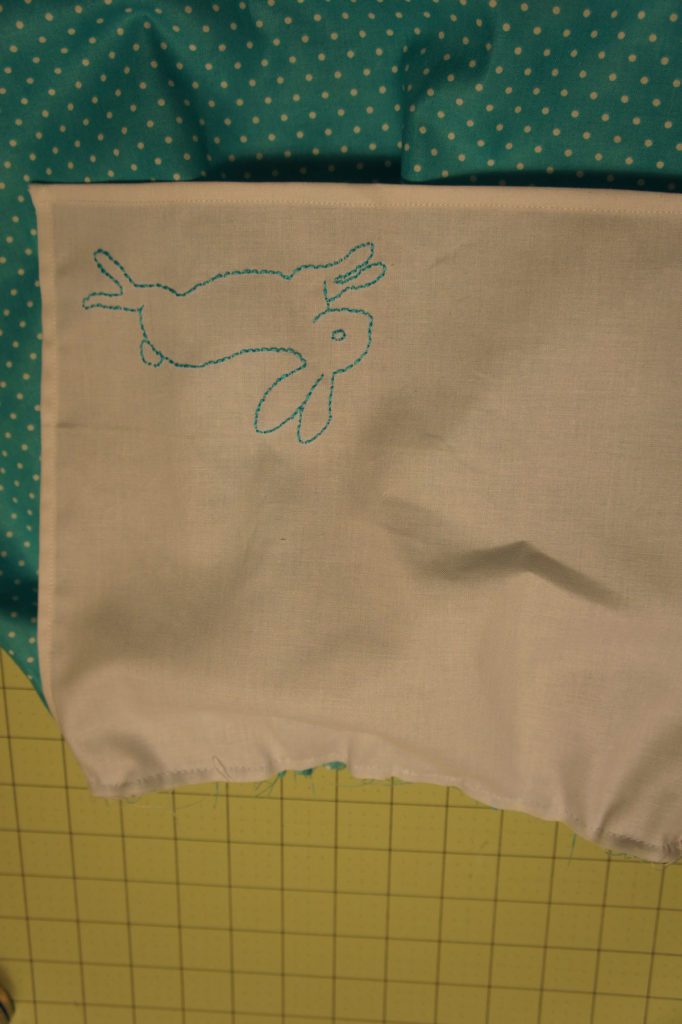
One of my favorite parts about this dress was the darling embroidery of the white rabbit on the apron skirt. Because I’m using white fabric, I didn’t want to use white floss. So I chose a floss color that matched my dress color. And I used this free embroidery pattern and just used the rabbit.
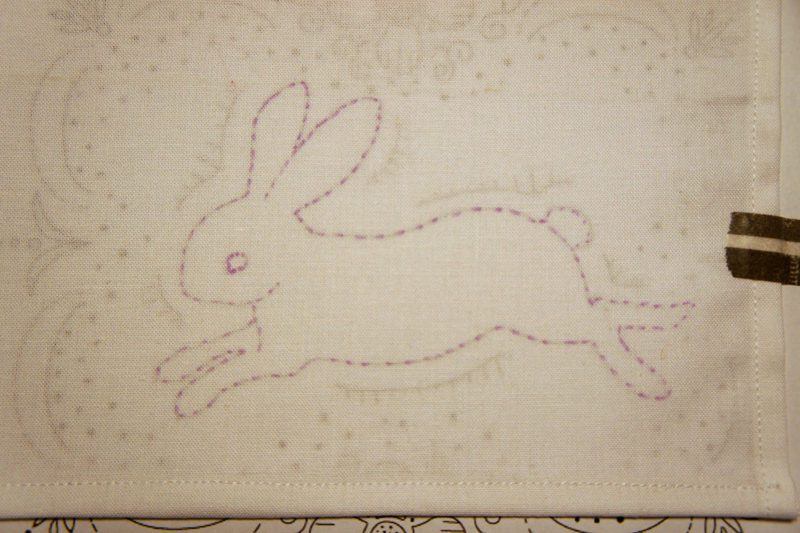
I placed the right bottom of the apron over the rabbit. You may want to use a light box to help you with this step.
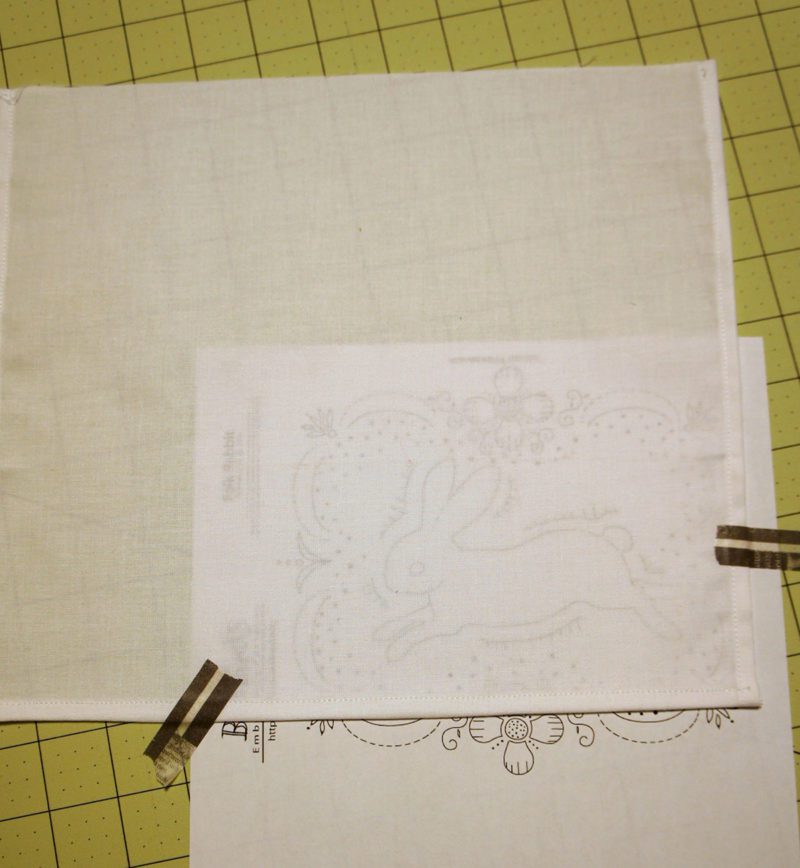

I then used a disappearing pen to mark the outline of the rabbit in dashed lines.

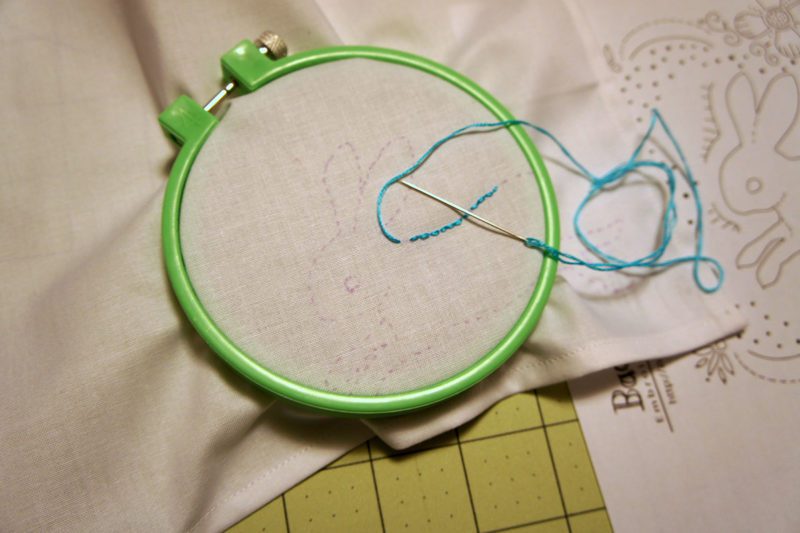
Then I used a small hoop and a simple back stitch to outline the rabbit with the teal embroidery floss. Just google embroidery back stitch if you have never done embroidery before. I don’t know a ton. Just enough to add bits here and there to items like this.

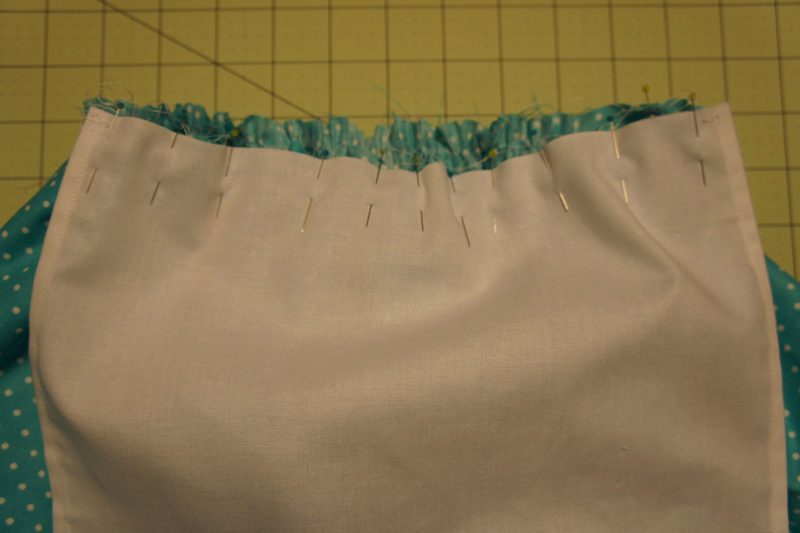
Gather the apron skirt top (remember: I didn’t do mine that way so you won’t see any gatherings stitches in mine). Match the apron center with the skirt front center and pin the skirt in place. Baste. Then stitch.

You will now have a skirt with an apron with a rabbit attached. Fun right?!

Attach the skirt to the bodice following the directions of the pattern. Finish your seam as desired.

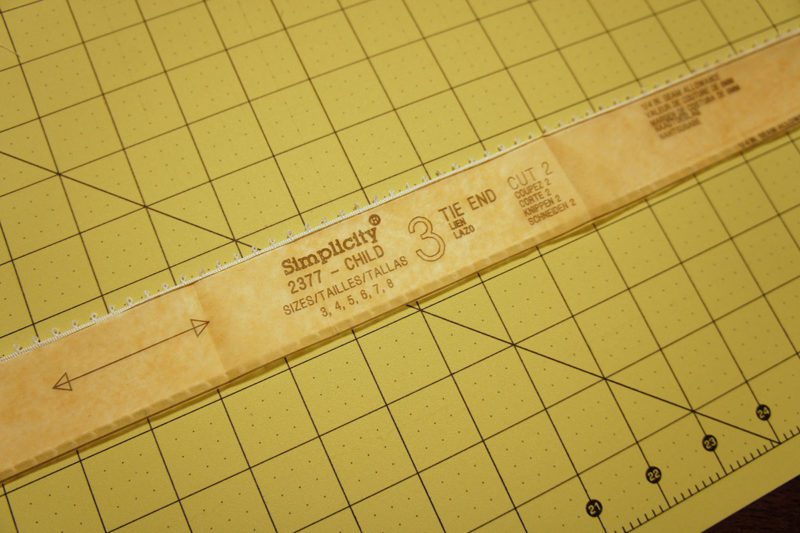
The finishing touch for this dress is the tie around the waist. You may have chosen to make ties and already added them at the bodice side seams. But I love the look of the ribbon around the whole waist line. I cut my waist ribbon according to the length of the pattern piece for the ribbon ties x2 + the width of the dress front. Again…can’t really mess this up. Just make it long enough to go around the front of the dress and tie it in the back.

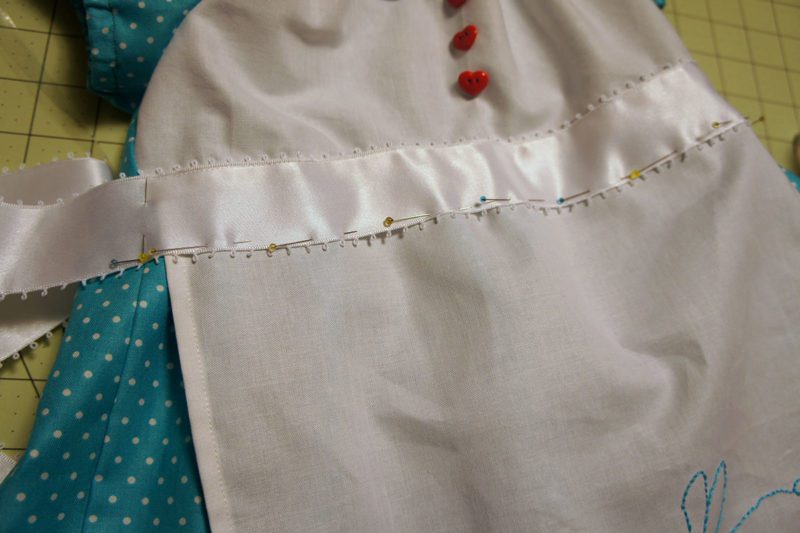
I centered the ribbon on the dress front and covered just the top of the waist seam. I pinned it in place across the front bodice and stitched it down along the bodice side seams. Then stitched along the bottom and top edges of the ribbon across the bodice front.

Again, finish off the edges of the ribbon with fray check and tie it all up in a sweet bow!
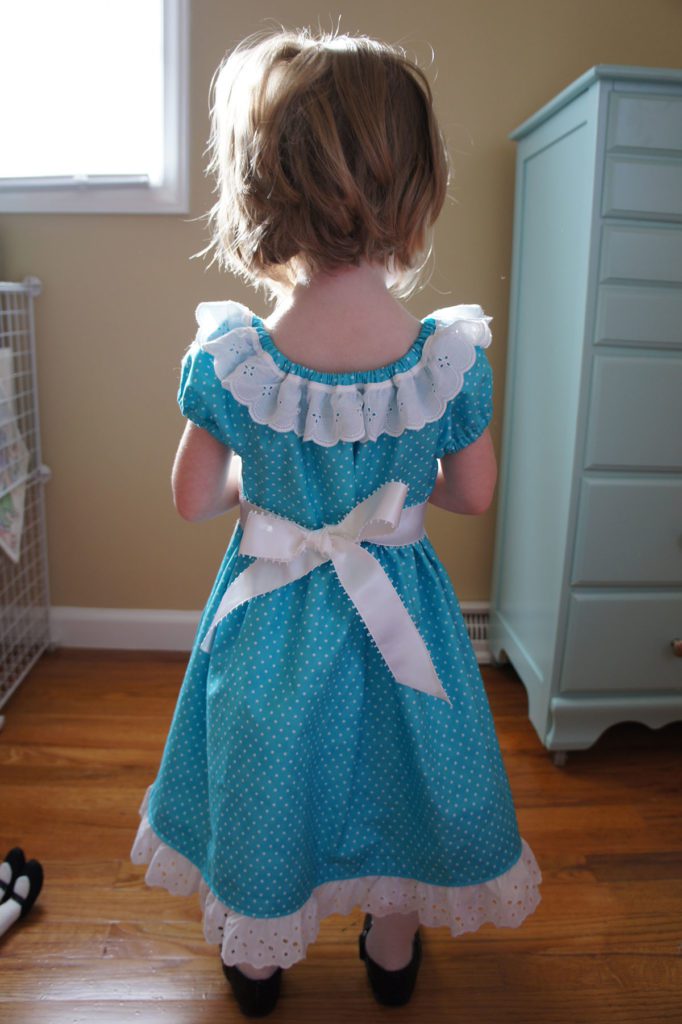

And come on…isn’t she the cutest?!!
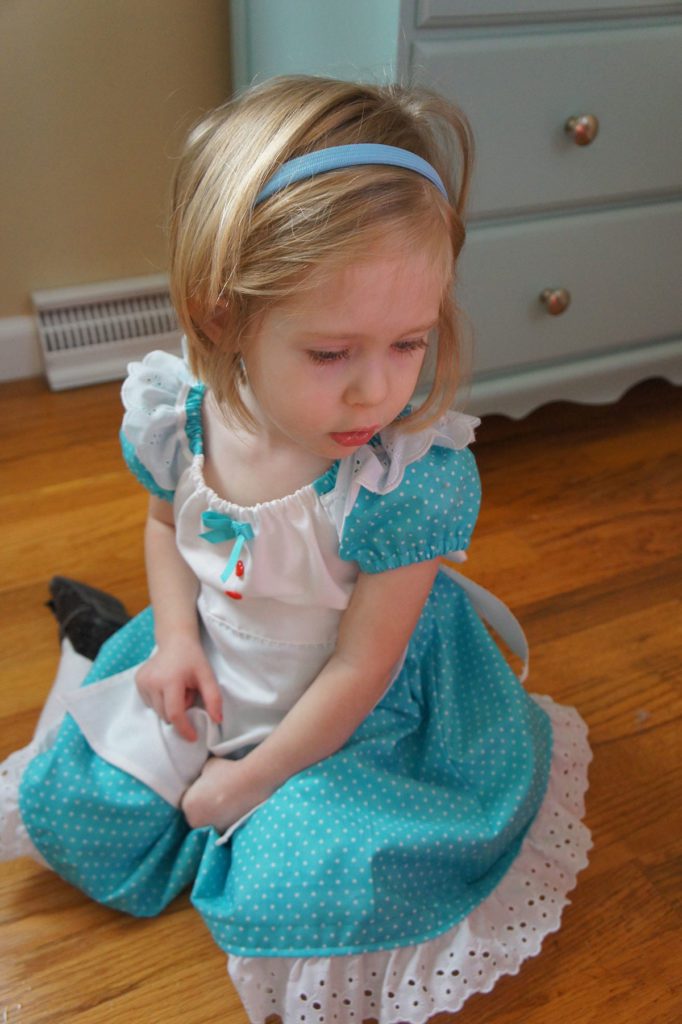

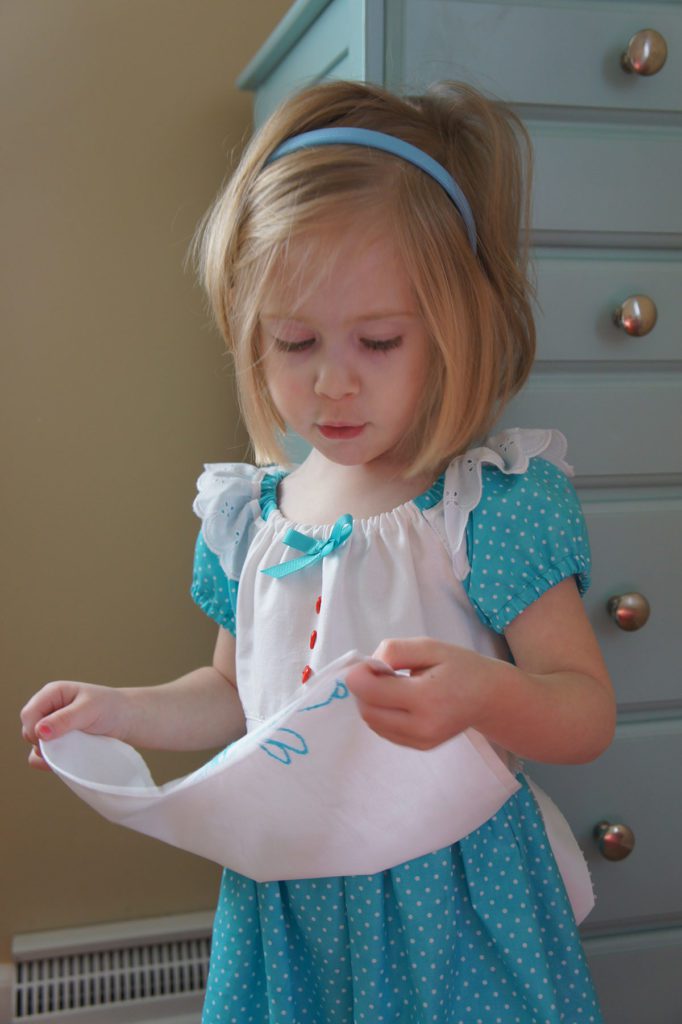

I hope you all enjoyed the Alice dress and are looking forward to all the next princesses and characters. I know the next three I want to do for sure. After that we’ll see!! I’m open to whatever!
Be sure to add your pictures and progress to the Pretty Princess Flickr Group . There are already some great additions there. I love everyone’s unique take on this.
And I’m itching to get started on the next dress. I’ll probably post yardage amounts soon, but it may take me a bit to get to that one. well…I’ll probably distract myself with the dress one day and whip it out. I have most of the fabric and trims already and my little gal is ready for her Rapunzel dress!


Love that the little dolls shoes sneek into one of the photos – they match!
Great dress!
lovely dress … beautiful Alice xx dont think my grandsons would be too pleased to receive this.. so will give it a miss this time xx lol x
YAY! Rapunzel! Can't wait!!!
Adorable! My daughters requested Snow White and Sleeping Beauty, but I won't be able to stop myself from making them all.
So cute! What a lucky little girl. 🙂