

Today is another installment in the Sew-Less Summer series. Today I am happy to welcome Amanda Woodruff of A Crafty Fox. She’s another super adorable sewer/crafter/mother extraordinaire. She recently had a baby but you wouldn’t know it to see her photos!

Hi, Everyone! I’m Amanda from A Crafty Fox! Where I live, summer is yard sale season and when I found this dresser at a yard sale, I knew it was perfect for my closet.
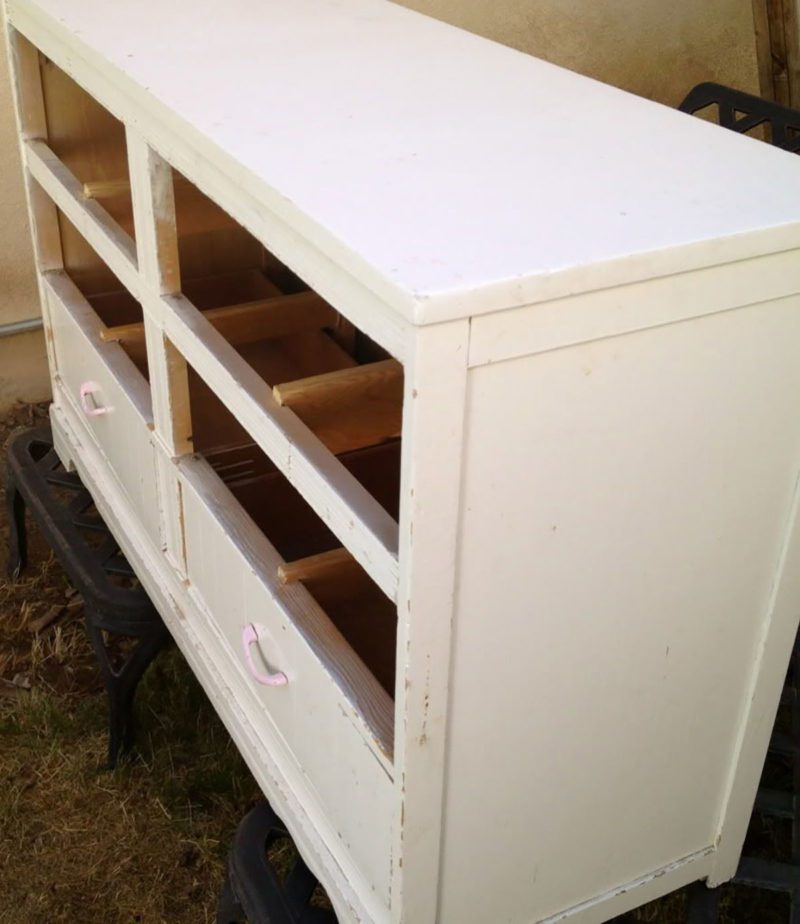
Unfortunately, it was not in the best condition. So, I refinished it, but as I got to the end of my refinishing, it needed something. The drawers were so blah! And the selection of drawer liners at my local superstore was pretty pathetic. Especially since I *needed* grey. You know that feeling?
So, even though I had thought to do my sew-less summer post would be for back to school, it turns out, it is a simple tip-torial on how to use a little over a yard of pretty fabric to line six dresser drawers. And I love it! The look is so glamourous and clean. And no sweaters will be snagged on the old, splintery wood. I’m so doing this tomorrow with laminate fabric in the bathroom!
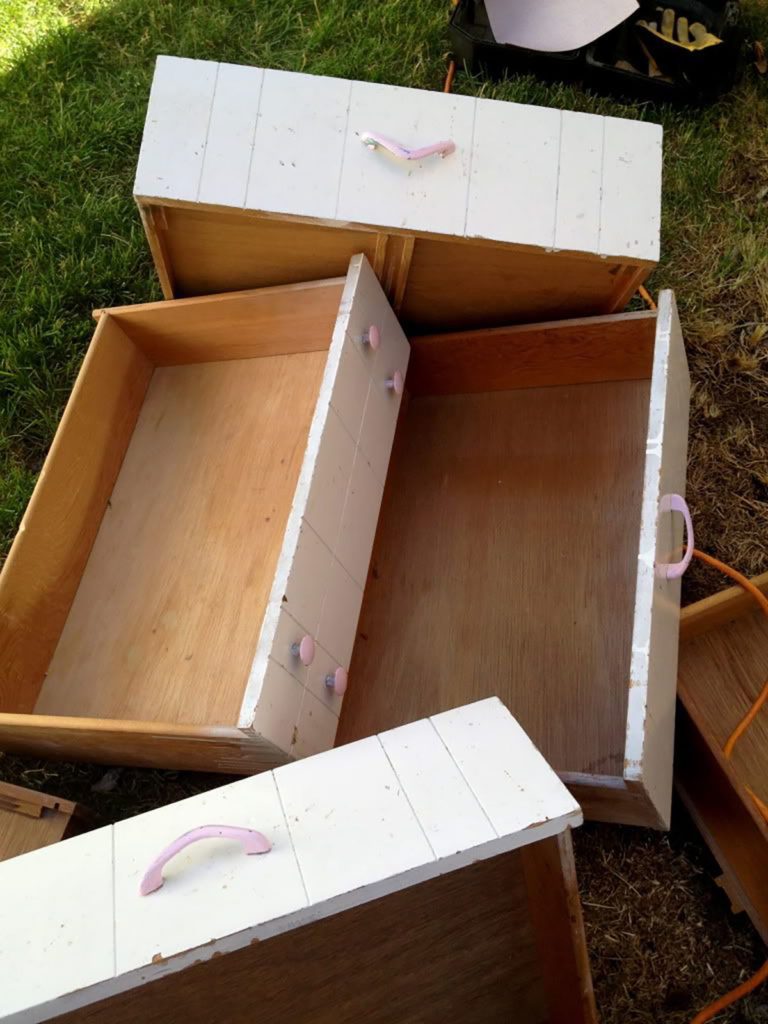
So, you are going to need: Drawers. I want to do this to every drawer in my house! The more in need of love, the better.
You’ll also need:
- Fabric: 42″ (1 and 1/6th of a yard) for six standard dresser drawers (I used a piece of from Puttin On The Ritz by Bunny Hill)
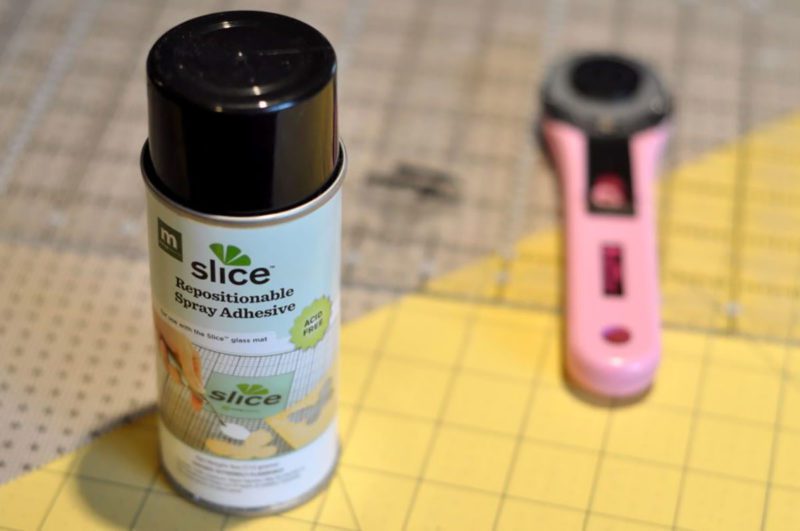
- Spray Adhesive
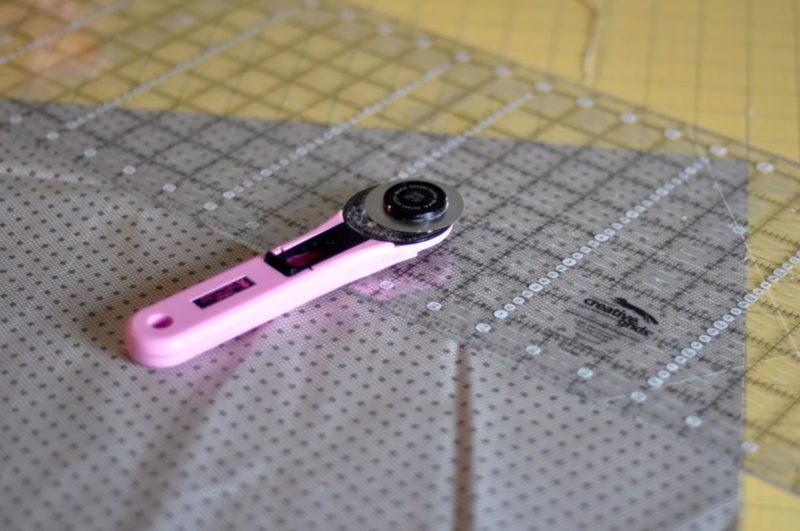
- Rotary Cutter, Mat, and Measuring Board.
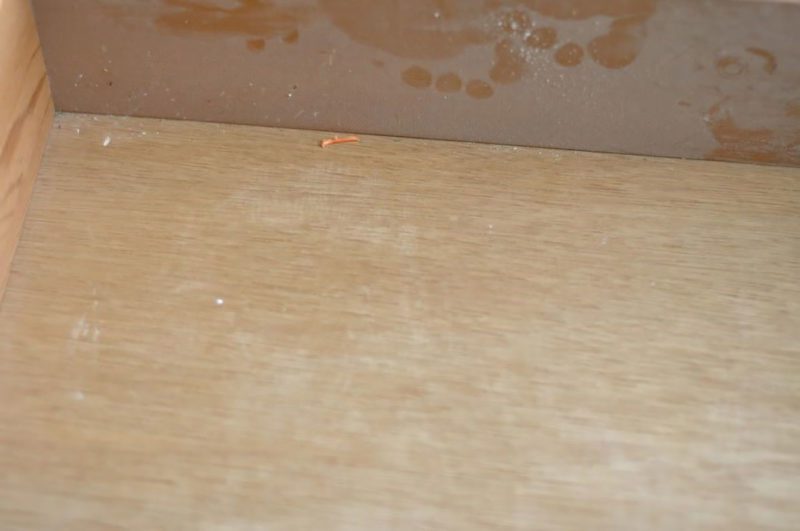
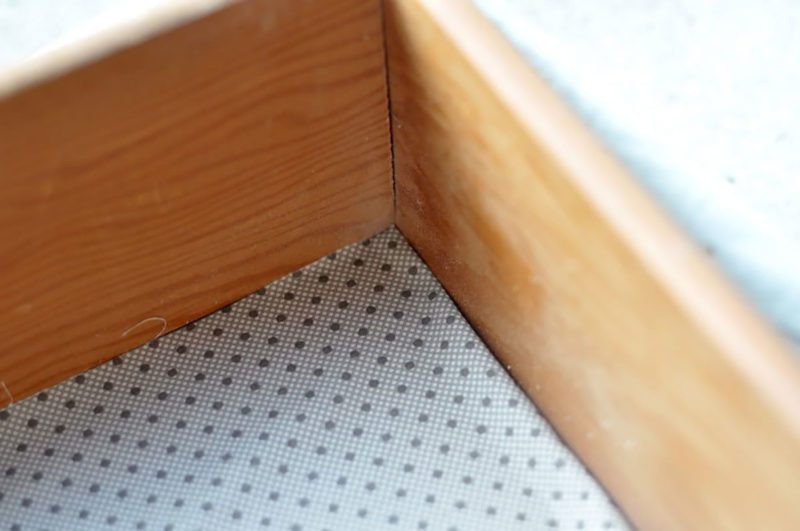
This is pretty simple. Start out with your drawers. Get them very clean. I just used a damp cloth.
Mine weren’t too bad, but they had cola stains, some sort of red juice and carrots along the bottom. Since the walls of the drawer weren’t too bad, I thought:
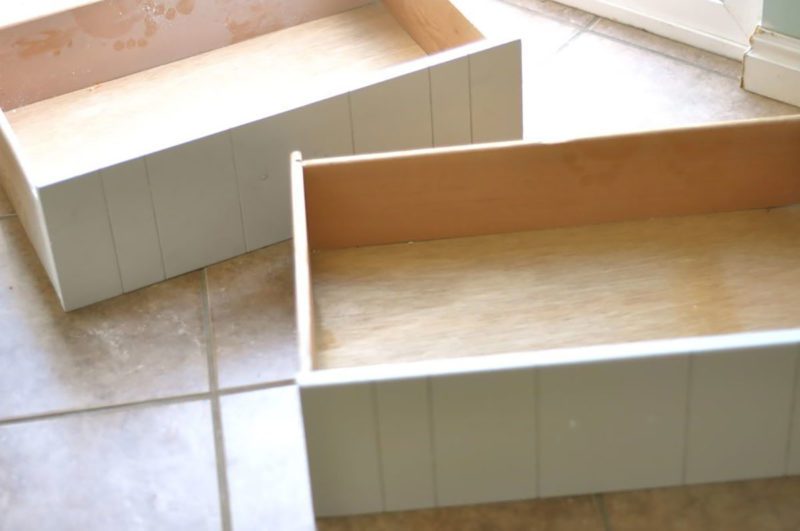
Next, you are going to want to measure it:
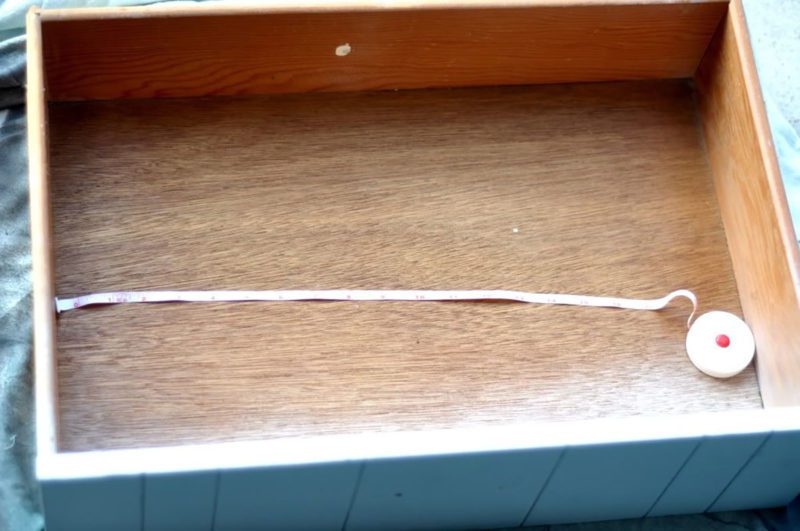
I added 1/2 inch to the measurement on the width side just so that my two sides were a little more finished. My measurement was 20″ x 13″ I cut my length of fabric 13″ from the edge, then turned and cut it to 20.5″
Now, whip out your spray adhesive.
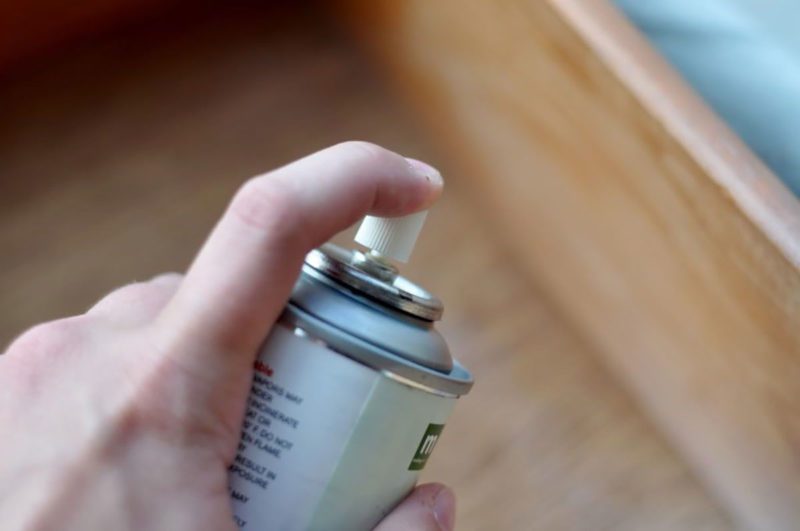
Spray one edge of your drawer. Give it a healthy dose of spray adhesive. I focused on the edges, giving only a little bit of adhesive to the middle area:
I folded my edge over and finger pressed it.

And then smoothed it down on to the spray adhesive
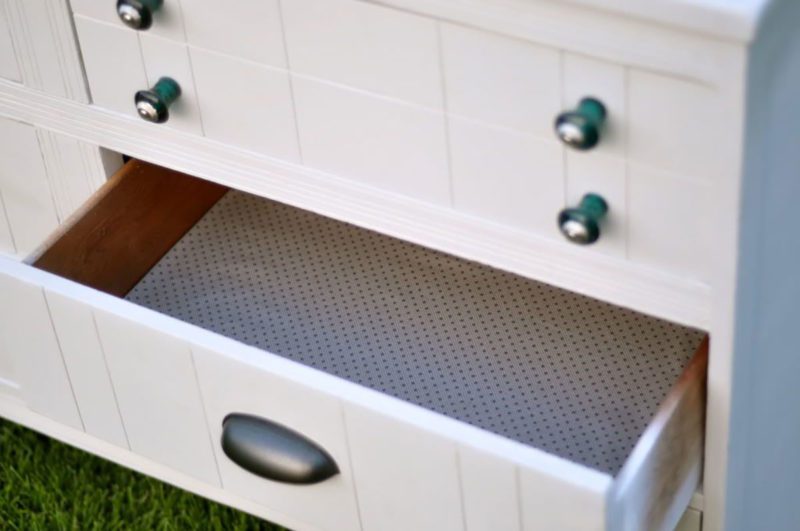
Smooth the fabric over the drawer and repeat the process on the other side.
And, Voila! Your drawer is ultra-glamourous!
Hopefully, you found this a little bit helpful! I’m going to do this with vinyl over fabric in my bathroom since it seems to attract all sorts of icki-ness and the vinyl should make it easy-peasy to clean!
Thank you so much for sharing this Amanda! I’m sure we all have drawers that could use a little face lift. I can’t wait to use your ideas!

Ang, I don't see any pictures…
really? I do. Does anyone else NOT see pictures?
yes I see the pictures!
Clever tip!
I never thought of using adhesive in my drawers. So smart!
Wow! What a great idea…thanks for sharing!
Toni
http://www.lifeinapinkbunnysuit.com
This is a great tip Angela! Thanks for sharing….Judith, Texas
Thanks for the tips! I did this myself and love my drawers! http://hannahgj.blogspot.com/2012/08/i-feel-like-super-wife-today.html